|
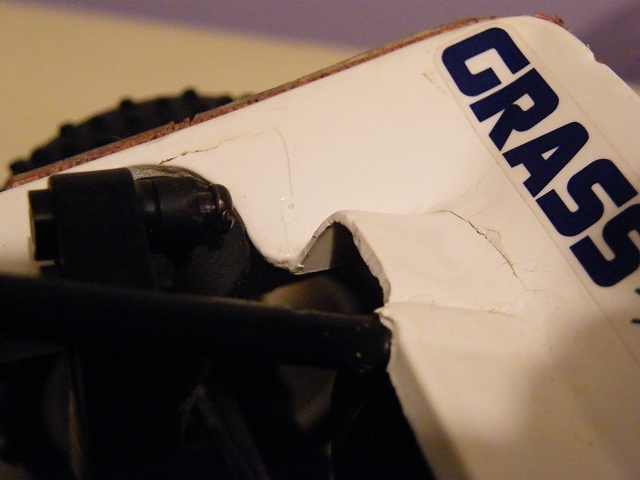
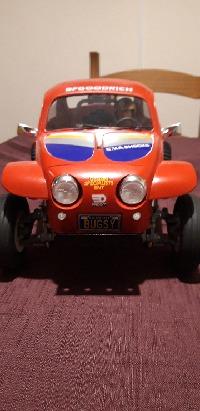
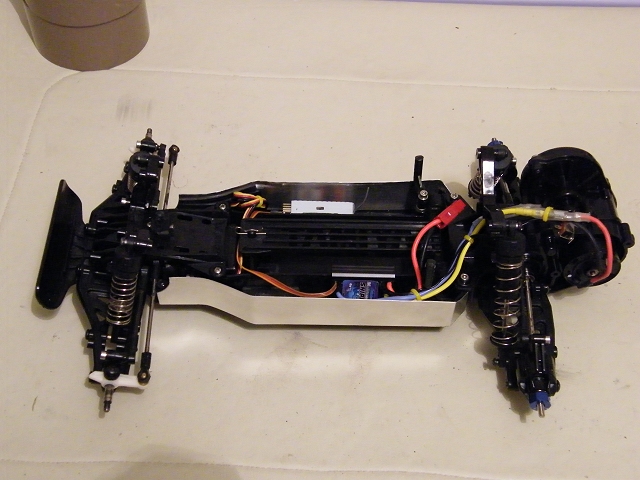
I've been following with interest the various threads on improving Grasshoppers - so when I saw a cheap DT-02 chassis with a Grasshopper body grafted on I snapped it up ... maybe I should have thought about it a bit more, because although the idea was a sound one, and it looked good in the photos, it reality it had been really badly executed.
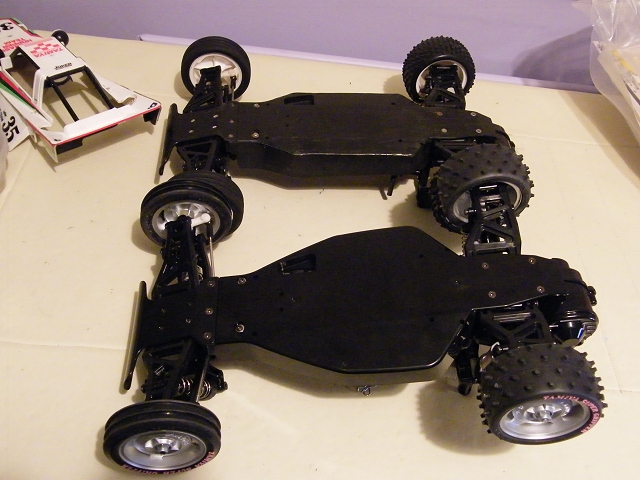
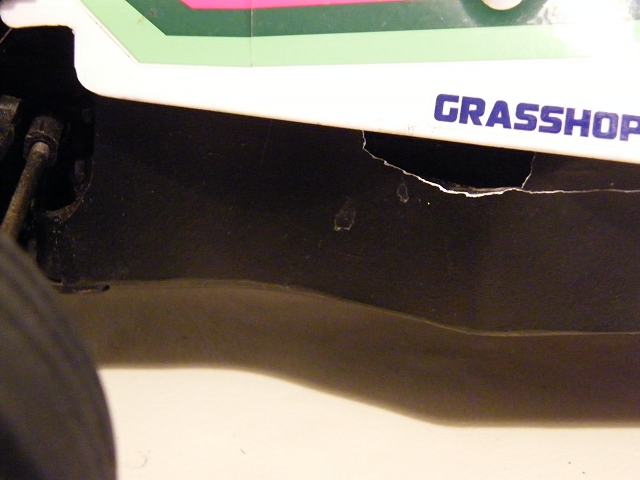
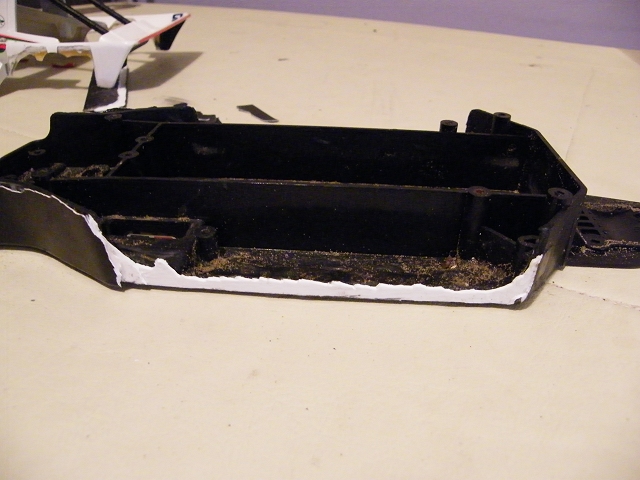
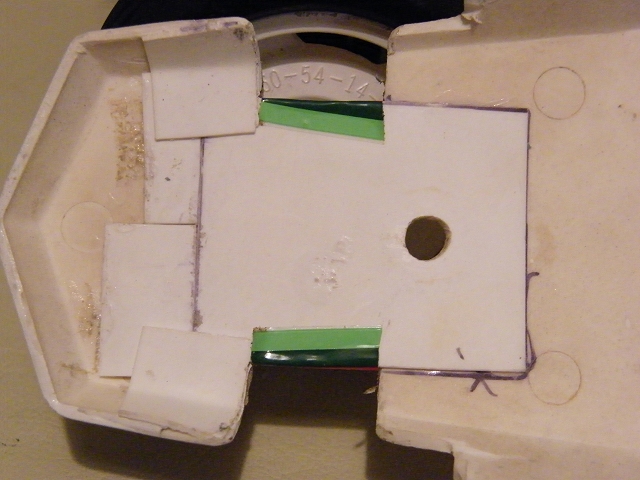
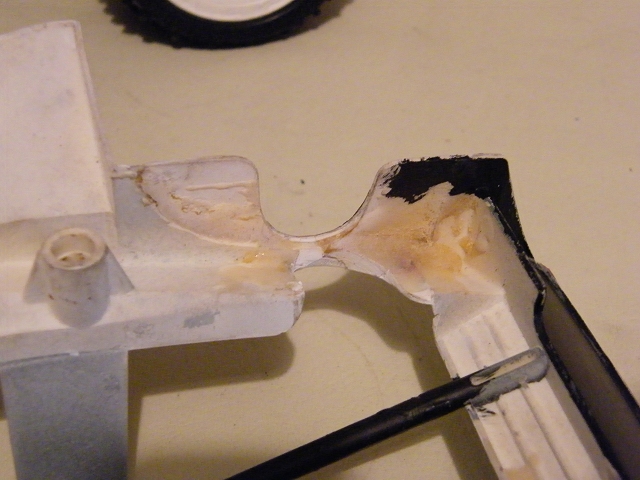
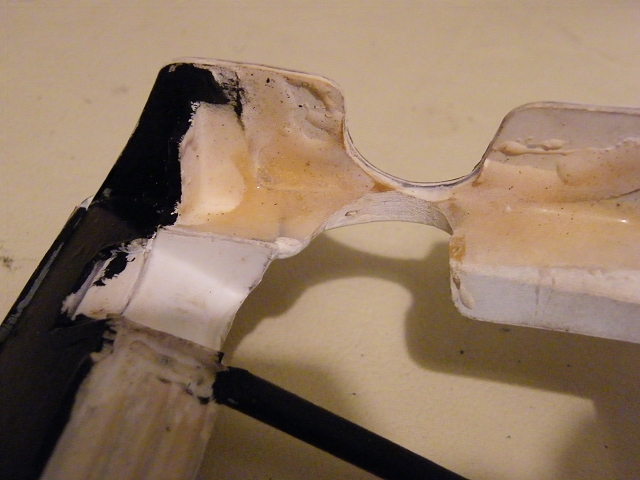
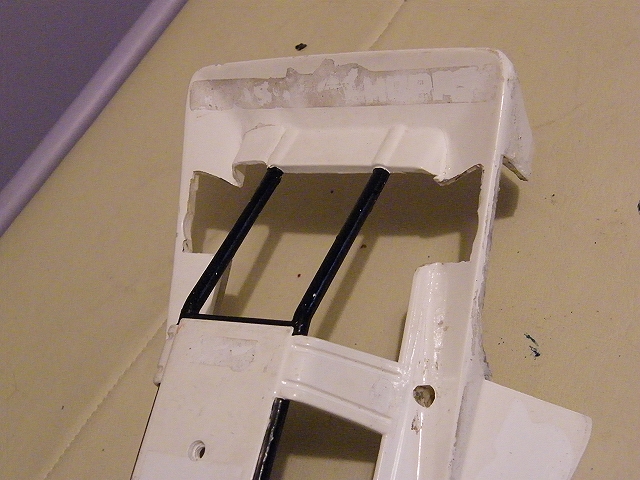
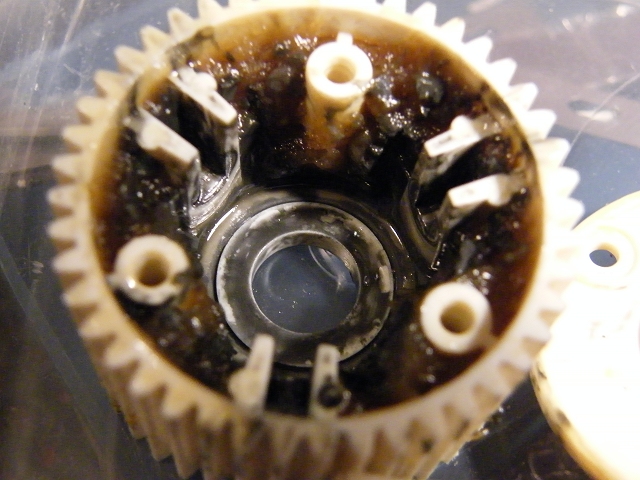
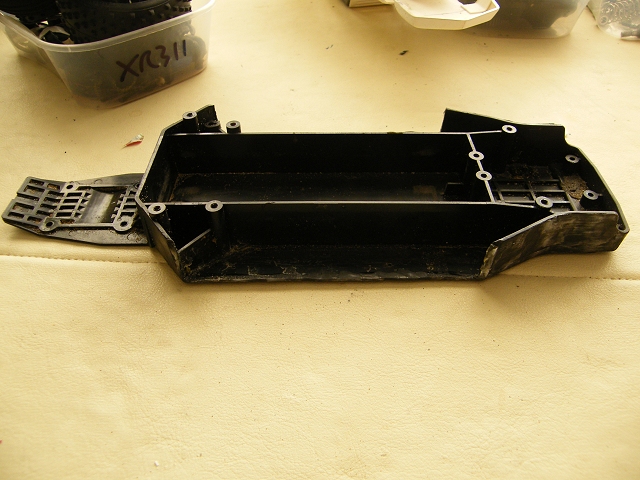
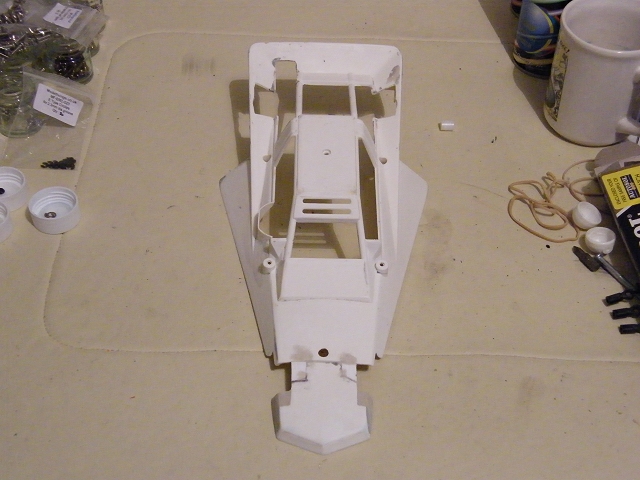
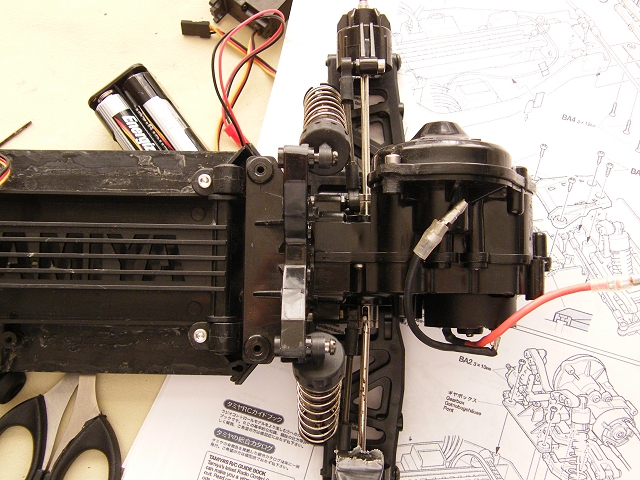
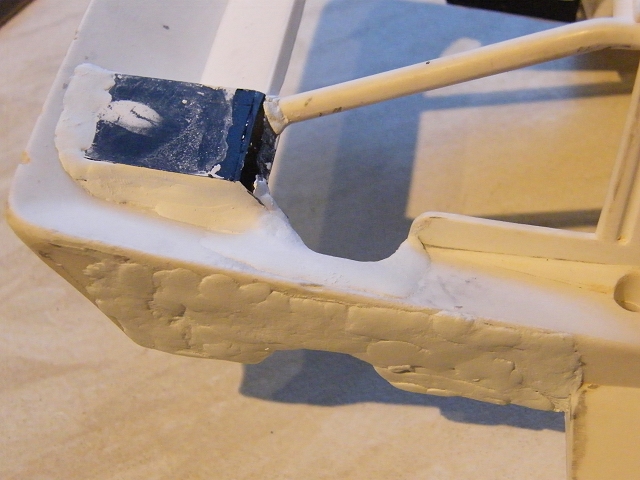
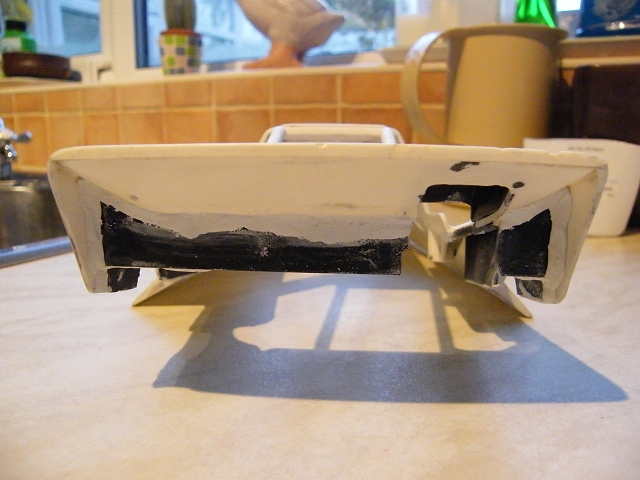
I've stripped it & washed it, because although I don't intend to do too much to it just yet, it absolutely reeked of cigarette ash & cheap scent ... when I get a round to it, the "project" will be to strip off any remaining signs of the modifications & do it all again properly, followed by a repaint. You can see how much the chassis has been narrowed (DT02 Holiday Buggy chassis for comparison): Chassis sides already crumbling ... ... and didn't take any effort to pull off: ... one of the better parts of the body ... modifications on the back were mostly some sort of rubbery glue, and a lot of paint ... yuk! |
|
Please Log in to join the conversation.
Last edit: by Jonny Retro.
|
|
Thats a pity it looks fantastic in the first picture. This is something i have always fancied doing myself and when its executed well will be a very worthy project. Ill be following this thread carefully so i can reproduce your work
|
|
Please Log in to join the conversation. |
|
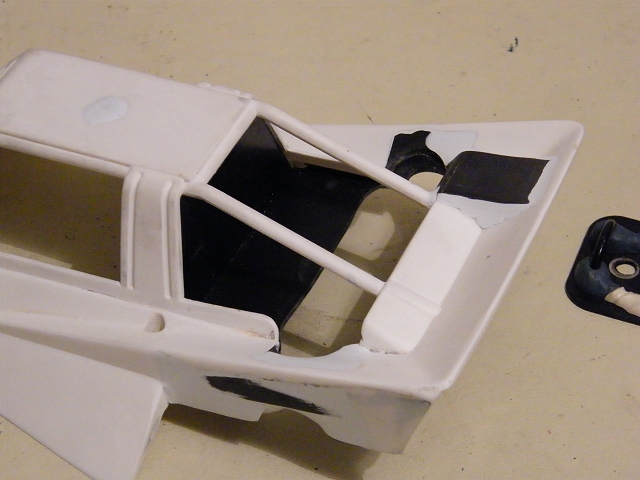
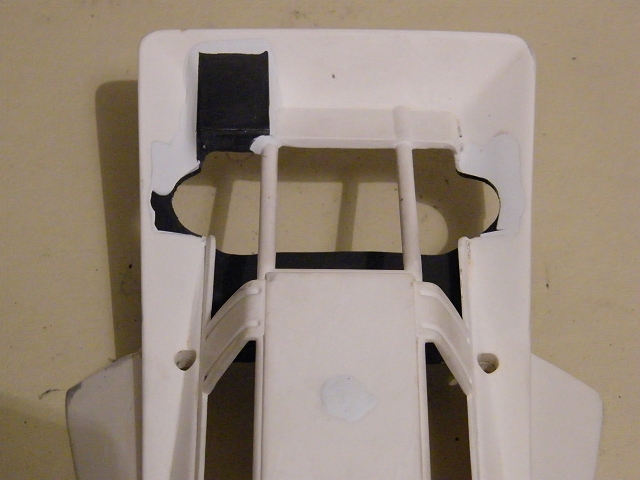
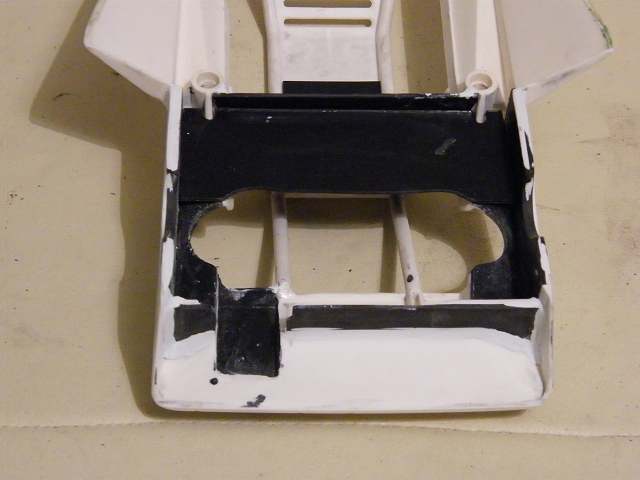
Spent a bit of time on this over the last few days, I've stripped the body - that was fun
I've started on the chassis, using new stainless fasteners & new bearings throughout, I printed out a Super Fighter G manual to refer to ... then spent 20 minutes hunting around for the top wishbones before realising it has top links instead |
|
Please Log in to join the conversation. |

|
Just trying to bring things up to date...
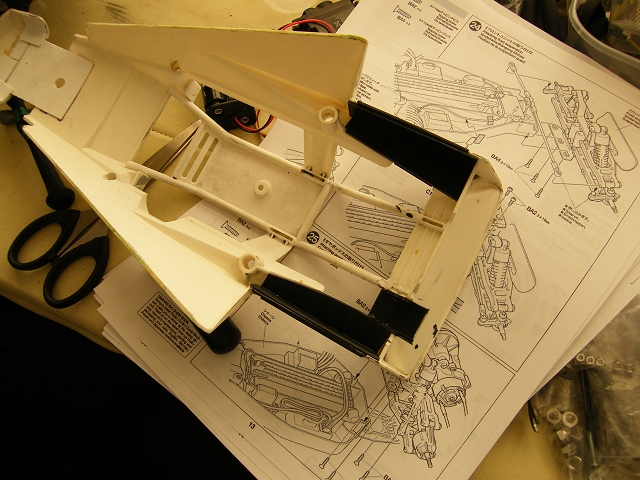
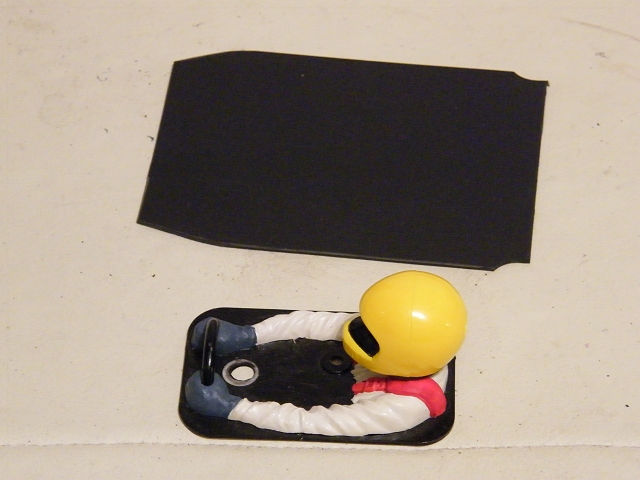
Dremelled off as much of the crud off the chassis as I could, I've since sanded the edges flat in preparation for new side panels... Body stripped... Repairs/reinforcing... Once of the rear uprights is borked, guess it must have been cracked & the heat/cooling cycle of cleaning it must have finished it off ... a new one is on the way - usually for Tamiya the required sprue doesn't have much on it - one front upright, one rear, and one 12mm hex narrowed the rear shock tower, this will lay the shocks down a little more - but that does mean there'll be more bodywork left ... |
|
Please Log in to join the conversation. |
|
|
|
Please Log in to join the conversation.
Last edit: by Jonny Retro.
|
|
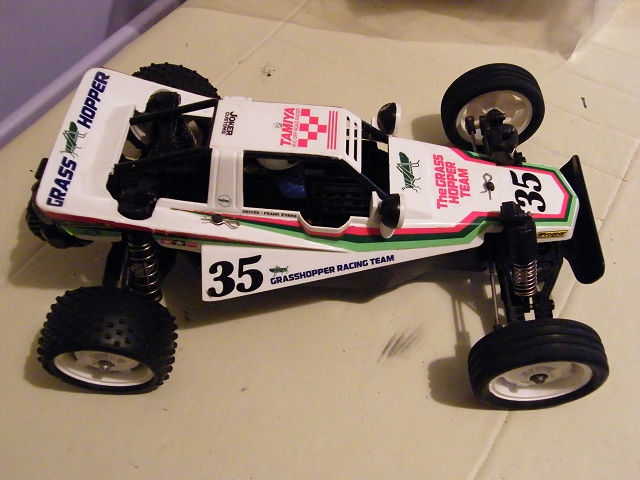
Gave the putty a bit of a sand - I wish I'd put it on a bit thinner - I had to start with 120 grit paper
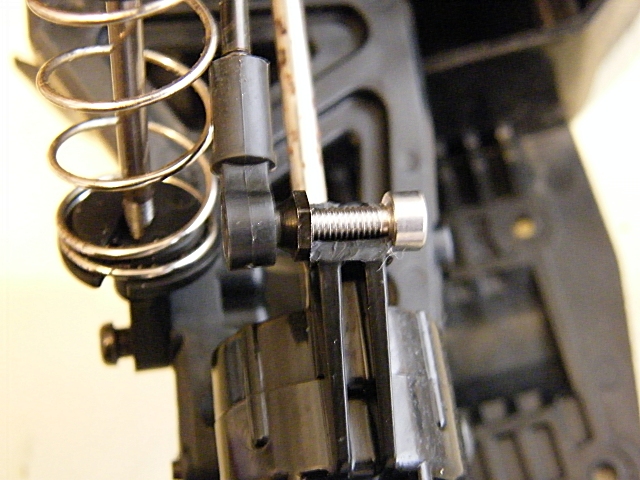
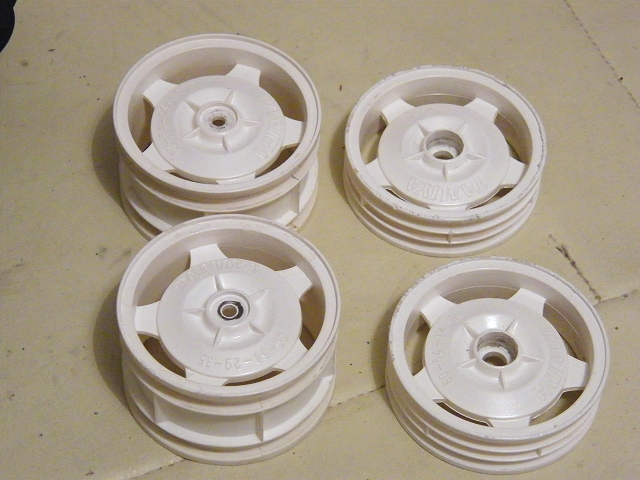
Wheels need a bit of a tickle up ... they have already been painted so I'll strip them first as I don't know what they've been painted with ... Not so sure about the aluminium chassis sides ... might have to do something else, or at least cover them with black vinyl ... have fitted CPV/Racing Punk bloo alloy hexes to the rear ... they're ok as long as you're prepared to do some fettling - bin the Allen key as soon as you open the packet & sand the inside of the gap ... |
|
Please Log in to join the conversation. |