Keyword

TOPIC:

My M chassis builds 1 year 3 months ago #80772

That Turbo II looks really smart!
Really like that one!

Please Log in to join the conversation.

My M chassis builds 1 year 3 months ago #80832

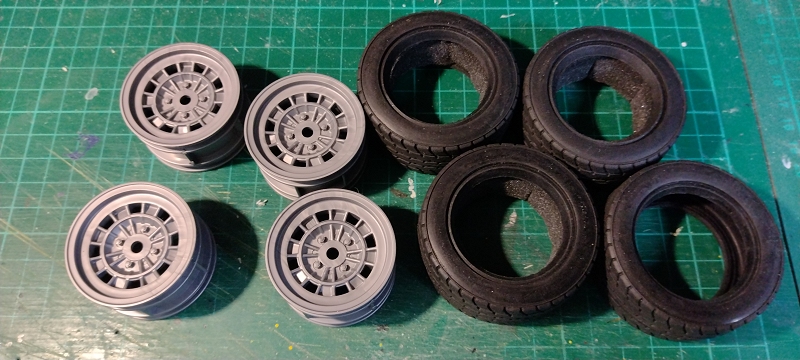
The spares heap provides - I found a set of used Minilites with treaded tyres & a set of newish Abarth wheels with slicks on, so no need to wait or spend any money :D


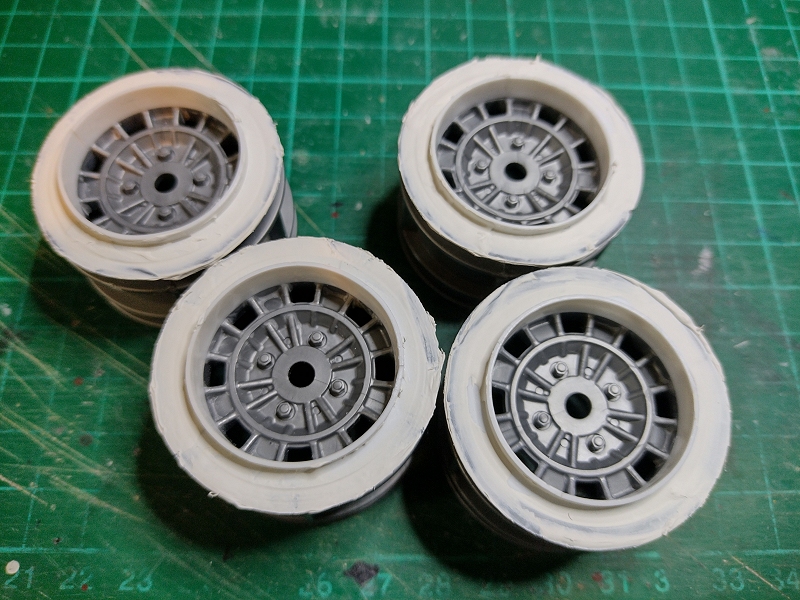
I took the lip off the outside of the Abarth wheels, then squared up the faces near the edge. I bent some 2.5mm square styrene form, then cut some 5mm wide strips of 0.75mm styrene sheet, let those set overnight then filled.


Once I sand the rims off, take the lip back to a more scale size, spray the whole thing Aluminium & paint the outer flats Rubber Black, it'll look like higher profile tyres & smaller wheels, at least from a distance :D

  
Attachments:
The following user(s) Liked this: stingray-63

Please Log in to join the conversation.

My M chassis builds 1 year 3 months ago #80833

They look to have a deeper offset to.

Please Log in to join the conversation.

My M chassis builds 5 months 1 week ago #82139

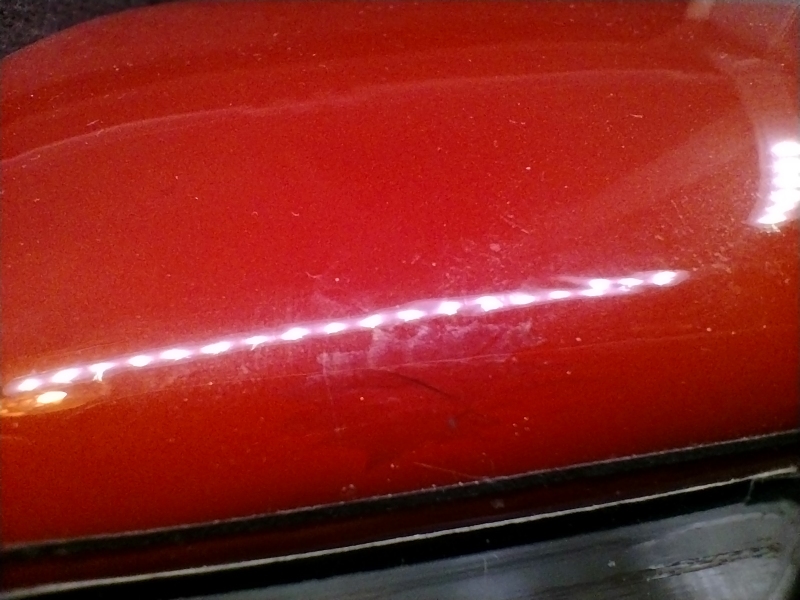
Never been a fan of how my "Poppy" "replica" turned out, and despite proper prep and spraying with Tamiya PS paints - surely the most aggressive of all polycarbonate paints? - the paint is unattaching itself ... I flicked the offending area with a fingernail & it got much bigger. Possibly some sort of contamination from the PO that I didn't manage to remove? 


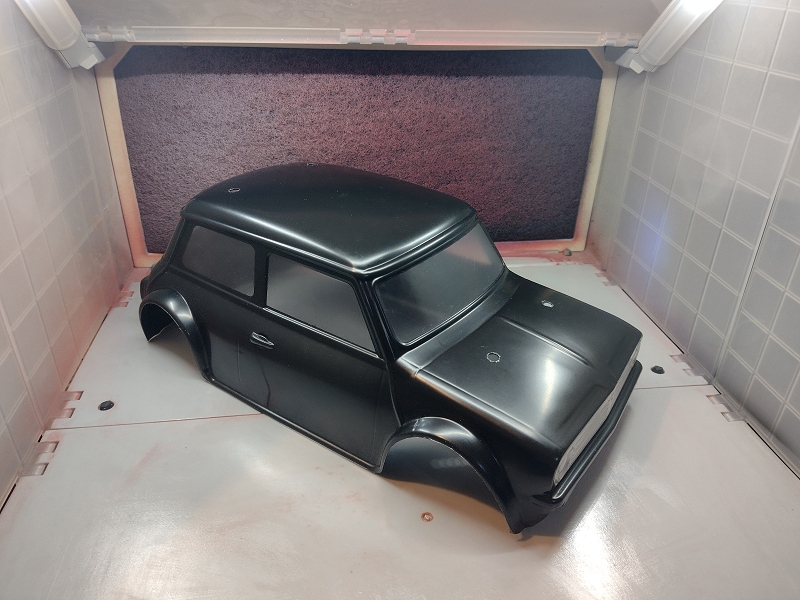
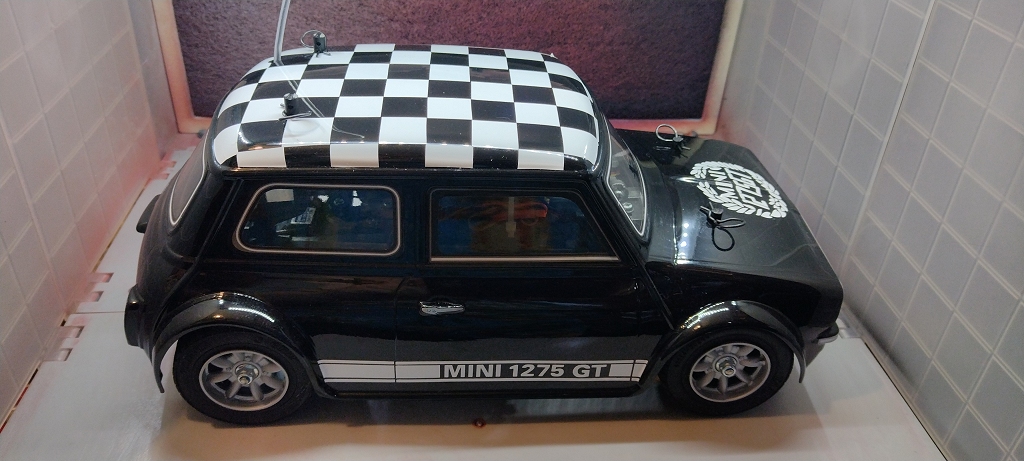
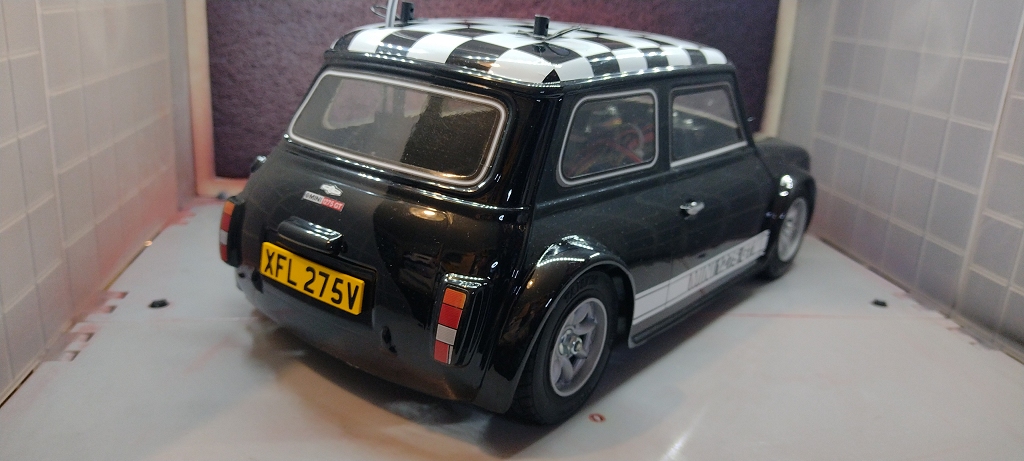
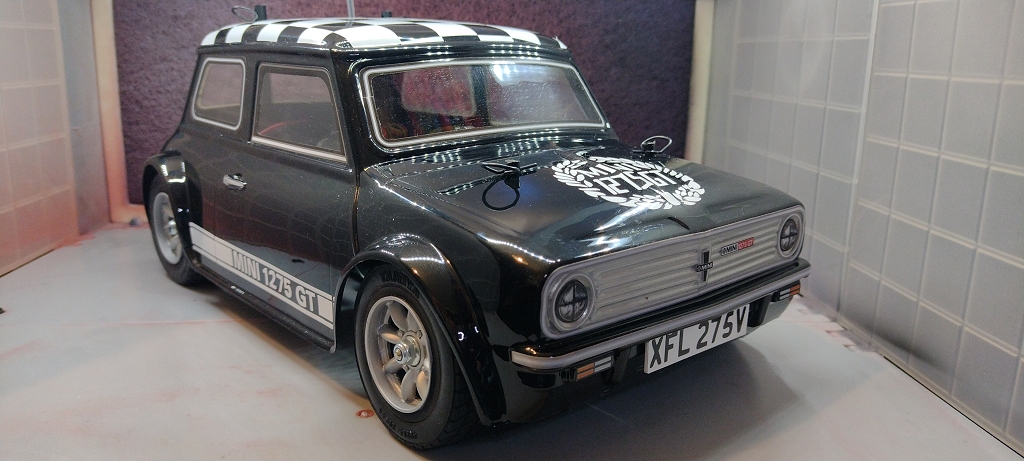
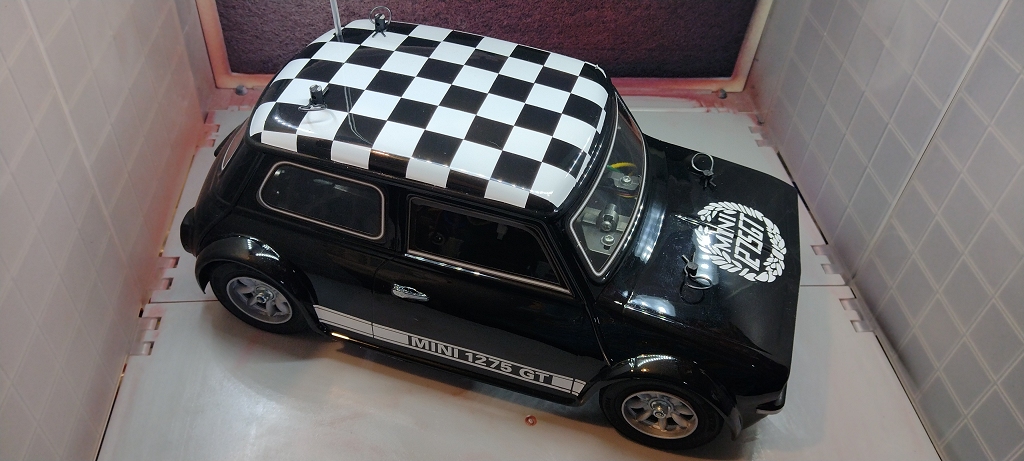
Decided I'd rather have another 1275 GT in black, even though I've never owned one, just driven a couple. Airbrushed Proline RC body paint, the black went on greay straight from the bottle but I'd forgotten how difficult the "Aluminum" is to use, it's just nozzle clogging flakes & no opacity whatsoever... 


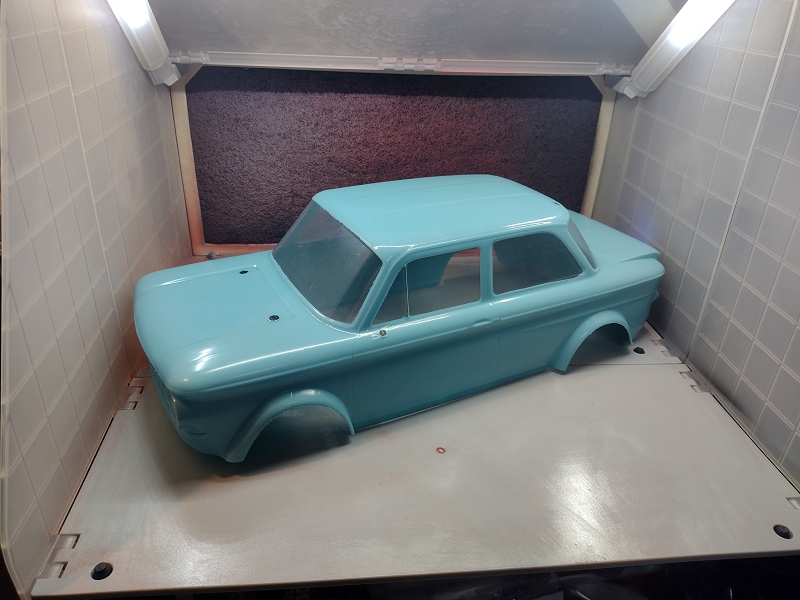
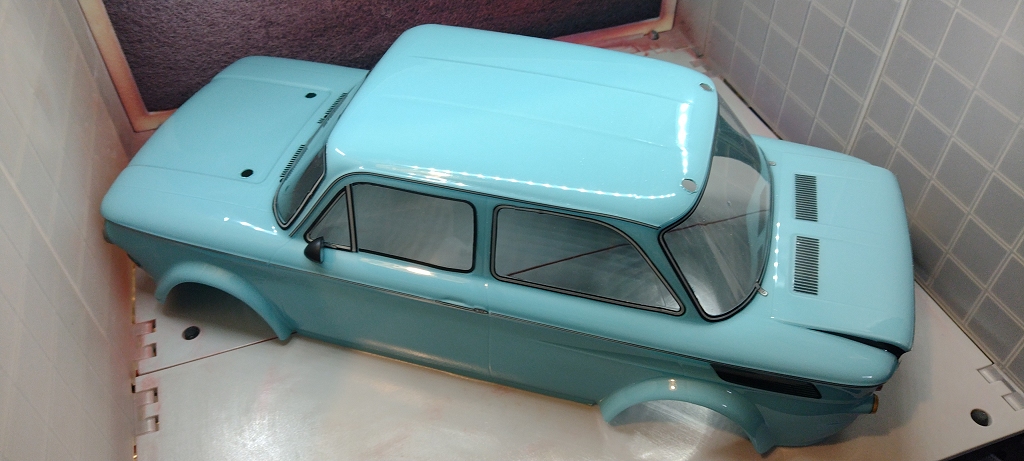
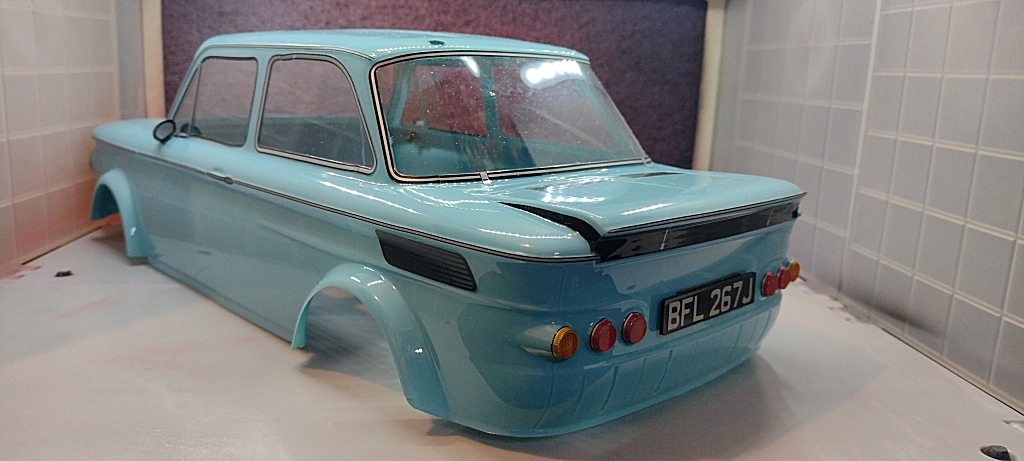
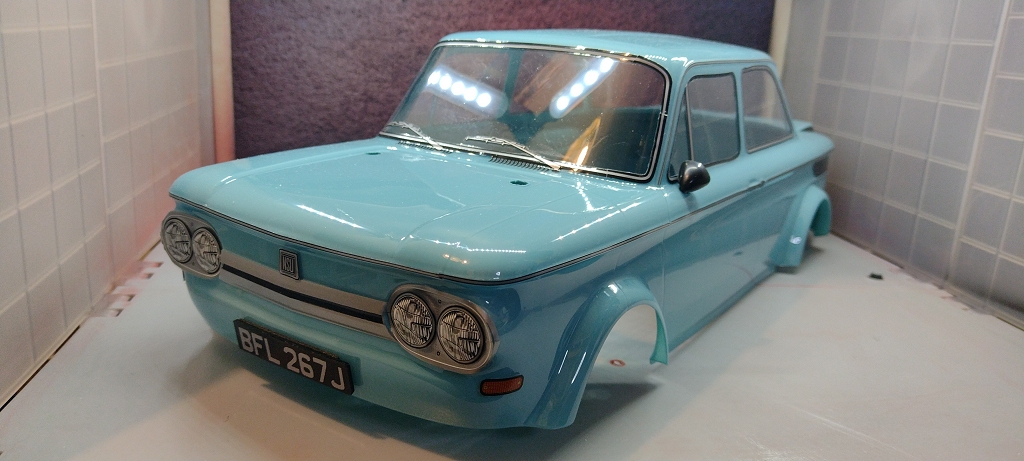
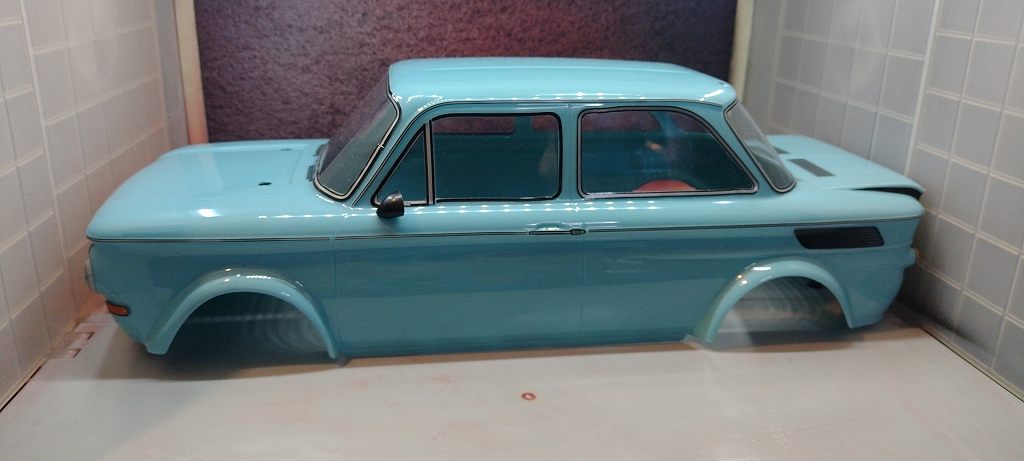
Not sure why I had a spare NSU TT body kicking around, probably just that they were the cheapest M chassis for a long time & I wanted the chassis for a project ... could have sold it on as is but felt like cutting, painting & decalling it up first instead. Paint is my "Baby Bluer" PC mix airbrushed on, so that's another 4ml of White gone plus some blue & a tiny bit of black. All are irreplaceable, but If I'm not going to use them, what's the point in having them? 

Not sure what I'll do when I have no useful colours left in either the PC or the Proline (technically the latter is still available, just not in any useful shades IMO), Tamiya PS is excellent but it stank & you can't mix your own :( 


"New" spraybooth is still going ok, but lost the wall wart transformer & had to hook it up to my desk PSU. Nowhere on the case is the voltage required mentioned, I've been using 9v DC as below that the LED lighting isn't stable, and about that the fan goes from merely far too noisy to unbearable. 

I did mean to write a full review of it but can sum it up - LED lighting works well but is a pain to refit every time to waht is meant to be a fold up cabinet, and going to an external transformer but reducing was was the mains plug storage cubby to a size where the separate transformer won't fit is just bone headead 3/6 :(

Attachments:
The following user(s) Liked this: stingray-63

Please Log in to join the conversation.

My M chassis builds 5 months 1 week ago #82144

I love the mini and saw only one time a 1275 gt. And it was a woody break version. Yours looks very nice.

Please Log in to join the conversation.

My M chassis builds 4 months 3 weeks ago #82204

NSU body complete:


I think I want a proper fold up photo tent now :)
Attachments:
The following user(s) Liked this: stingray-63, Scanox

Please Log in to join the conversation.

My M chassis builds 4 months 3 weeks ago #82205

Mini 1275GT also complete - looks grey and dusty in the photos but is black & very shiny IRL :)


Attachments:
The following user(s) Liked this: caprinut, stingray-63, Scanox

Please Log in to join the conversation.

My M chassis builds 4 months 3 weeks ago #82208

I love this mini gt. And the blue on the nsu is very nice.

Please Log in to join the conversation.

Last edit: by stingray-63.

My M chassis builds 4 months 3 weeks ago #82216

Hopefully there will be no paint issues this time!

Only time I`ve had issues was when I did use the orginal body plastic bag to mask up the body. Some greasy stuff must have gotten onto the body somehow.
And I never scuff the bodies either.
I just was with my hands. When the fingeres are making the same sound as running your wet fingeres on glass back and forth, the body is clean.
Proper pc paint should etch to the body.

Recently cleaned up a Axial body that was sprayed with polycarbonate paint, but I could scrape most of the remaining paint off with my nails. Don`t know why it did that for the former owner as it seems they did scuff the body.
Some areas of that body has some haze to it so my plan is to paint it, use flat clear coat of some areas or the whole body and fit stickers on the worst areas.
My mate have a son that likes to crash, so that will be his body when he want to use my SCX10. 
The following user(s) Liked this: stingray-63

Please Log in to join the conversation.

Moderators: caprinut, stingray-63, AndyAus
Time to create page: 0.146 seconds