
|
Hey Mr. Retro! Looks great!
Not sure why you were saying that your airbrush was not good for 1/10 camo, looks good to me From somewhere out in the wilds of central Ontario.
.......you build what you like, I will build what I like........it's all cool...... |
|
|
Please Log in to join the conversation. |

|
|
|
Please Log in to join the conversation. |

|
|
|
Please Log in to join the conversation. |
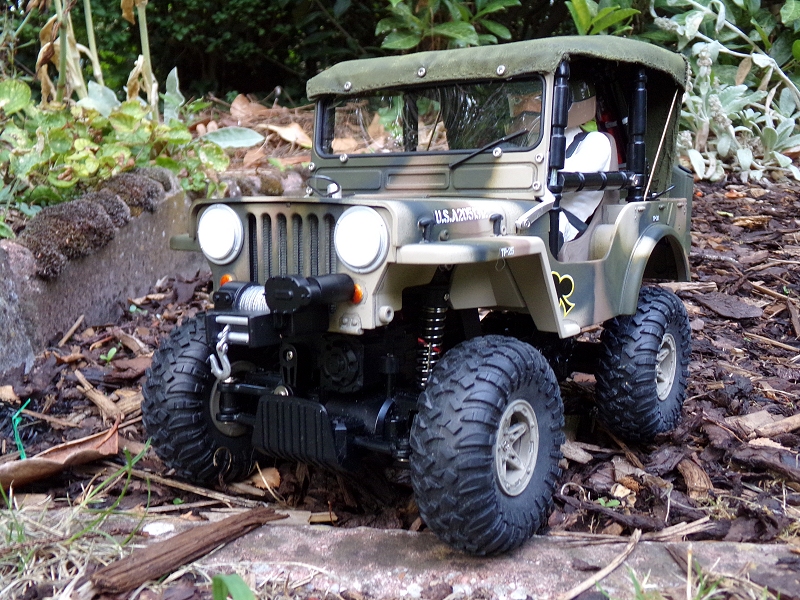
|
OLD THREAD ALERT
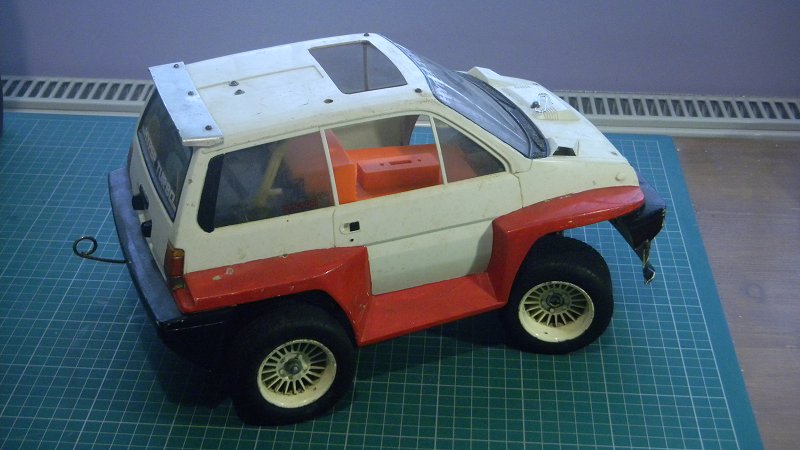
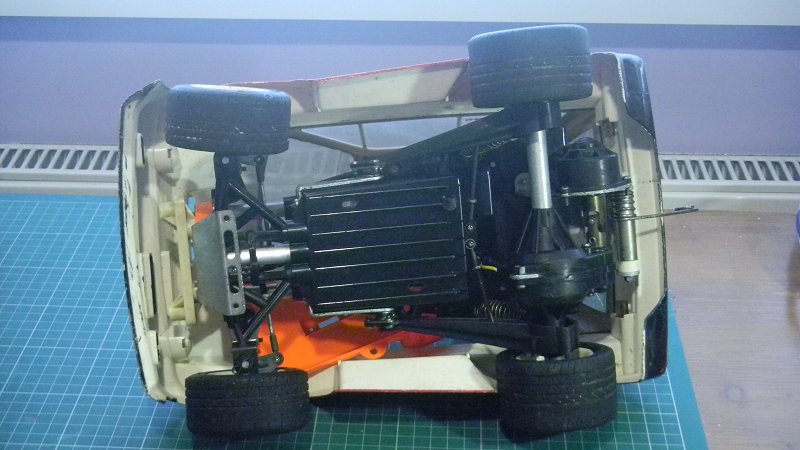
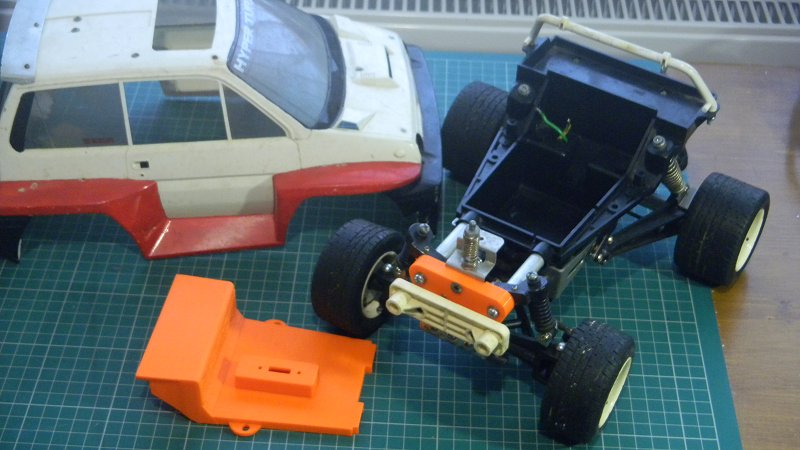
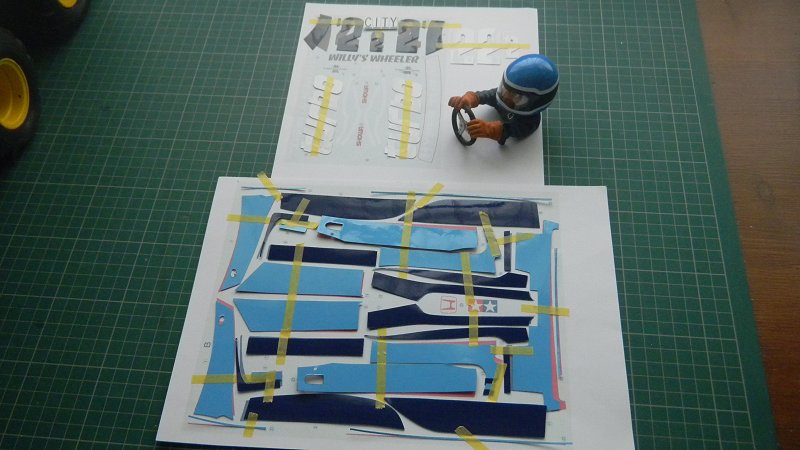
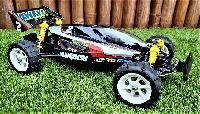
Wow, I didn't it's been a long time since had any Wild Willy/Willy's Wheeler projects on the go... no wonder I needed another one I spotted this vintage wheeler on eBay and made a last-few-seconds bid, I won't say it was a huge bargain but compared to the bonkers asking prices seen recently it wasn't a bad finishing price... I suspect people were put off by the odd stance, missing switch stay, MSC & resistor pack, tyre wear, multiple craks in the glass, wheel & body damage (lots more breaks than are visible, and missing areas) + the 3D printed front bulkhead & mech box cover. The body can be stripped, repaired & repainted, I've put new edges on wheels before, the tyres can be fitted the the other way round, the stance should be easily sorted, the £D printed parts can be sanded, filled & painted. The 'roo bar and splitter are missing, but both mounts are there, and I can live with the cracks in the glass once the rest is cleaned/polished. In short, it's got all the making of a decent rescue/shelfer, and will me another car closer to my "dream" of having a full perm of the 5 Suzuka demo race colour schemes. I already had a blue Wheeler driver on the shelf, and in anticipation of the car arriving, made a set of the #2 blue decals from self adhesive vinyl. The numerals aren't correct, but look more like the rest of the set, having the number 5 as a starting point. |
|
Please Log in to join the conversation. |
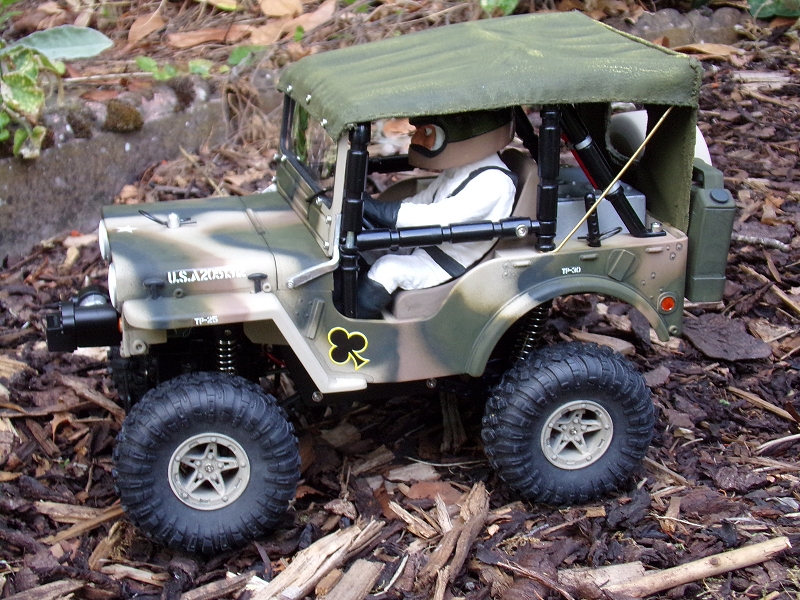
|
I love this tiny chassis.
|
|
Please Log in to join the conversation. |
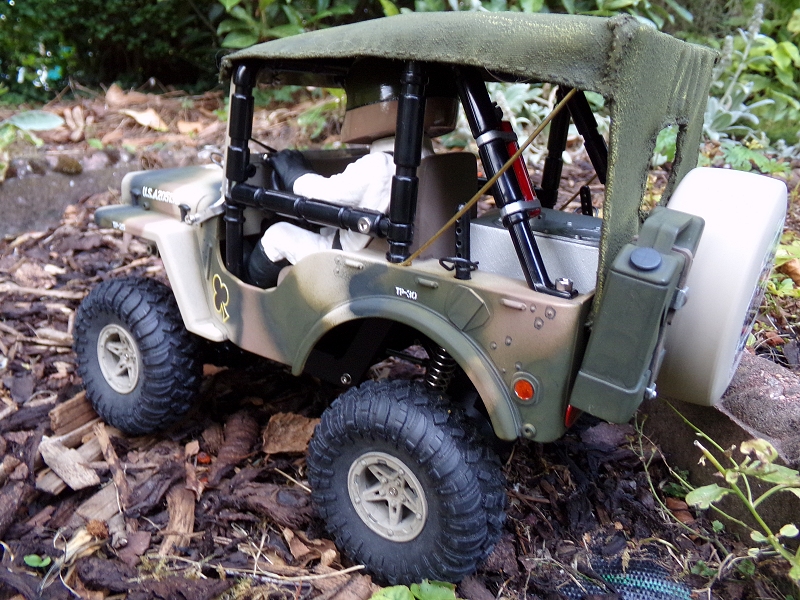
|
Yes JR
If you can't fix it with a hammer, you've got an electrical problem mate
|
|
|
Please Log in to join the conversation. |
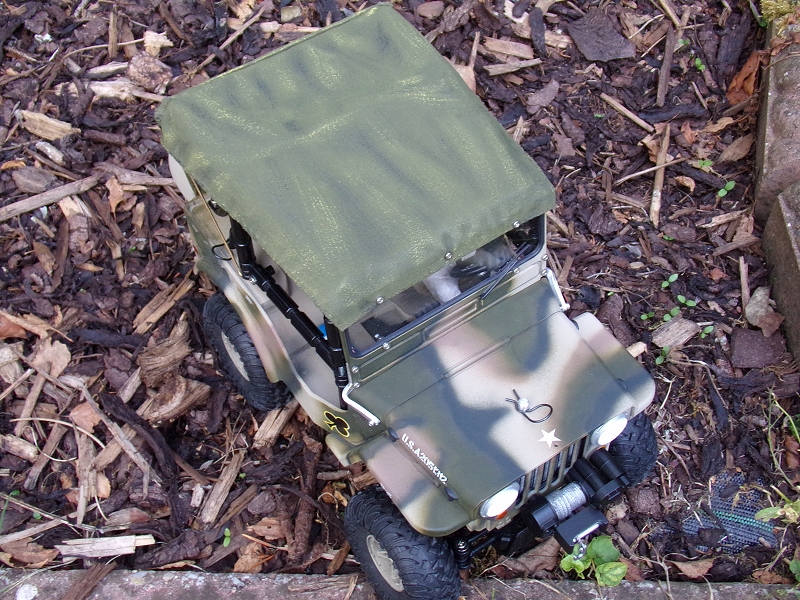
|
There's no chance that anyone will be able to pass them off as the correct parts, so I'm going to sand/fill & paint them ETA - I don't have a mechbox lid, & I'd be frit to look at the price a bulkhead is going for, even if they're available |
|
Please Log in to join the conversation.
Last edit: by Jonny Retro.
|
|
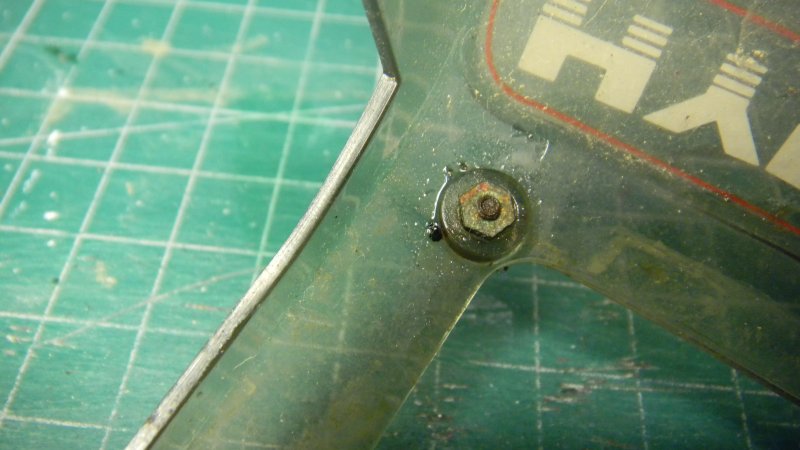
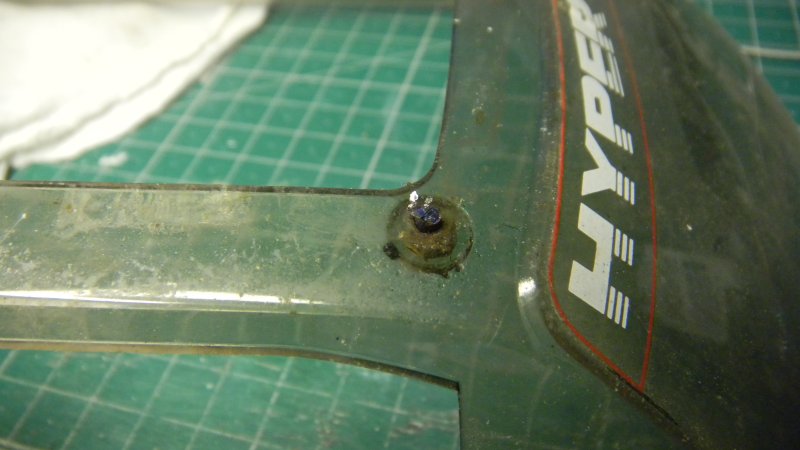
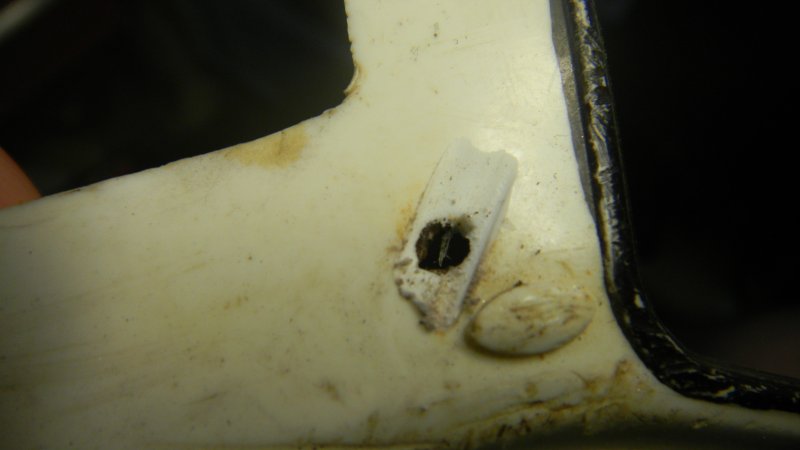
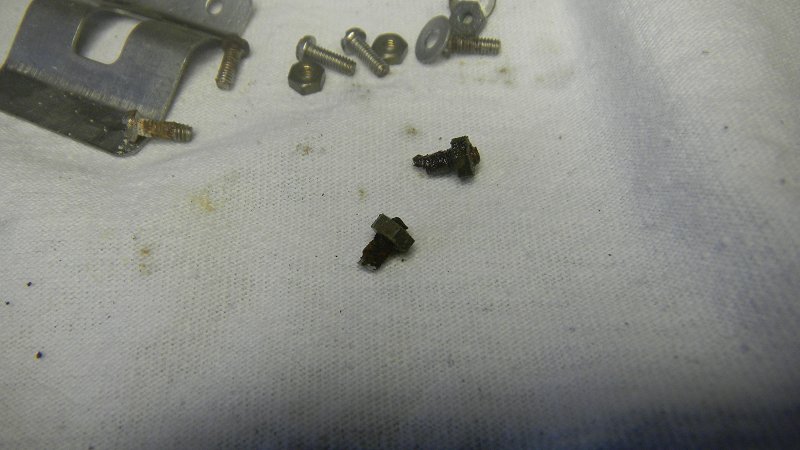
Started dismantling ... I don't know how the two screws & nuts holding the front of the "glass" in got so corroded when the other ones came out with no issues - but even after soaking in penetratiing oil they weren't going to come out.
I don'y like adding damage to a body, but at least it's a fairly easy filling job.
The following user(s) Liked this: stingray-63
|
|
Please Log in to join the conversation. |

|
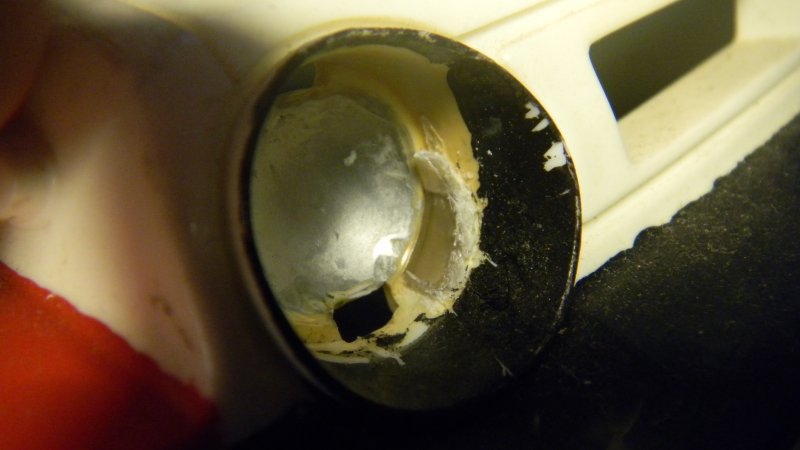
Lights have been glued in
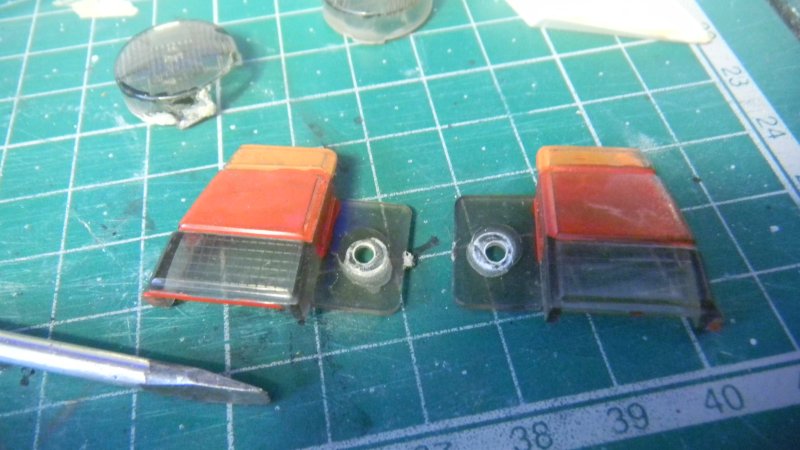
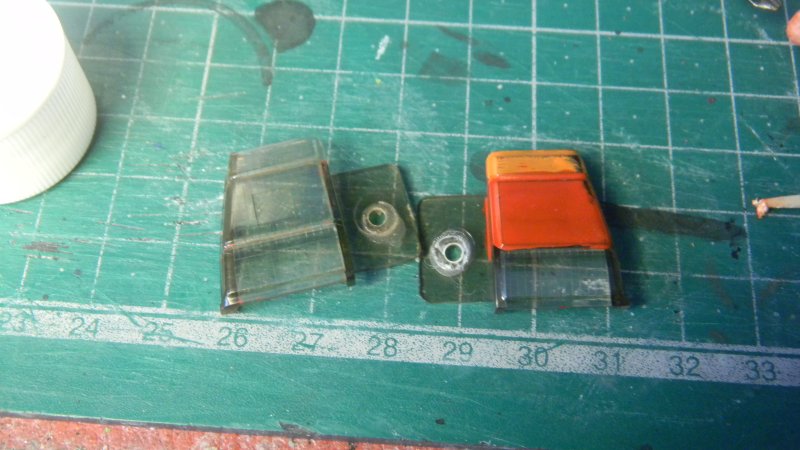
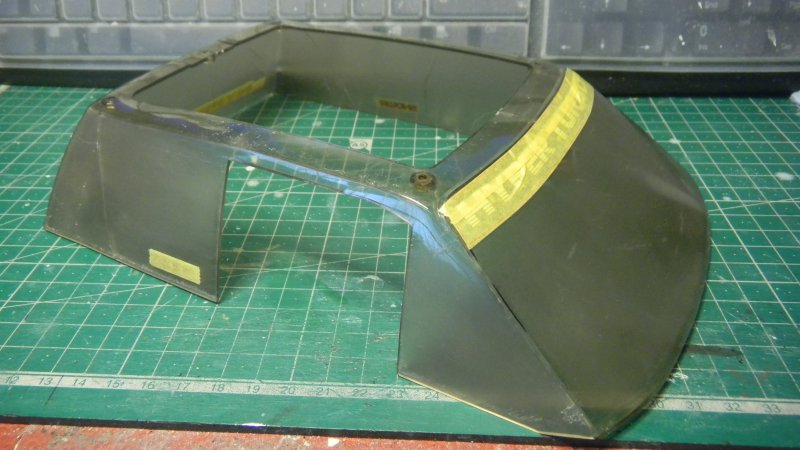
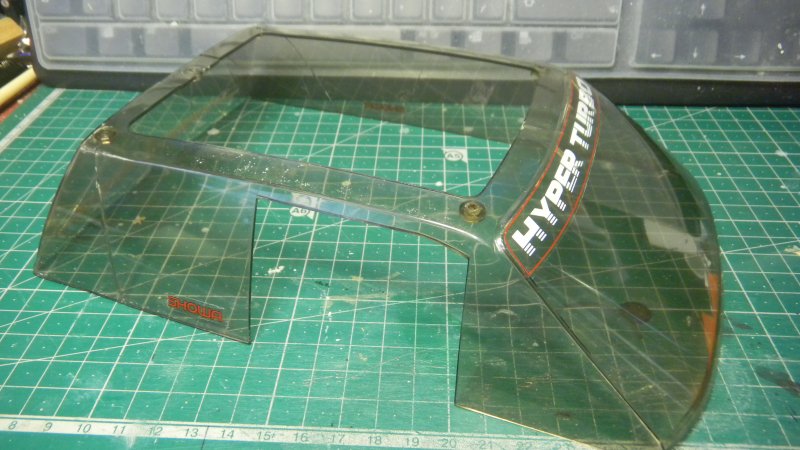
Tail lights had been indifferently painted on the outside, but a bit of patient rubbing with cotton buds & X-20A thinner (plus a bit of scraping) fetched in off. After a little bit of polishing they'll be fine. "Glass" sanded with 400, 1200 & 2500 grit wet & dry paper: Finished with Novus Heavy & Fine Scratch Removers: |
|
Please Log in to join the conversation. |