Keyword

TOPIC:

Blakbird's FF-03 Full Family Build 1 year 8 months ago #80097

  • blakbird
  • blakbird's Avatar Topic Author
  • Offline
  • Impressive Numbers
  • Impressive Numbers
  • Posts: 1426
  • Likes received: 1282
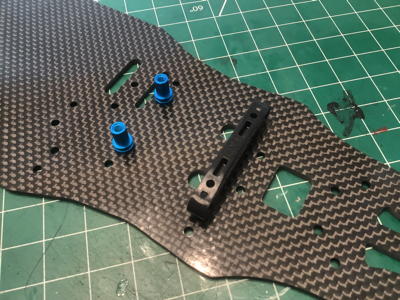
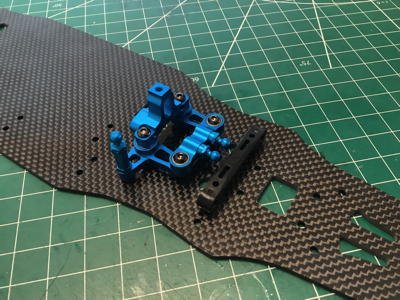
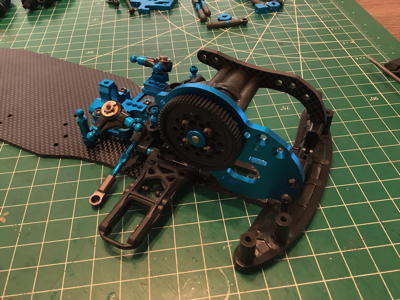
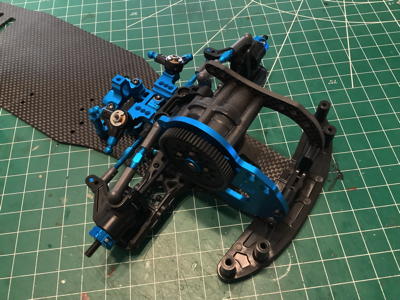
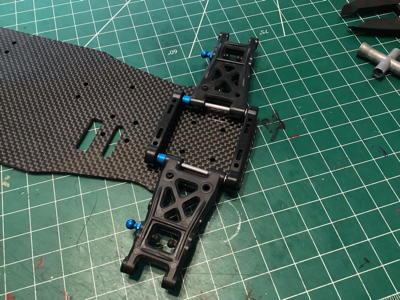
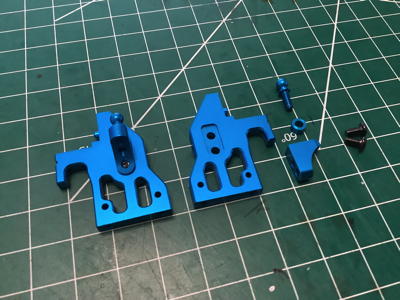
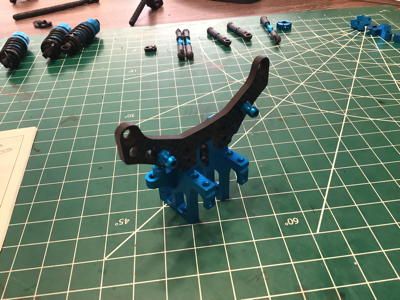
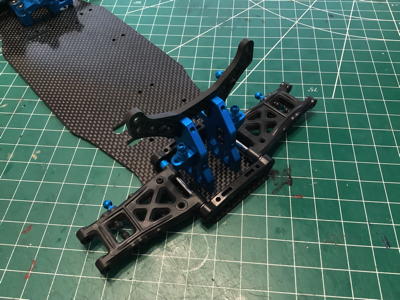
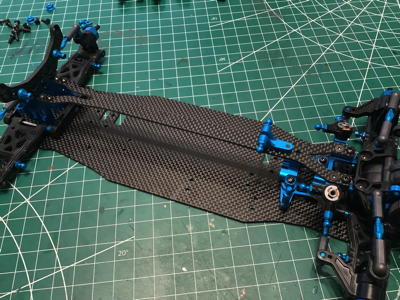
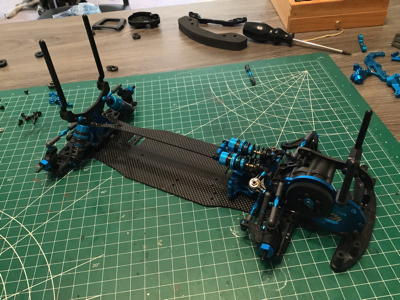
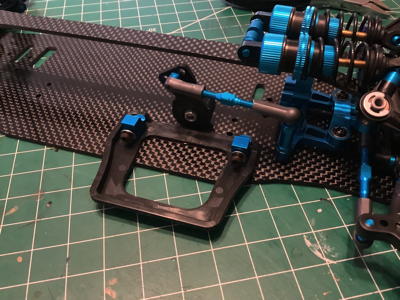
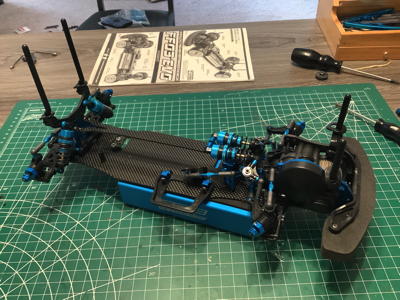
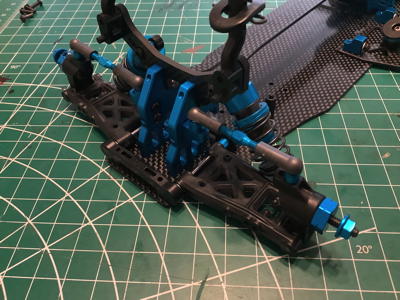
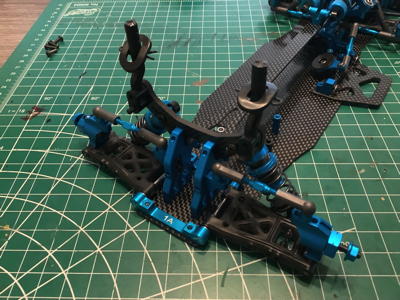
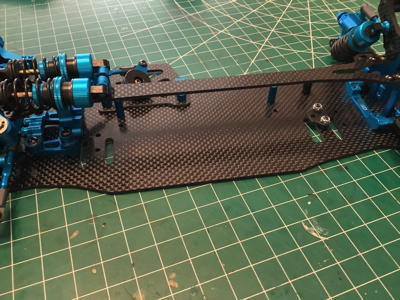
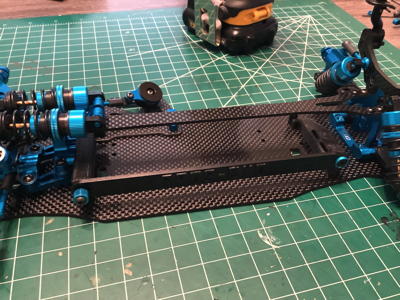
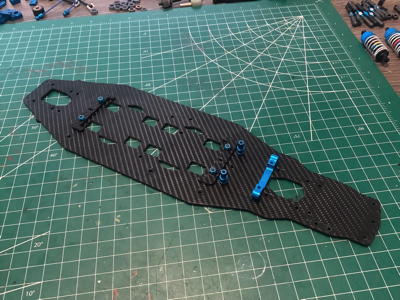
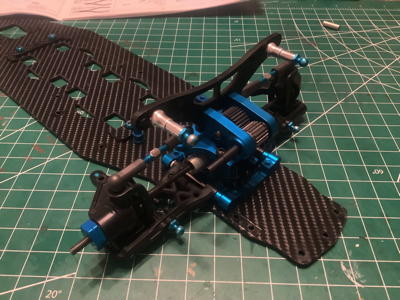
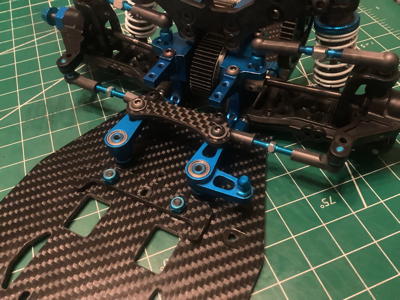
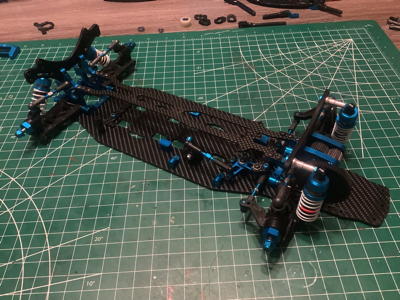
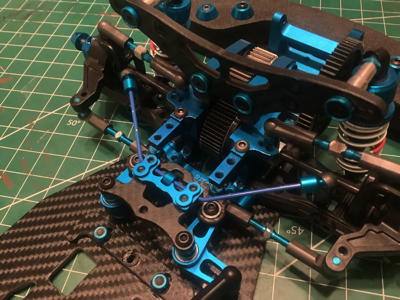
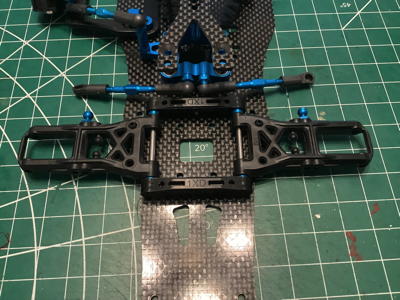
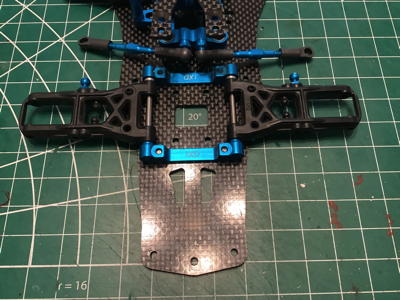
Now we can finally start on the chassis backbone.  The primary base plate is 2.5mm thick carbon fiber sheet.  All of the holes on the bottom surface are countersunk for a completely smooth underside with no protrusions.  First I've attached the aluminum steering posts and the plastic lower suspension mount as shown on the left.  On the right I've added the steering crank assembly which comes very close to the suspension mount.
   

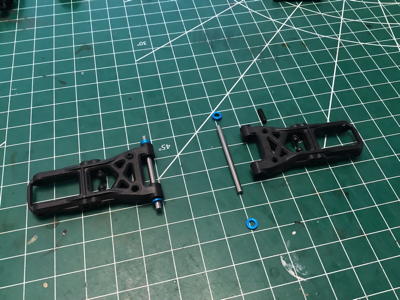
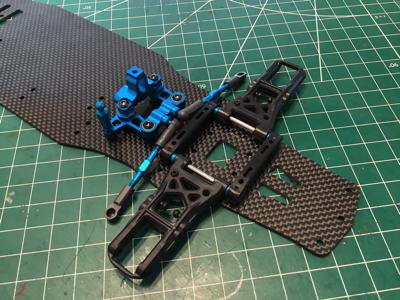
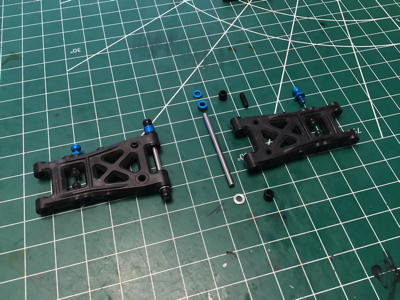
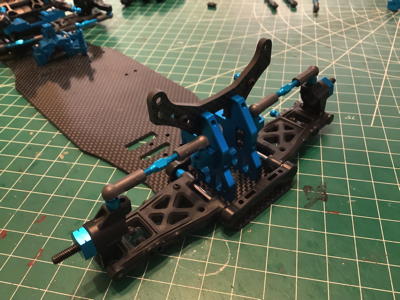
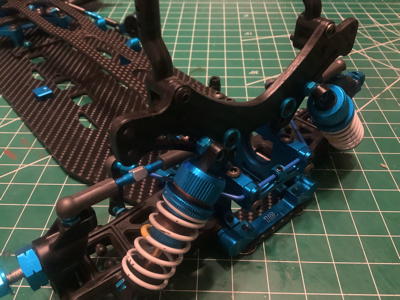
The lower reversible suspension arms can be flipped to make tiny changes to the locations of the shock mounting holes so care must be taken to be sure they are installed symmetrically.  The spacers on either side of the arm pivots can be changed to make small adjustments to the wheelbase.  Both suspension mounts are the same width (1XD) so there is no toe angle built into the front arms.  The steering links use aluminum turnbuckles and have also been installed.
   

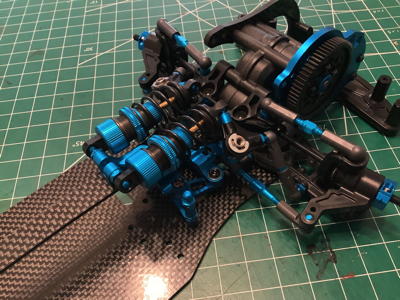
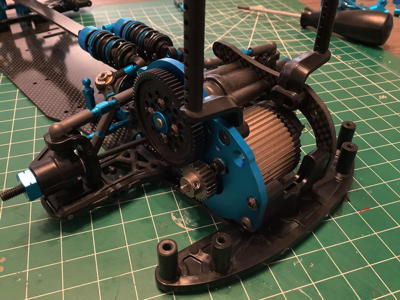
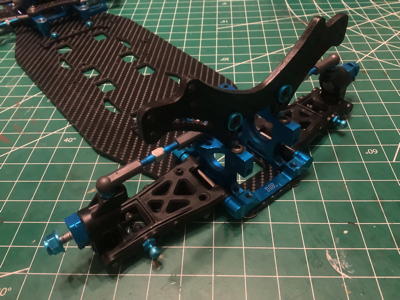
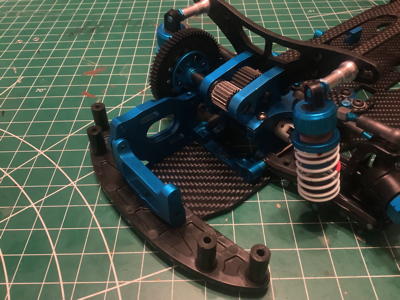
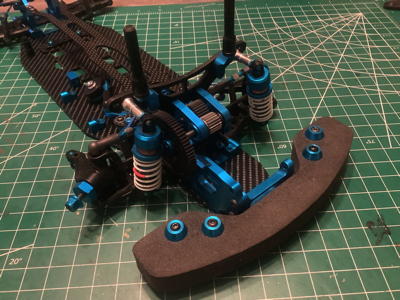
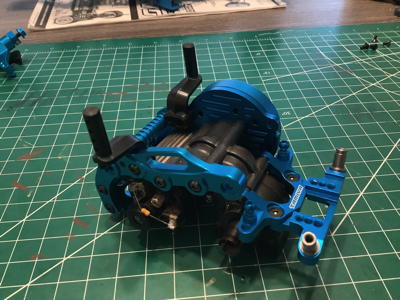
Now the gearbox has been installed on top of the lower suspension arms along with the plastic bumper support.
Attachments:

Please Log in to join the conversation.

Blakbird's FF-03 Full Family Build 1 year 8 months ago #80098

  • blakbird
  • blakbird's Avatar Topic Author
  • Offline
  • Impressive Numbers
  • Impressive Numbers
  • Posts: 1426
  • Likes received: 1282
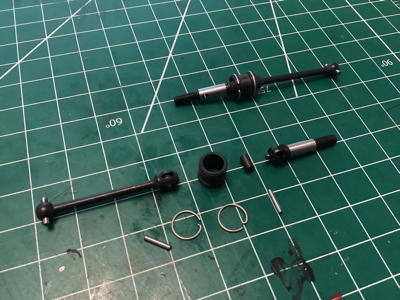
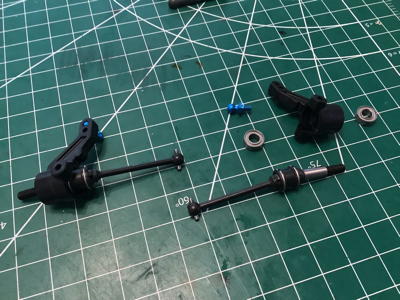
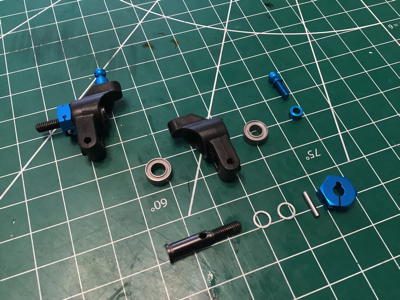
The EVO uses beautiful double cardan axles which have to be assembled from seven separate parts as shown.  These allow a much larger steering lock with less chatter than a regular CVD.  They are shown installed into the steering knuckles on the right.
   

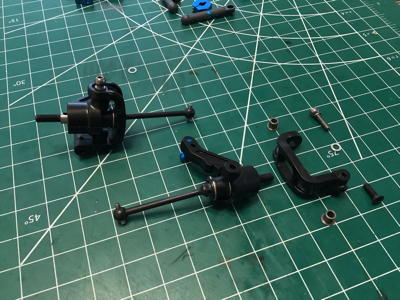
Each steering knuckle can now be installed into a C-hub using a pair of flanged bushings to avoid clamping the joint.  The completed front suspension is shown on the right.  The upper suspension links use the same type of aluminum turnbuckles as the steering links.  Camber is altered by adjusting the suspension links and toe is altered by adjusting the steering links.  Note that the upper and lower suspension arms have different lengths which results in the camber increasing as a result of suspension compression.
   

The rear suspension goes together pretty much like the front using reversible arms, pivot pins with ball ends, and spacers.  In this case the combination of a 1XD and 1A suspension mount results in a rear toe angle of 2.5º.
   

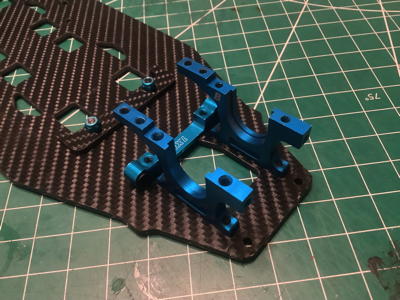
There is no rear gearbox or differential, so in this case the only purpose of the rear bulkhead is to support the massive 3mm thick carbon shock tower and upper suspension links. Even so we get these lovely machined parts.  Note how only the lowest holes in the shock tower are used by default.
  
Attachments:
The following user(s) Liked this: stingray-63

Please Log in to join the conversation.

Blakbird's FF-03 Full Family Build 1 year 8 months ago #80099

  • blakbird
  • blakbird's Avatar Topic Author
  • Offline
  • Impressive Numbers
  • Impressive Numbers
  • Posts: 1426
  • Likes received: 1282
Here the rear bulkhead has been attached to the chassis plate.  This looks very, very different from the plastic rear suspension assembly of the standard FF-03.  The rear shocks of the EVO will now be installed on the front side of the suspension arms instead of the rear side like the standard chassis.
The rear stub axles can now be installed into the uprights.  The shims shown limit the lateral play in the axles and keep everything tight.  On the right you can see the completed rear suspension using aluminum turnbuckle upper links.  Also note the clamping aluminum hexes.
   

If the entire stiffness of the chassis were based on a 2.5mm carbon base plate with nothing between the front and rear bulkheads, it would be very flexible indeed.  To counter this, a 2mm thick upper chassis plate is added to span the tops of the bulkheads.  This completely alters the overall stiffness.  This upper plate also serves as the support for the central aluminum shock mount shown.
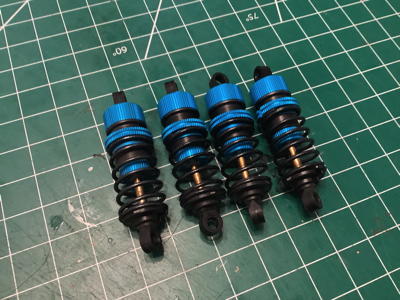
Here are the beautiful TRF shocks that I've come to know and love.  They are always a pleasure to build and operate as smooth as silk.  These springs appear as black in photos from the Tamiya Japan web site but white in the North American site.  They are otherwise identical to the shocks that come with the FF-03 PRO and R.
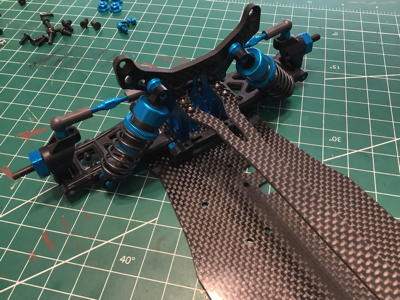
Installing the shocks in the front and rear completes the assembly of the suspension.  The rear shocks are mounted in a traditional "vertical" manner, but are still angled quite significantly by default.  Other holes are available in the shock tower to make them slightly more vertical.  The front shocks are mounted in a longitudinal orientation which differs from the lateral orientation of the standard chassis.  I'm not sure what the advantage of this configuration is.
   

The body posts are very tall!  I can't imagine any touring car body that would require such a length, but it is nice to have the option.
Attachments:

Please Log in to join the conversation.
Blakbird's FF-03 Full Family Build 1 year 8 months ago #80100

  • blakbird
  • blakbird's Avatar Topic Author
  • Offline
  • Impressive Numbers
  • Impressive Numbers
  • Posts: 1426
  • Likes received: 1282
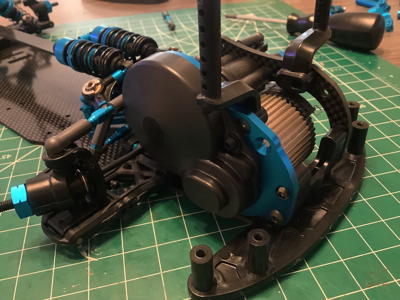
Here I've installed a temporary motor (I'll replace it with a 17T Reedy brushed motor later) and a 26T 0.6 mod steel pinion gear. A plastic cover is the installed over the pinion and spur to keep out dust and rocks.
   

The final details are the servo tray and high torque (but not aluminum) servo saver.  I'll install the rest of the electronics after I install a bunch of upgrade parts.
   
Attachments:

Please Log in to join the conversation.
Blakbird's FF-03 Full Family Build 1 year 8 months ago #80101

  • blakbird
  • blakbird's Avatar Topic Author
  • Offline
  • Impressive Numbers
  • Impressive Numbers
  • Posts: 1426
  • Likes received: 1282
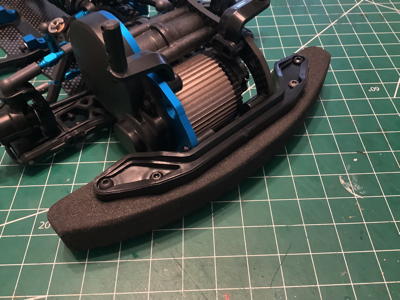
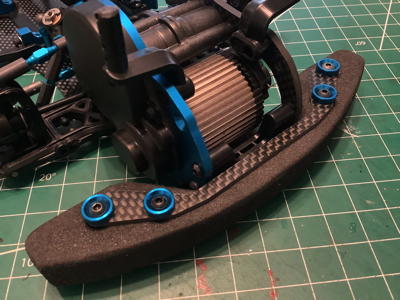
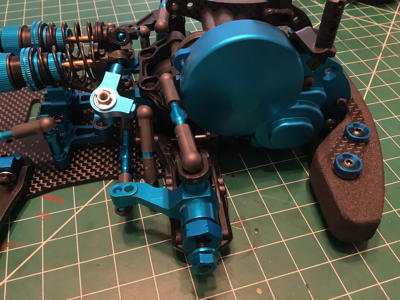
My copy of the EVO came with plenty of upgrades which I installed only after building it in the stock manner.  I started with the carbon bumper support shown below.  This is not a Tamiya part and I have been unable to figure out who actually made it.  It looks good, whatever it is.
   

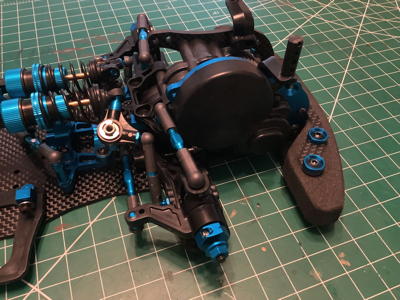
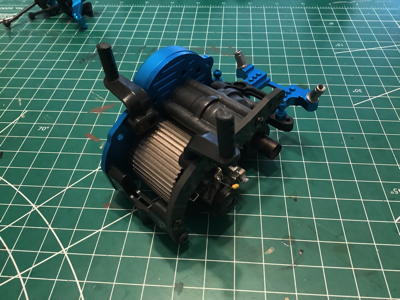
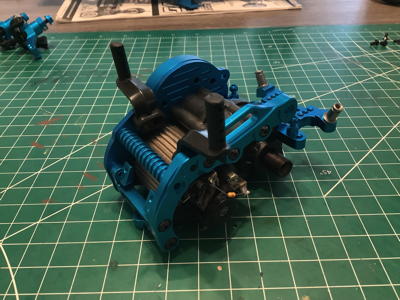
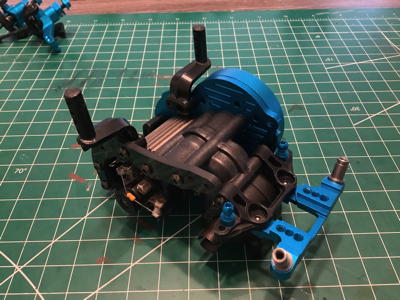
More mystery parts.  The suspension rocker arms are now aluminum but they are slightly different than the official Tamiya parts.  I can't find a match anywhere.  I can't find that aluminum gear cover either.  The aluminum steering knuckles seem to be from Yeah Racing.
   

Here I've replaced the already very nice carbon motor stay with a machined aluminum version from 3Racing that includes a heat sink bar.  I've also added the Tamiya aluminum bumper mount which has a spot for mounting a cooling fan.
   

The aluminum front upper arm mount was easy to identify because it has the Tamiya logo emblazoned on it.
   
Attachments:

Please Log in to join the conversation.
Blakbird's FF-03 Full Family Build 1 year 8 months ago #80102

  • blakbird
  • blakbird's Avatar Topic Author
  • Offline
  • Impressive Numbers
  • Impressive Numbers
  • Posts: 1426
  • Likes received: 1282
I replaced the 1XD front suspension mounts with aluminum versions.  These actually came with the FF-03R but not with the EVO for some reason.
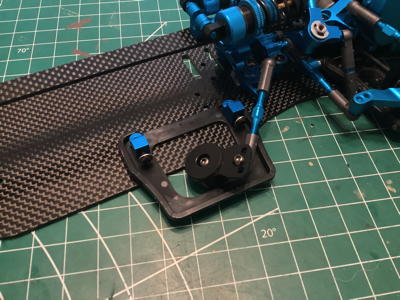
   

Here's a lovely (but useless) carbon servo tray and aluminum servo horn.
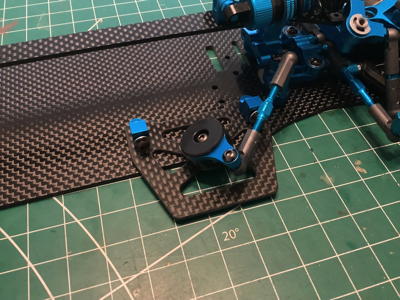
       

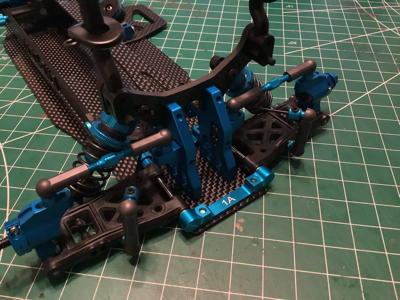
I also replaced the suspension mounts on the rear with aluminum.  These consist of a 1XD and a 1A.  The aluminum uprights are not official Tamiya parts but are very similar.
   

I really dislike the glass tape method of installing batteries, but a lot of high end Tamiya touring car chassis use it.  In this case the previous owner made (or purchased) a 3D printed battery tray which I love.  It makes battery installation so much easier and should have been part of the kit.
   
Attachments:

Please Log in to join the conversation.

Blakbird's FF-03 Full Family Build 1 year 8 months ago #80103

  • blakbird
  • blakbird's Avatar Topic Author
  • Offline
  • Impressive Numbers
  • Impressive Numbers
  • Posts: 1426
  • Likes received: 1282
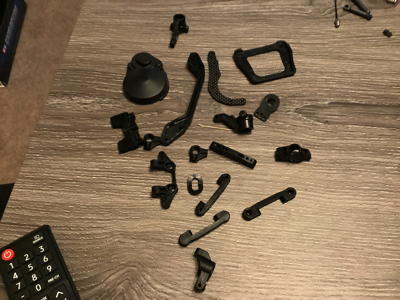
The anti sway bar I added here is not Tamiya because it is plain black whereas the Tamiya parts were bright colors.  It still works though and I actually prefer the black.  On the right you can see all the plastic parts I replaced.
   

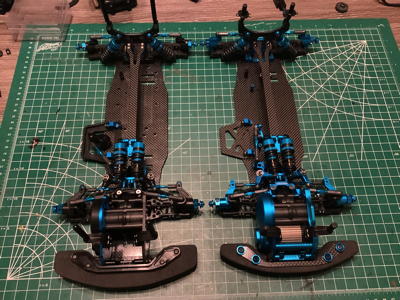
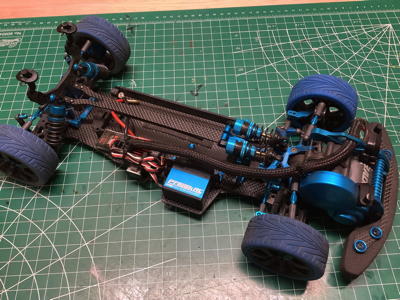
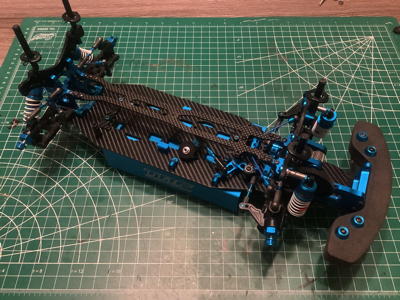
This photo compares a stock FF-03 EVO with my upgraded version.  I added a lot more blue bling, but nothing I changed will have any performance difference.  I took a lot of time with the electronics trying to make everything neat and tidy.
   

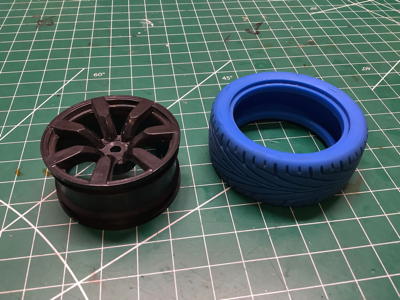
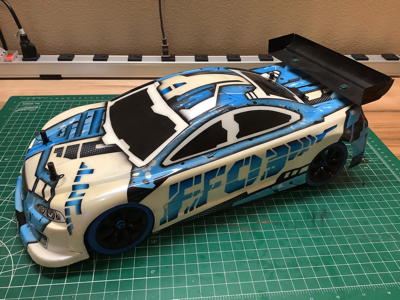
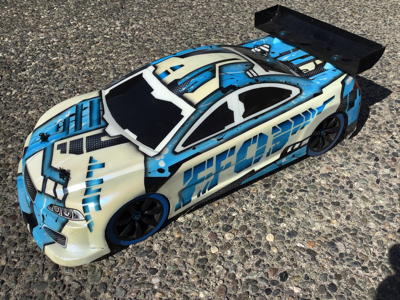
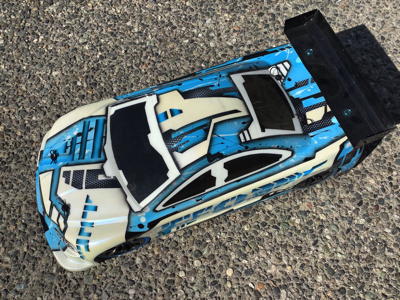
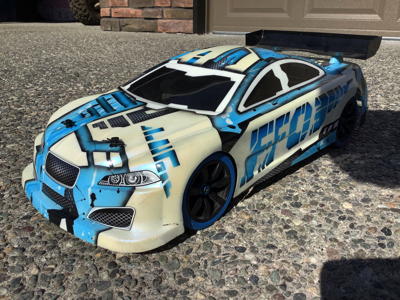
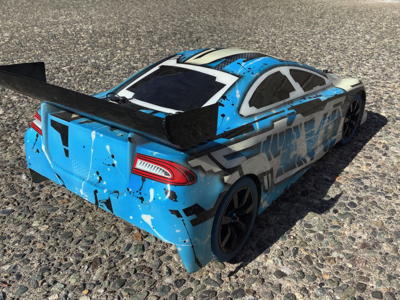
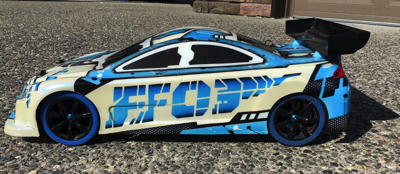
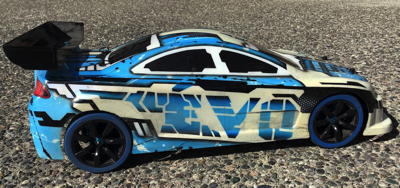
The model I bought came with a set of cheap wheels and tires that it took me quite a while to identify.  They are good enough for my purposes and look nice.  The box of FF-03 stuff I bought also had 3 nicely painted race bodies.  Two were Tamiya VW Scirocco bodies that I found very tempting, but since this last body had the FF-03 logo on it (it says "EVO" on the other side), I had to use it.  It matches the blue tires nicely.  Someone spent a lot of time painting this in pearl white with many shaded areas and carbon fiber graphics.
   
Attachments:

Please Log in to join the conversation.

Blakbird's FF-03 Full Family Build 1 year 8 months ago #80104

  • blakbird
  • blakbird's Avatar Topic Author
  • Offline
  • Impressive Numbers
  • Impressive Numbers
  • Posts: 1426
  • Likes received: 1282
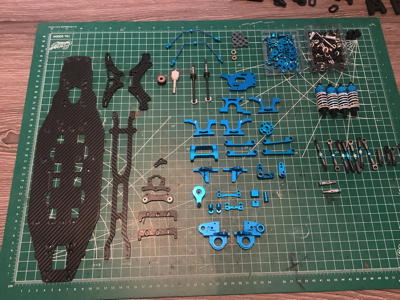
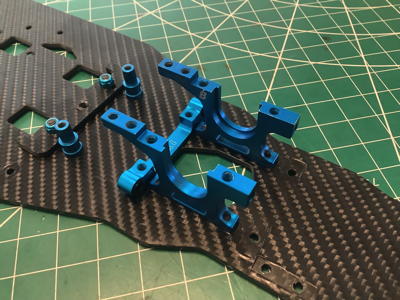
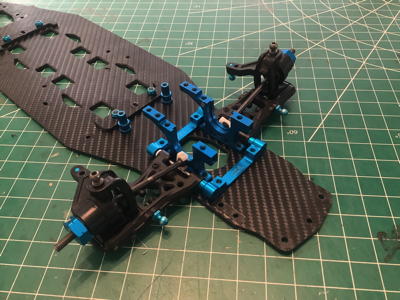
The Huge RC FF11 comes with a LOT of custom parts including all the carbon and aluminum bits you see here.  The only parts reused from the stock kit are the suspension, shocks, and portions of the gearing.  The build starts with the chassis plate to which a pair of carbon brackets are installed to centrally locate the battery.  Then the steering posts and front suspension mount are added.  The suspension mount is a Tamiya part.
   

Next come the custom aluminum lower front bulkheads as shown on the left.  These appear very similar to Tamiya parts but I can't find them specifically so I'll assume they are custom.  On the right I've added the stock Tamiya front suspension.  The axles I'm using are CVD type.  I've also installed the steering posts here.
   

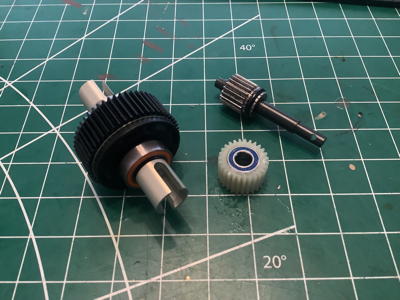
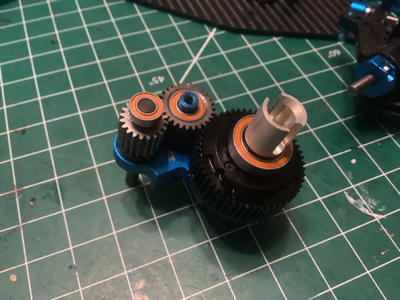
I'm using a sealed gear differential from an EVO.  A stock ball differential would be too narrow and would require some spacers.  The drive cups are Tamiya's aluminum upgrades.  Note the shielded ball bearings.  The spur gear shaft is a different length than stock and came with the Huge RC kit.  The gears are installed into unique upper front bulkhead halves.
   

The transmission uses all the same gears as the stock model, but they are arrayed in a different gearbox that is open and exposed.  The carbon shock tower is installed next.  Note that the front shocks have reverted to a traditional vertical installation rather than inboard front suspension.  I'm not a fan of the large cantilever of the upper shock mounts, but it seems to work.  While similar to Tamiya parts, the aluminum steering cranks and carbon bridge are unique to this model. 
   
Attachments:

Please Log in to join the conversation.

Blakbird's FF-03 Full Family Build 1 year 8 months ago #80105

  • blakbird
  • blakbird's Avatar Topic Author
  • Offline
  • Impressive Numbers
  • Impressive Numbers
  • Posts: 1426
  • Likes received: 1282
Although there is no rear gearbox, the FF11 kit uses lower rear bulkheads which are identical to the parts used in the front.  This makes for a very empty looking assembly as shown on the right.  The upper bulkheads support the rear shock tower which has a dizzying array of shock mounting location options.


The upper carbon chassis stiffener comes next which makes everything nice and sturdy.  The steering servo mounts and horn are from the standard model.  Those rectangular aluminum blocks you see behind the servo mounts are for hooking rubber bands to secure the battery.  I like this clean and easy system.  Provisions for glass tape are also present.
 

Time to install the custom machined aluminum motor mount and bumper support.  The bumper and it's bracket are from the standard model.  I've also installed the stock spur gear here, but you can see how far it sticks out from the gearbox to line up with the motor mount.  Unlike the stock model, the FF11 has no bracket on the opposite side of the chassis from the motor mount.
   

Installing the optional front and rear sway bars is a bit fiddly, but the kit does come with the parts to do it.  The previous owner had not installed these parts so I had to figure out how to make them work myself.  The bracket for the front bar sits underneath the upper chassis brace so I had to first remove that to access the area.
   

After installing the body posts, that's it!  Here is the completed Huge RC FF11.  It differs quite substantially from any of the standard versions of the FF-03 but is just as pretty.
Attachments:

Please Log in to join the conversation.

Blakbird's FF-03 Full Family Build 1 year 8 months ago #80106

  • blakbird
  • blakbird's Avatar Topic Author
  • Offline
  • Impressive Numbers
  • Impressive Numbers
  • Posts: 1426
  • Likes received: 1282
Even though this isn't a scale accurate Tamiya body like I would have naturally chosen for this model, it still looks pretty good.  I have to admit that I'm not very fond of any of the Tamiya bodies made for the 1/10 front wheel drive chassis, so the fact that I was able to acquire this professionally painted body with the model is just fine with me.  And it is perfect for an FF-03 EVO.


Attachments:

Please Log in to join the conversation.

Moderators: caprinut, stingray-63, AndyAus
Time to create page: 0.256 seconds