|
|
|
|
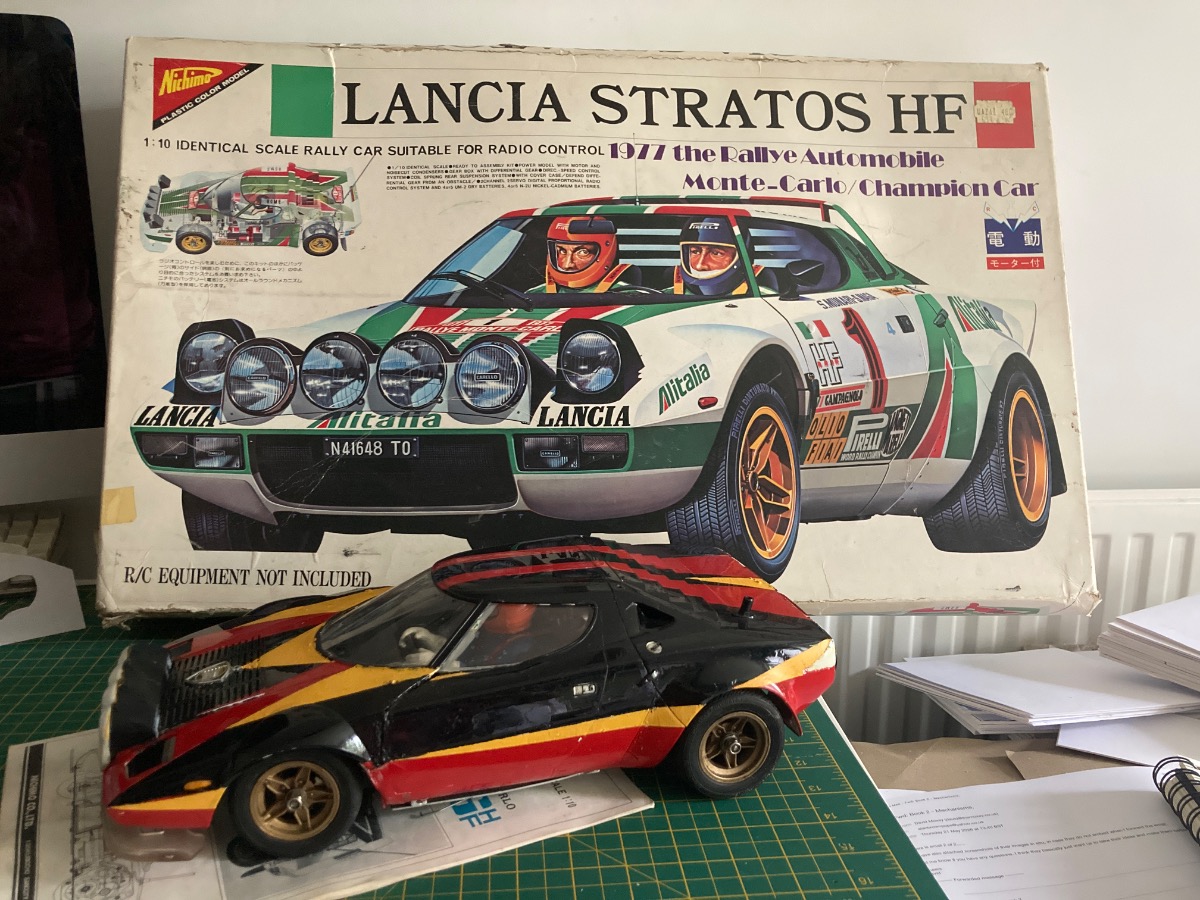
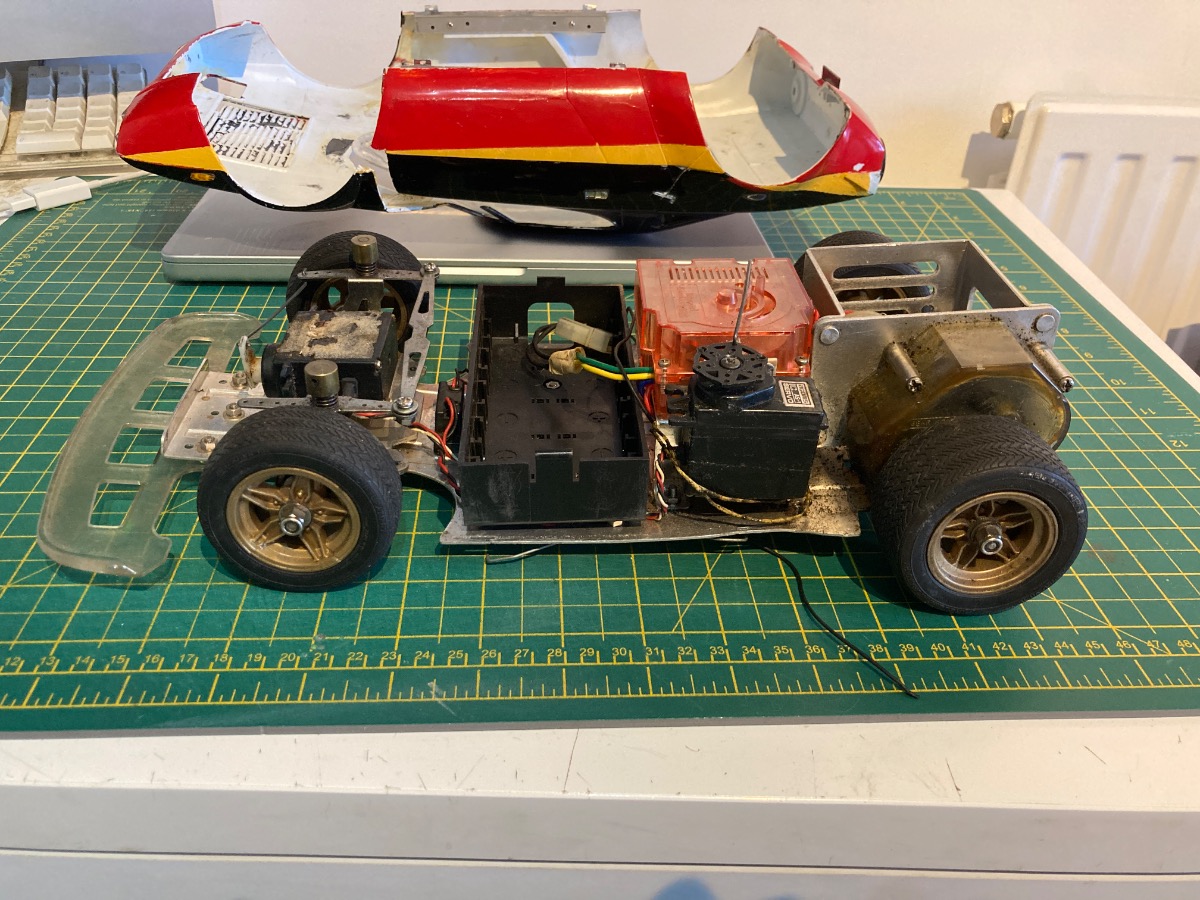
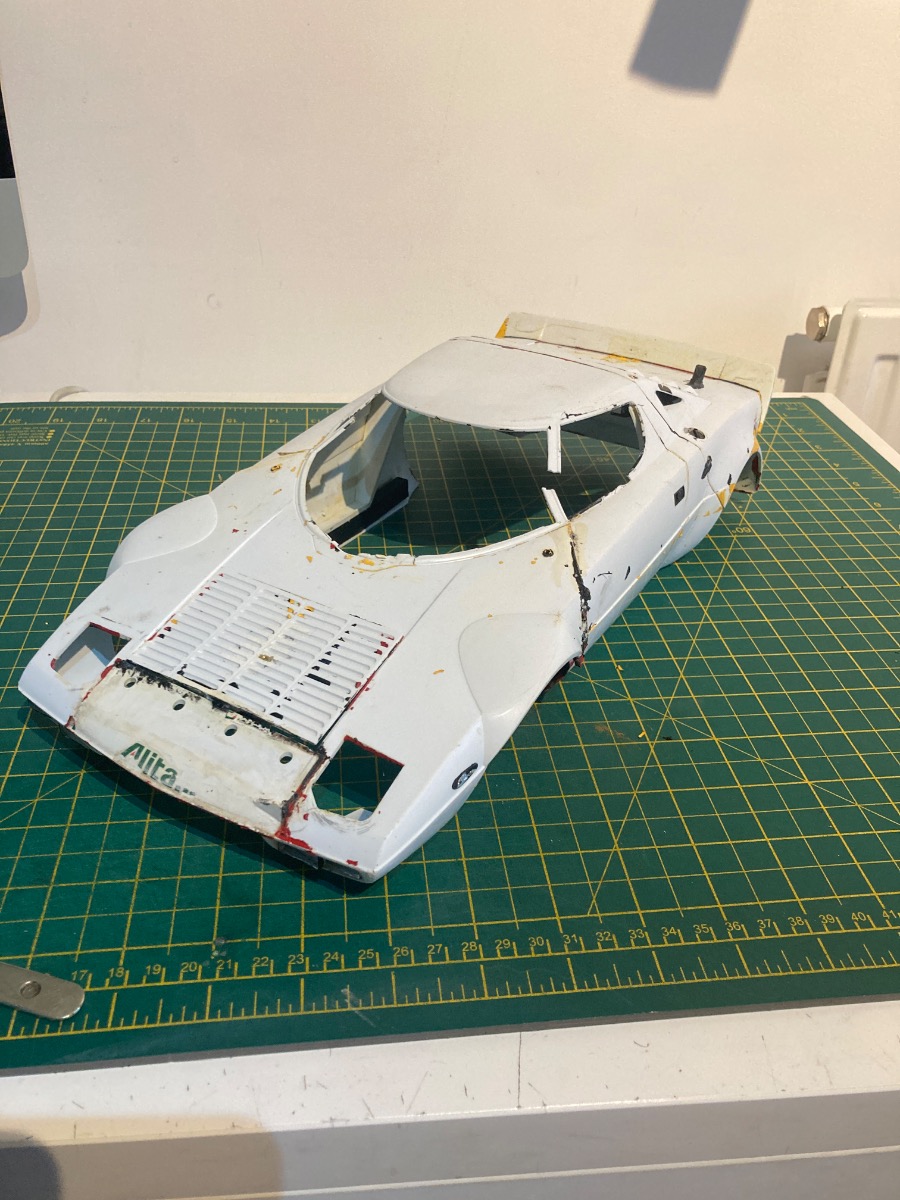
Here is the Nichimo Lancia Stratos, 1-10 scale RC car, I think from 1978. Model number 1001. There isn’t a lot of information out there for Nichimo, they started off making plastic model kits in the late 1950’s and from what I gather followed a similar path to Tamiya by expanding from model kits to include RC cars as well. I’ve been after this particular model for years, they really don’t seem to come up for sale very often. So the one I bought came in the original box and contained the instructions in both English and a Japanese copy. It also came with a mk2 Acoms radio set, a couple of slow chargers, a fast charger in its box, a couple of batteries one a Tamiya 6V in box and in great condition. There were also some of the sprues with bits that weren’t used. So I’m guessing this may have been sold as a different kit at some point. The idea is to restore this back to box art if possible. Attachments: |
|
|
Please Log in to join the conversation. |
|
Tear it down Brother!!!!
Love the tires! I had a 70's Trans am from Sears I got for Christmas one year and I can recall the smell, feel and detail of the tires to this day, they were way better than the car they were put on. It was a RTR 1/20 scale style with headlights and a 2 speed rear end and took (what felt like) a dozen "C" batteries and a 9V in the car and transmitter. Your tires look very close to those... Made for an ankle breaker! |
|
Please Log in to join the conversation. |
|
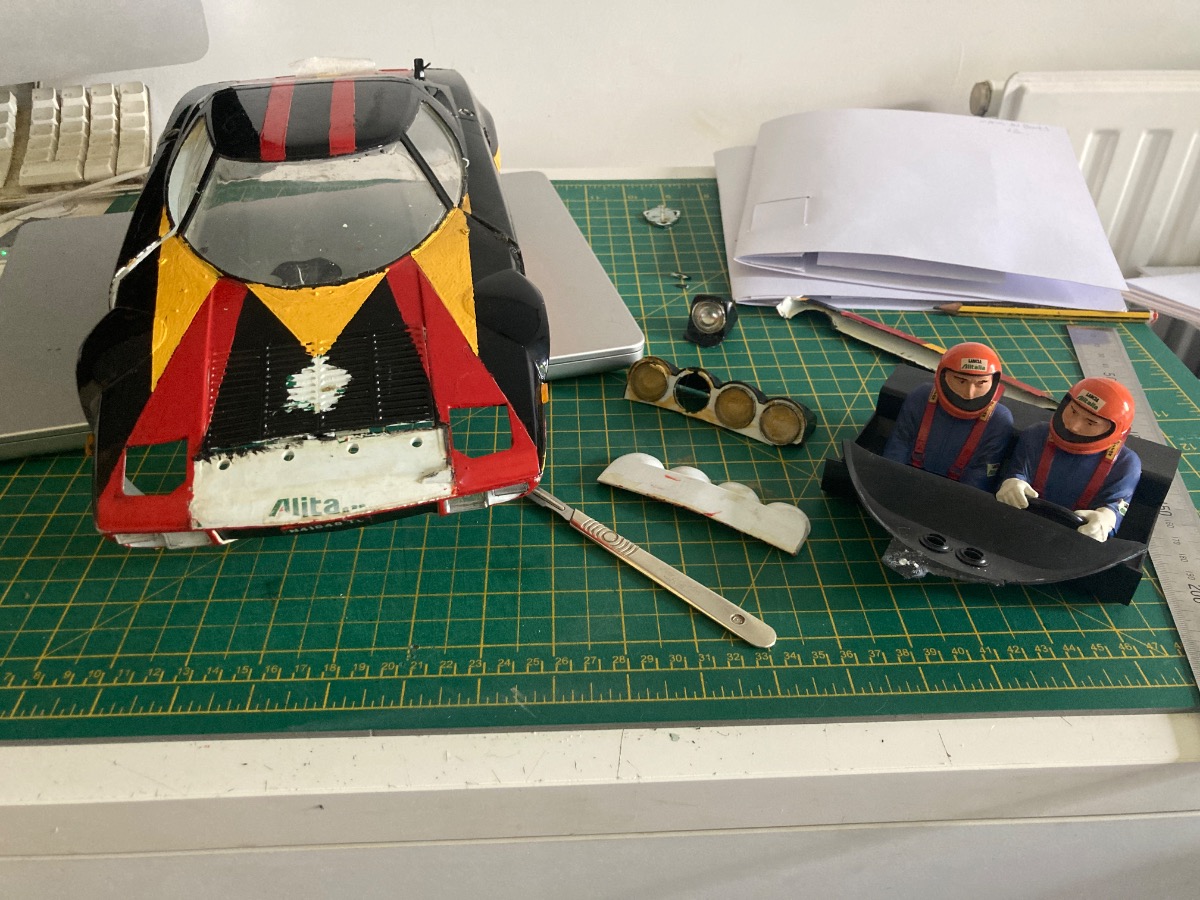
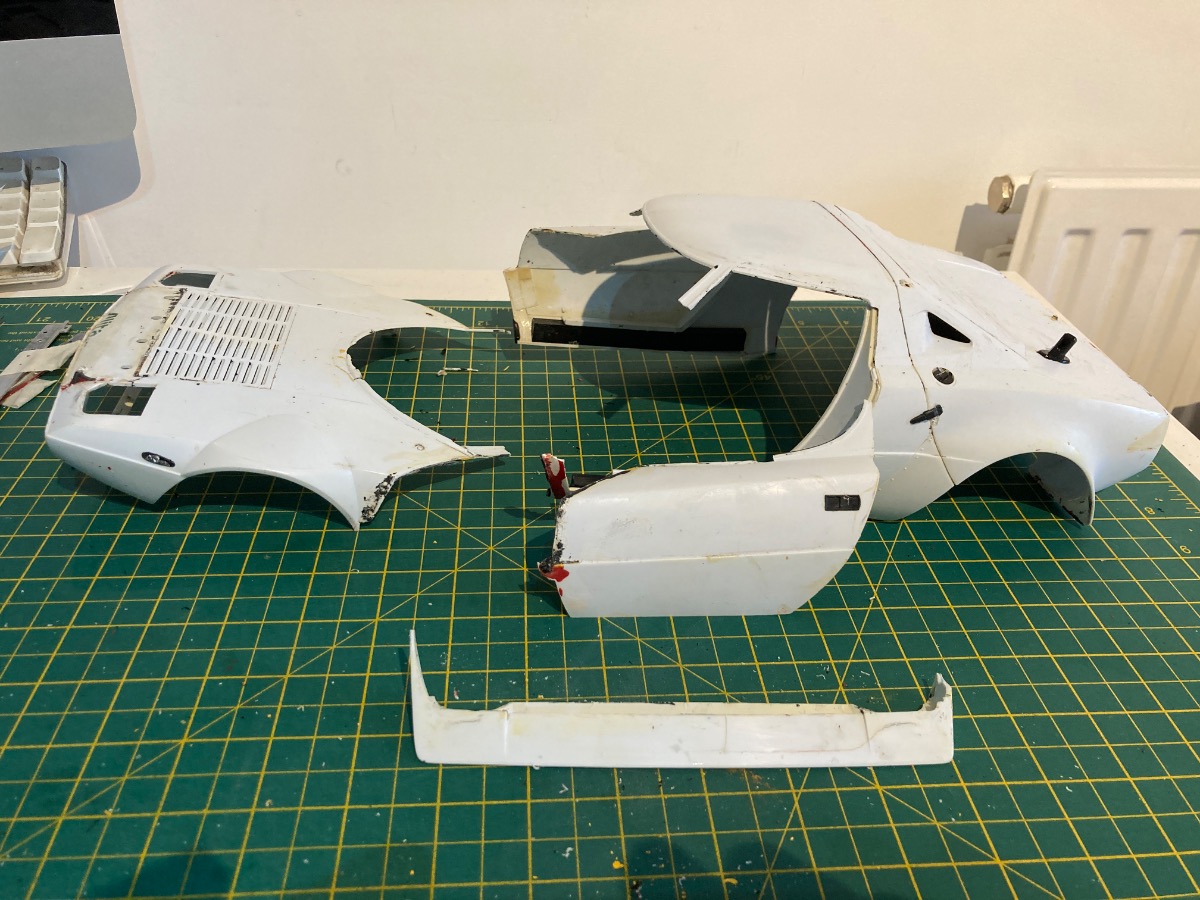
I’m determined to not leave the body until the end otherwise I’ll have the chassis all done as usual while the body will collect dust. I’m carefully trying to pull the body apart. So far I’ve got the window out and only caused one minor crack, which was a relief although I was gutted at the same time. I know I’m missing one pop up headlight which I will attempt to recreate. It was the headlight pod on the front I was keen to get apart. Which I managed to do with very minimal damage, bug was gutted to see I’m missing one of the spot lights. The drivers look great, not totally perfect, but at this point I’m thinking of leaving them as they are, in a kind of homage to whom ever built the model in the first place. I need to test out how easily the paint is going to come off, I think I’m down to my last couple of cans of DeSolv It Graffiti remover. Attachments: |
|
|
Please Log in to join the conversation. |
|
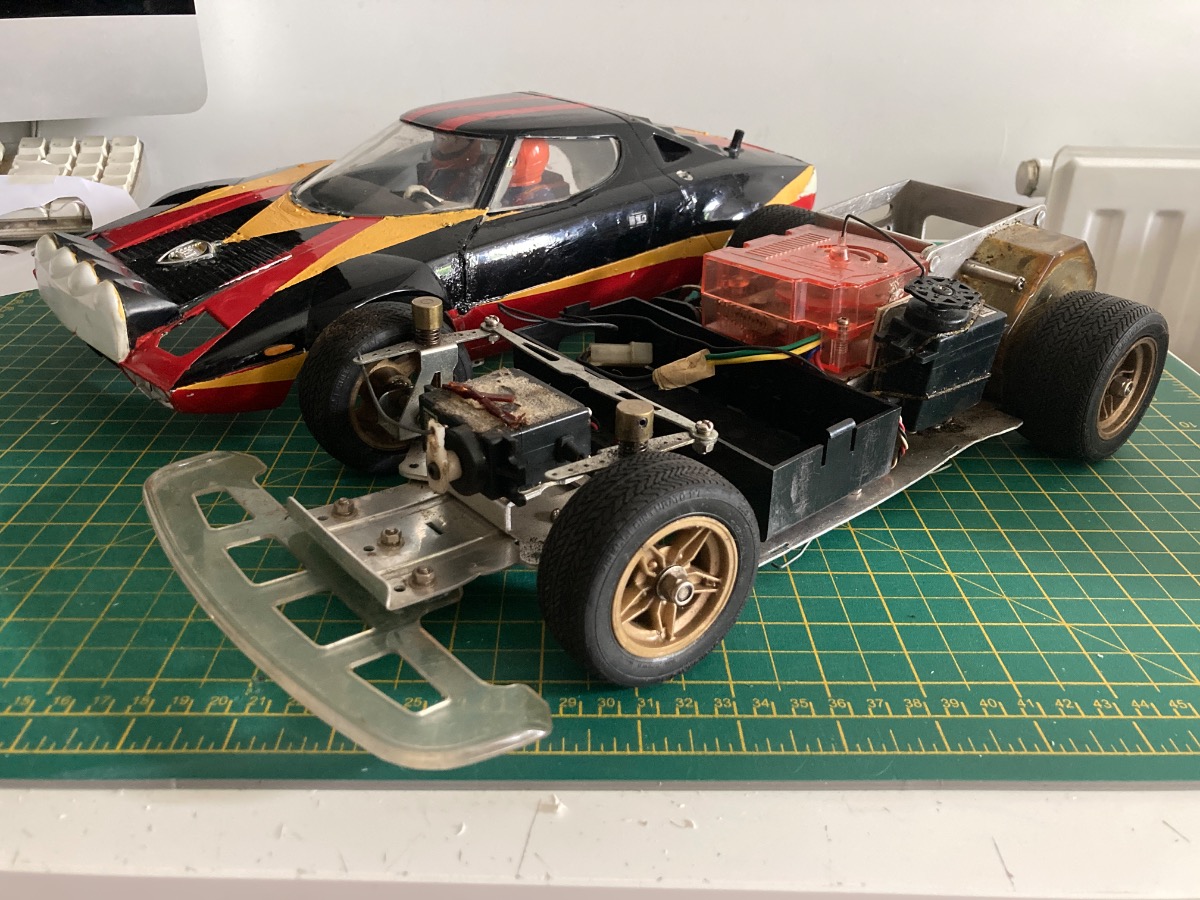
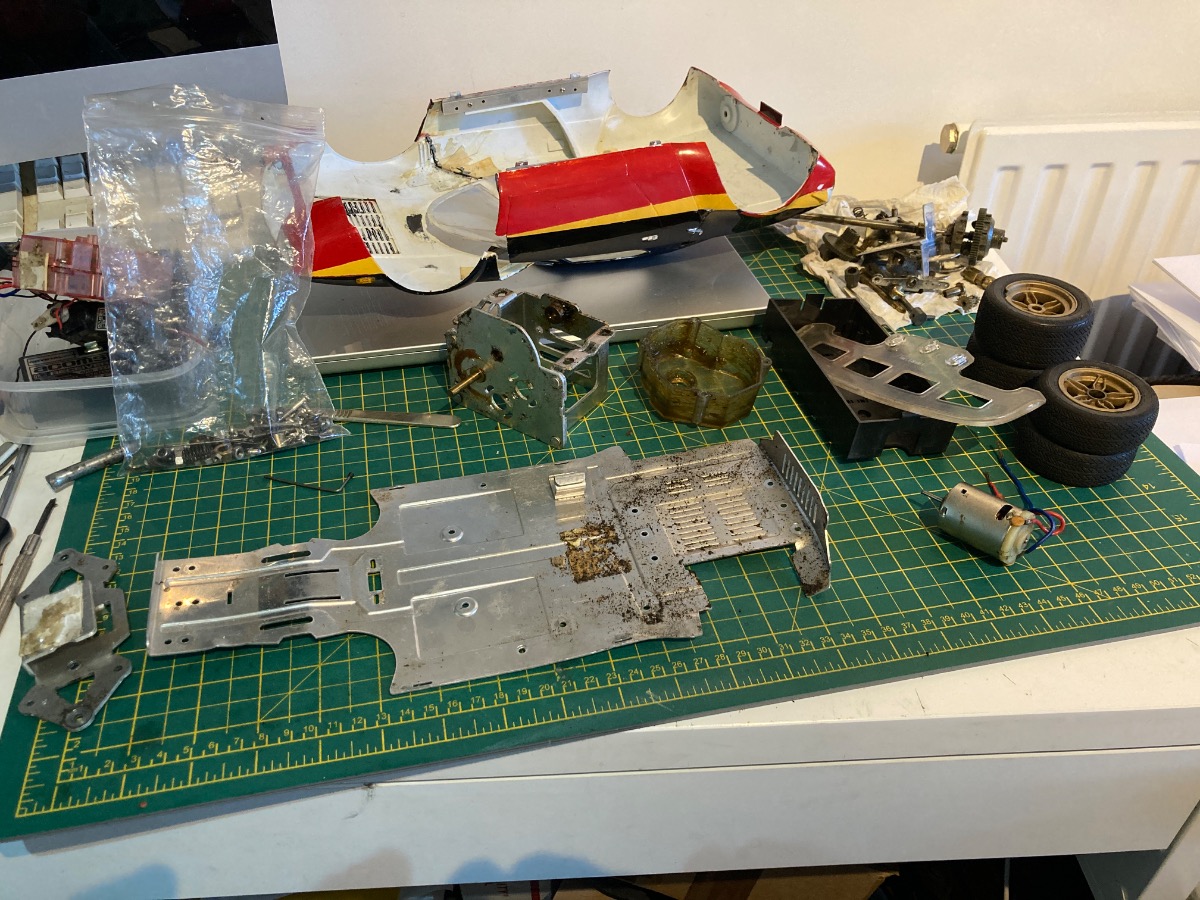
Chassis time !!! Well considering how old this model is ( 1978 ), it came apart very easily. I suspect although someone has messed about with the body shell, I found some of the Alitalia livery present. So the current paint scheme was done later. I don’t think anyone has messed about with the chassis. It was put together once and not touched since. Which quite frankly was a pleasant surprise especially as spares will be pretty impossible to get hold of. The only real damage is to the main chassis plate, so I will be attempting to straighten that out as best I can. Attachments: |
|
|
Please Log in to join the conversation. |
|
You could use glanzer to remove paint. I always had issues with paint remover on my abs bodies. And for the chassis, firstly straight it with hands and plane it with a wood hammer lightly on a hard surface.
The following user(s) Liked this: Al
|
|
Please Log in to join the conversation. |
|
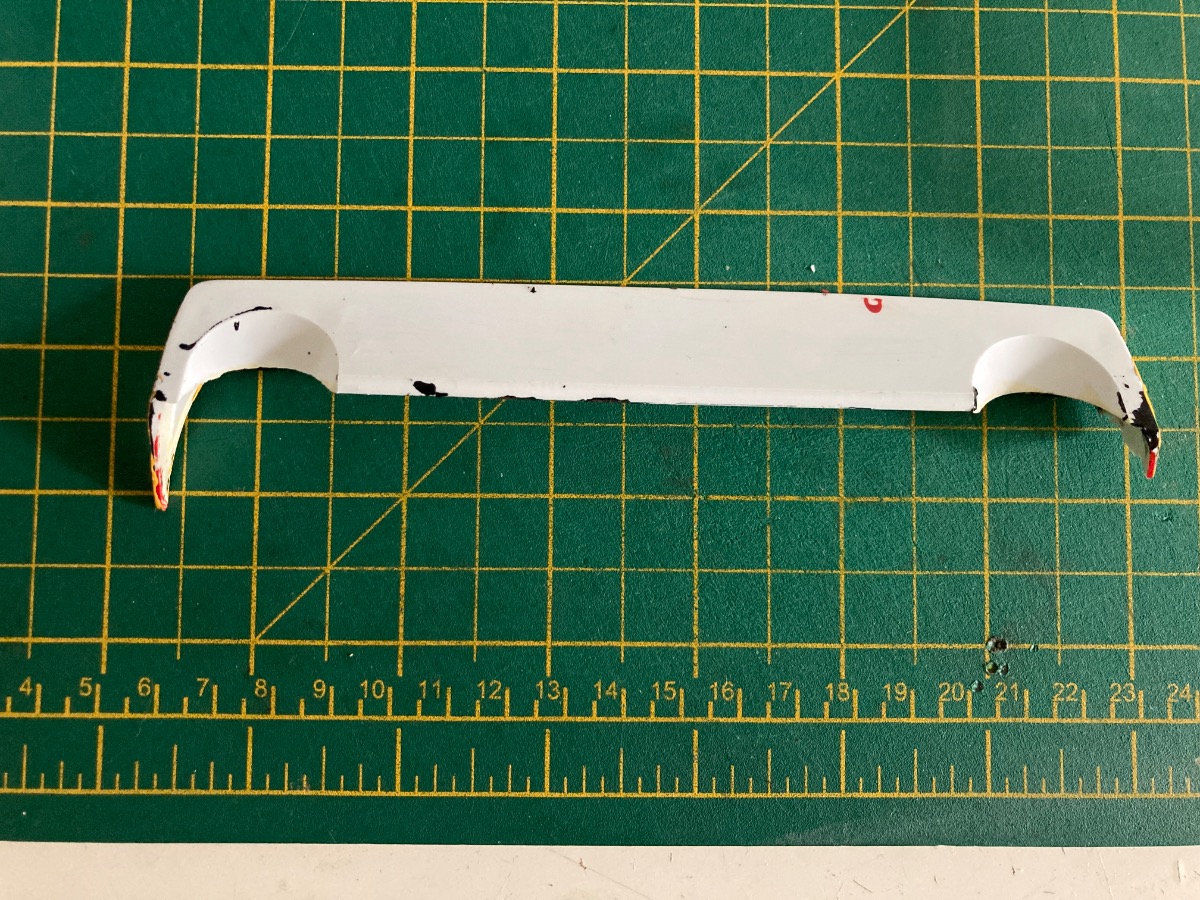
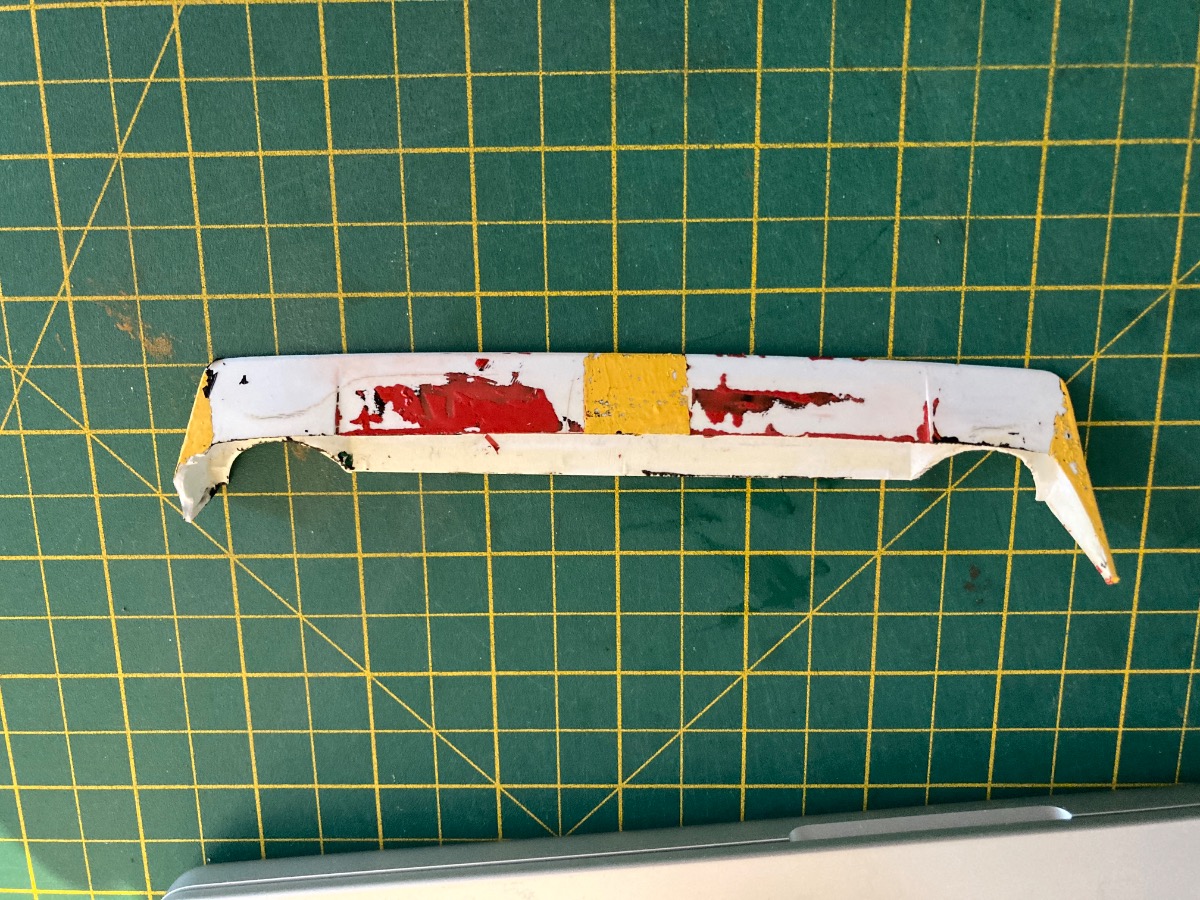
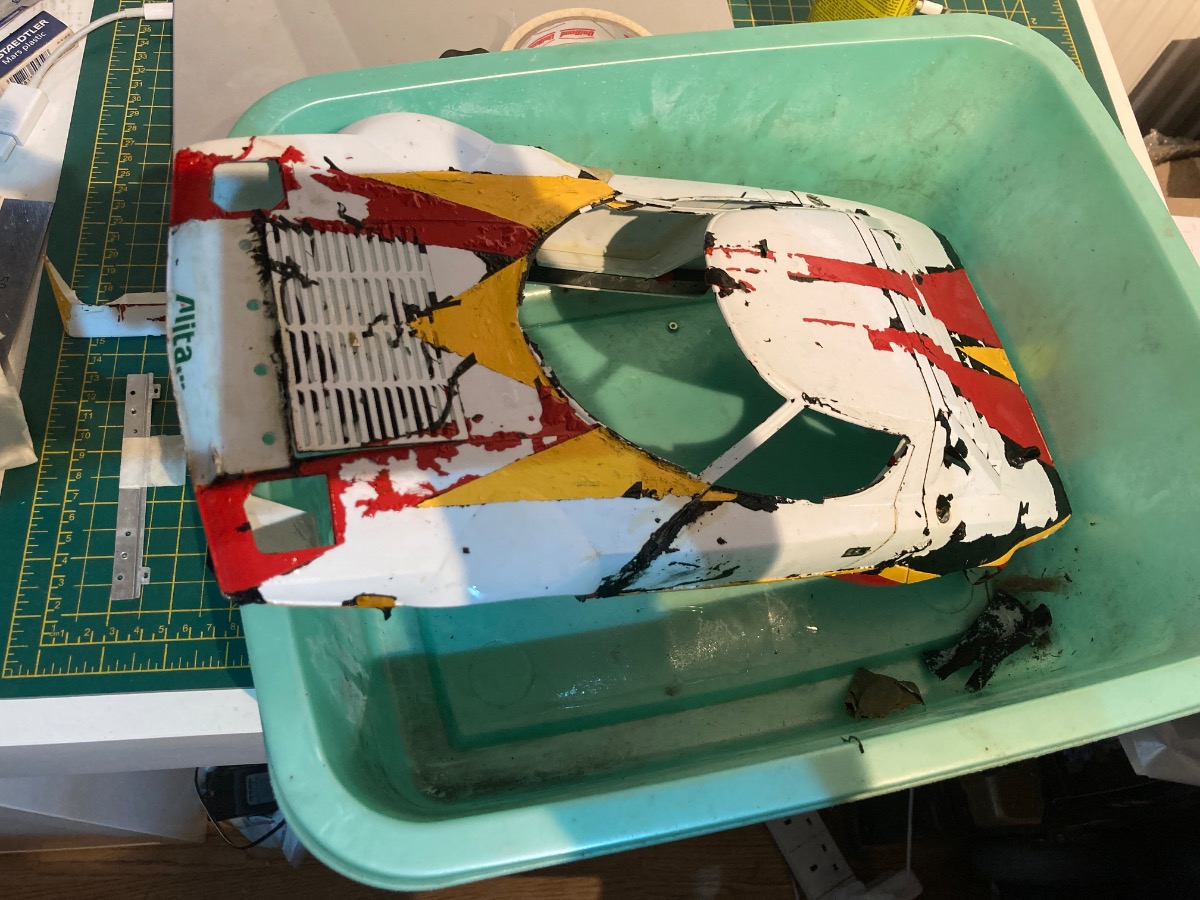
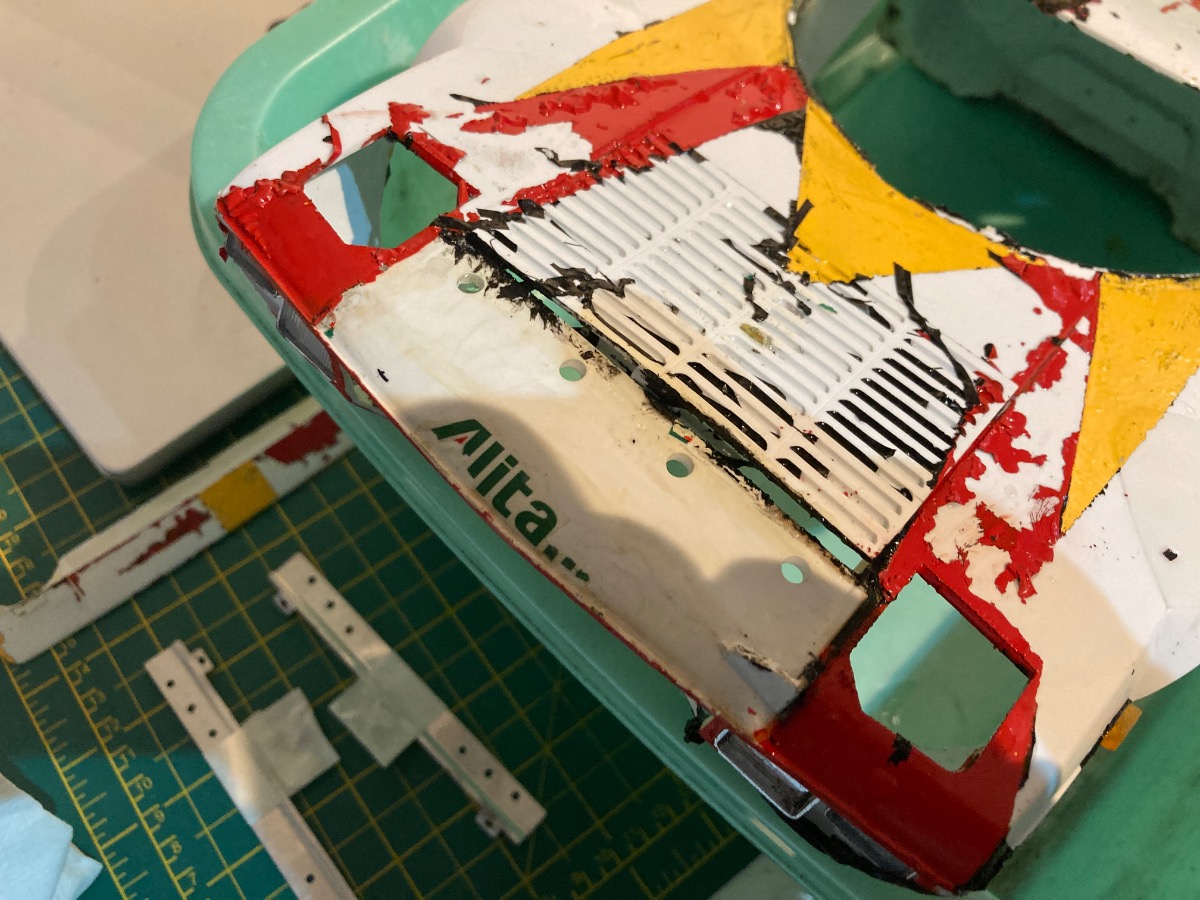
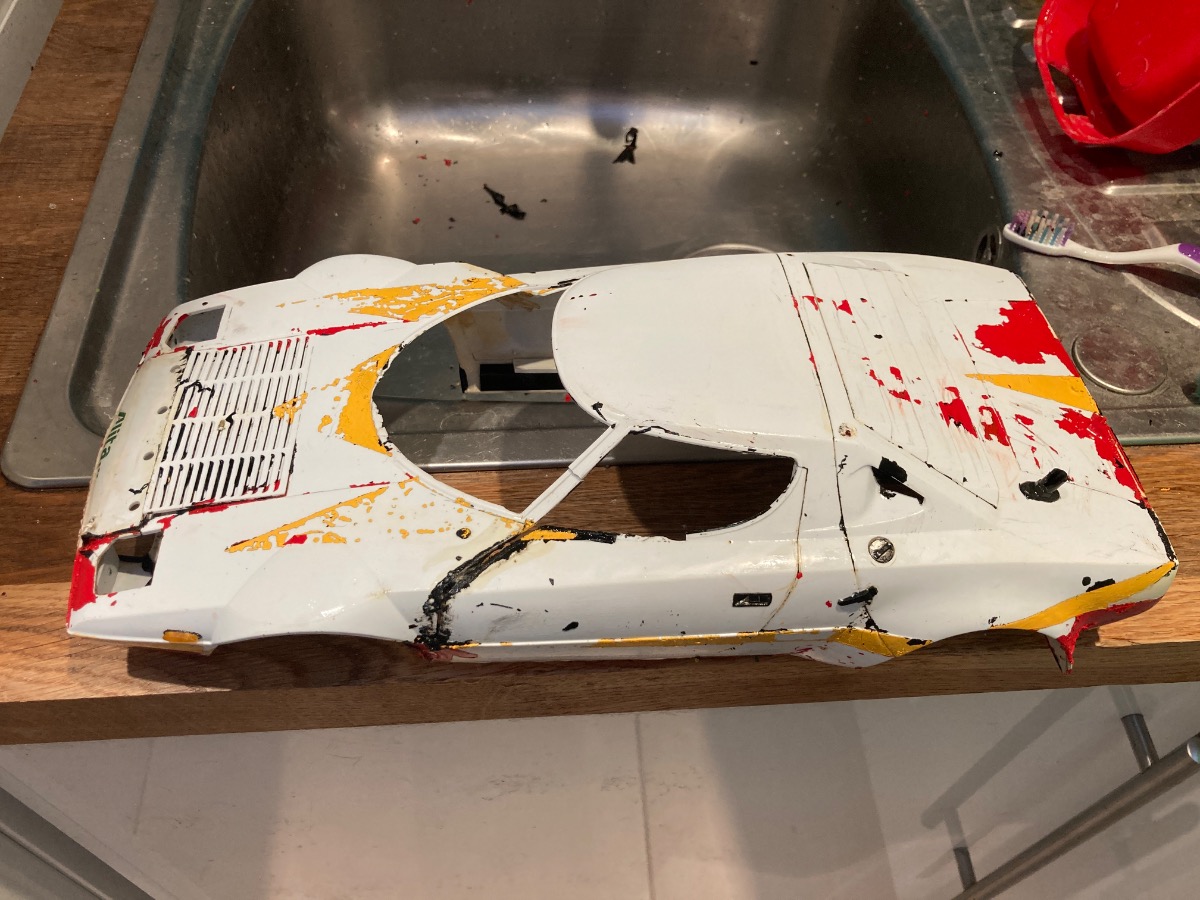
I used the rear wing as a test piece to see how the Desolv it Graffiti remover would work. The black paint comes off really easily, the red does if left for a bit longer. I think the yellow could be a problem. I’m pretty happy with initial results so I moved on to the main body. First cycle. The remains of the Alitalia logo on the front is the only survivor of the original livery. Second cycle. The yellow paint is finally coming away which is a huge relief. In general the paint is gliding off, so I’m thinking paint prep was non-existent. Another win which I’m happy to take. It’s nice to be taking on a resto that isn’t fighting every single step of the way 🤞. Attachments: |
|
|
Please Log in to join the conversation. |
|
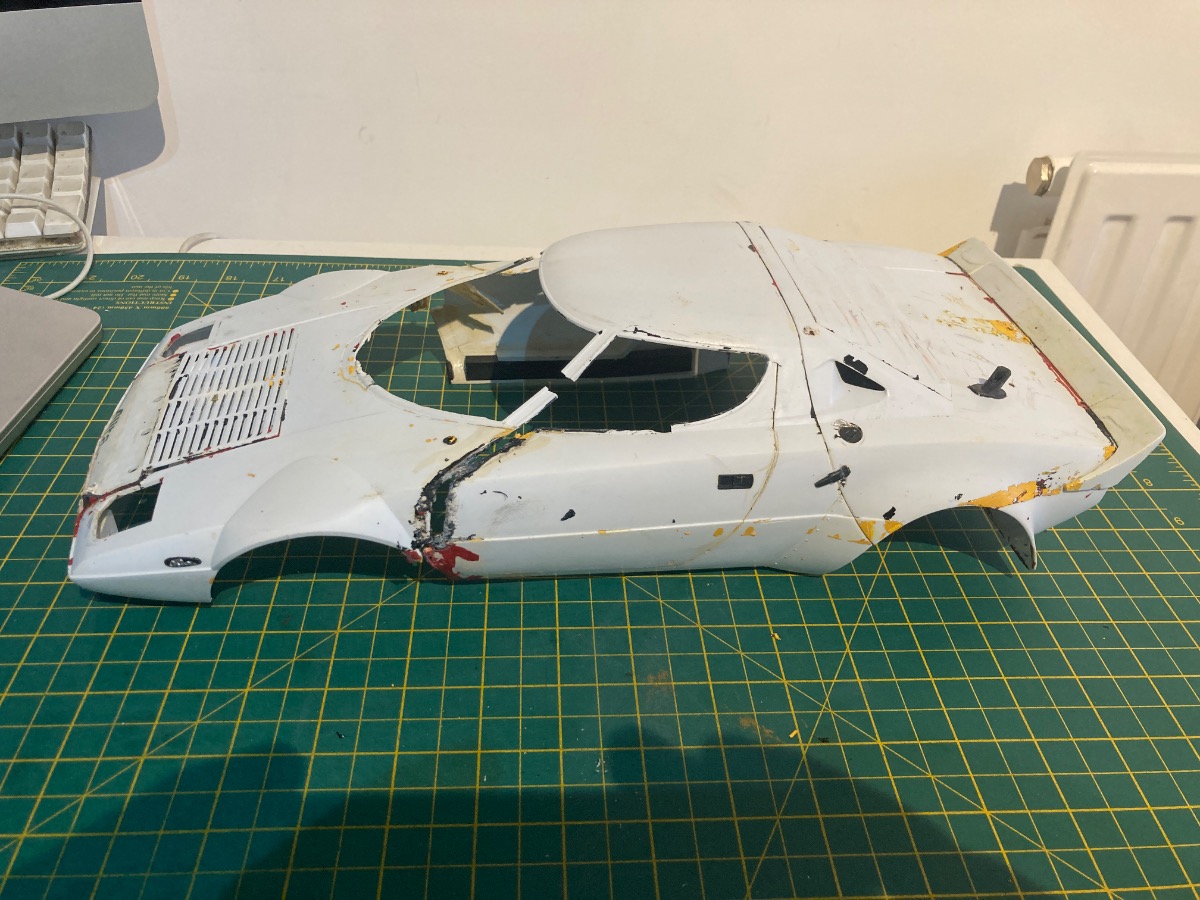
I managed to give the Stratos body a third cycle of paint remover this morning. I don’t think at this point I’m going to hit it with anymore. I’m going to give it a chance to recover and I will see if I can finish it off by hand, scalpel and some wet and dry. What I really need to do soon is glue the front of the body back and try to give the shell some sense of rigidity again, if definitely feels pretty fragile at the minute. Attachments: |
|
|
Please Log in to join the conversation. |
|
Let it dry/ cure during several days to refind a hard body same more brittle. All paint remover I used eated the abs and gave it more marshmallow.
|
|
Please Log in to join the conversation. |
|
Cheers Flo, I think you’re right.
I’m going to leave it until the weekend.
The following user(s) Liked this: stingray-63
|
|
|
Please Log in to join the conversation. |
Attachments:
The following user(s) Liked this: 1972 LeMansGT Jim
|
|
|
Please Log in to join the conversation. |
|
|
|