
|
IG_tamiyaddiction
The following user(s) Liked this: Jonny Retro
|
|
|
Please Log in to join the conversation. |
|
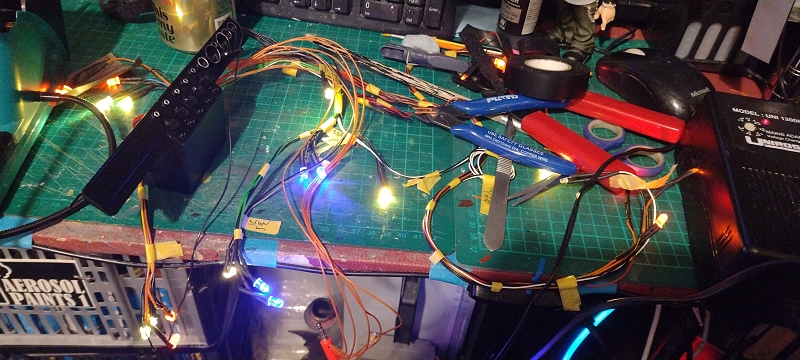
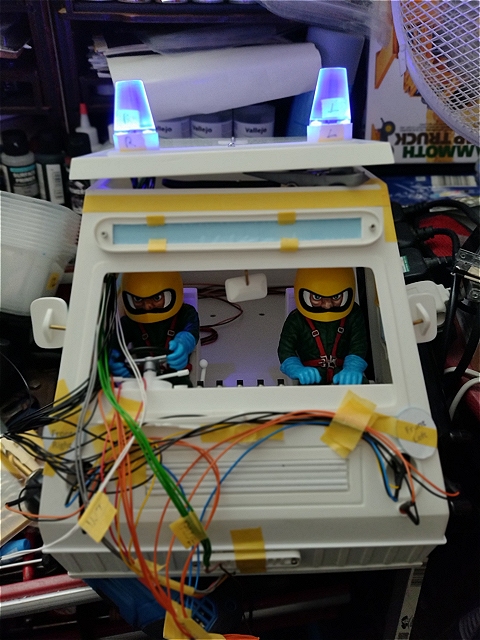
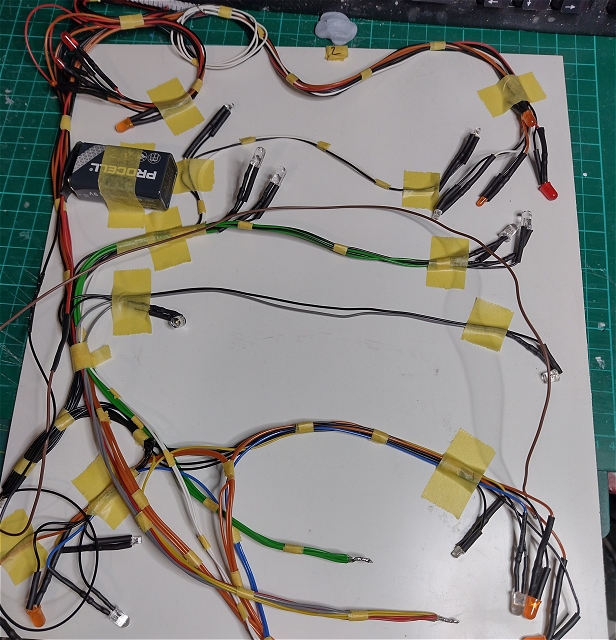
Bit of an update - finished a basic interior & started on wiring for the LEDs, I just have to tidy it up, get it inside the van & solder up the 5 switches.
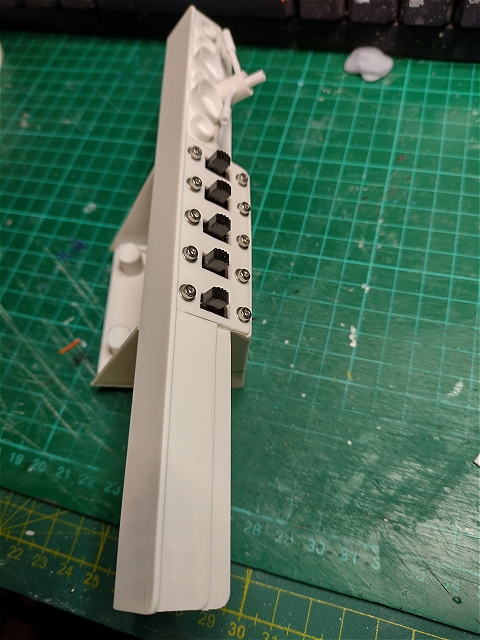
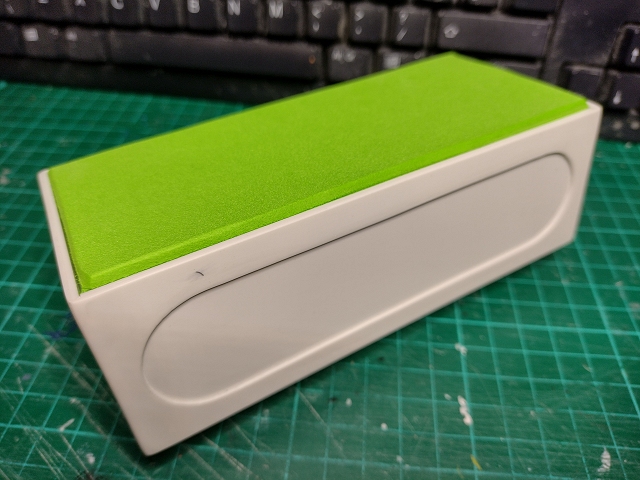
There are 24 LEDs in total, switch 1 will be the two white leds acting as interior lights, Switch 2 will be the "side" lights - the two 3mm low beam headlights, two 5mm red tail lights, and two 5mm white LEDs for the illuminated sign box. Switch 3 is high beam - two 5mm white headlights Switch 4 will be the 4 5mm flashing blue emergency lights, these start flashing in unison but they're not a perfect 2 hertz rate, they drift a bit which gives a better effect TBH ... until they drift back in sync for a bit ... Switch 5 will be the 8 orange LEDs which would ordinarily be indicators, permanently on so we'll call them marker lights One red and one white 3mm LED in the tail light cluster (fog & reverse) have wire attached but it won't be connected to anything at present. Messy initial wiring: Tidied up a bit & taped to a sheet of styrene to keep it tame: Bulkhead lights from 3mm styrene & some clear leftovers: Used the nastiest coloured neoprene foam I had for the bench topper: Attachments: |
|
Please Log in to join the conversation. |

|
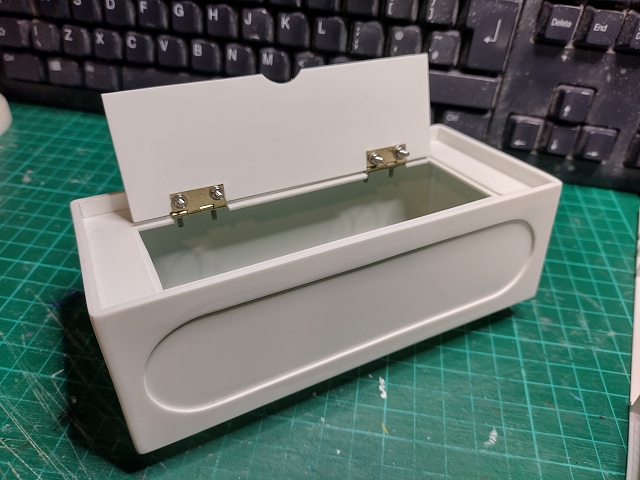
Lid opens for access to 9v battery powering LEDs:
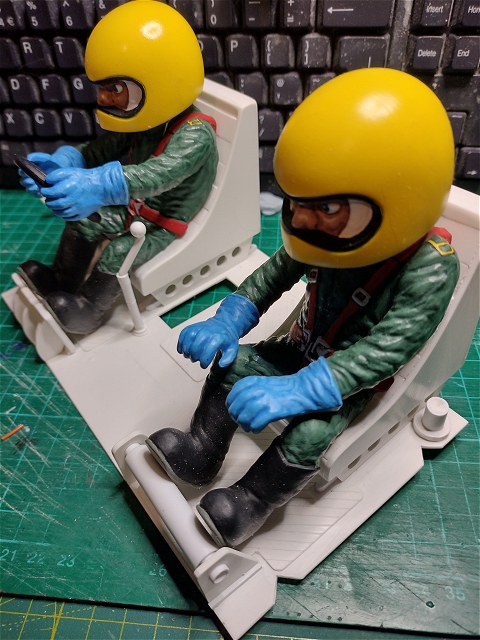
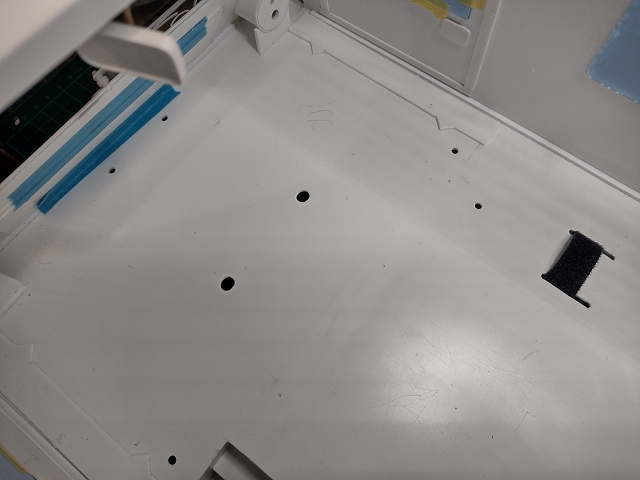
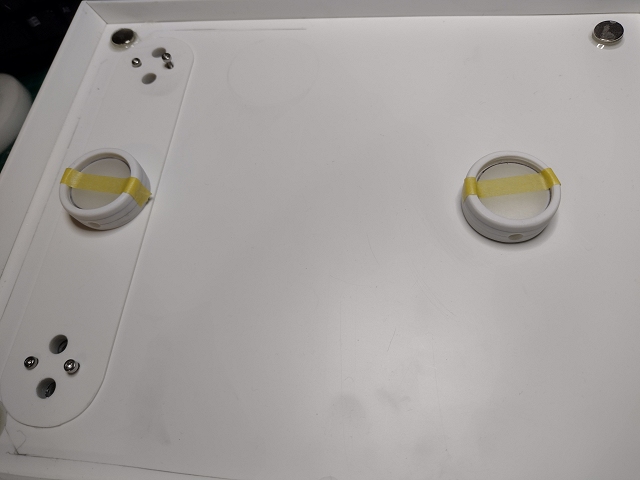
Seats attached to a floor with mats, pedals etc ... gap is larger than I'd like but it's necessary to fit the bodyclips: The floor panel screws in at the rear, the notches on the sides locate in these registration pips: Dash also screws in & clamps the front of the floor panel. Weight overall has got too much for the stock springs, I'll have to doe something about that ... Attachments: |
|
Please Log in to join the conversation. |
|
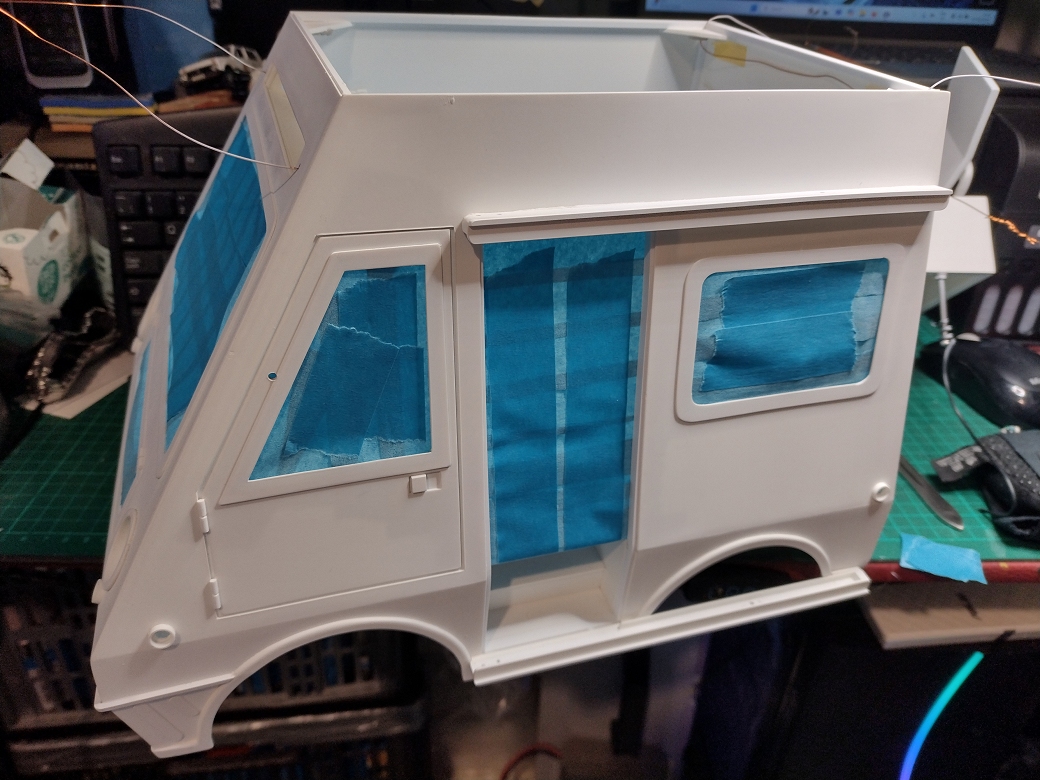
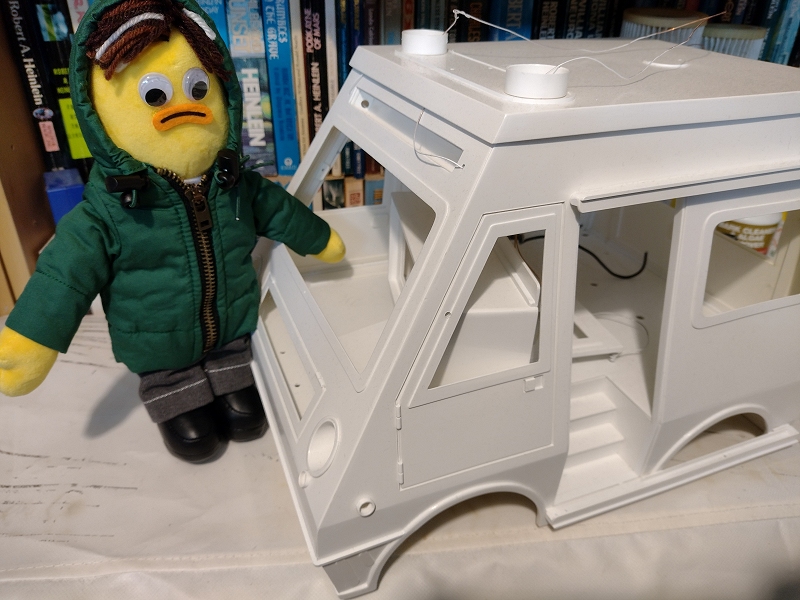
Dash section, cockpit section + number plates, country badge & wiper have all a base coat of satin black on for some time, white bits got white primer & sanded a while back, yesterday I got some masking tape on the inside of the body & other white bits off to the shed for their colour coats.
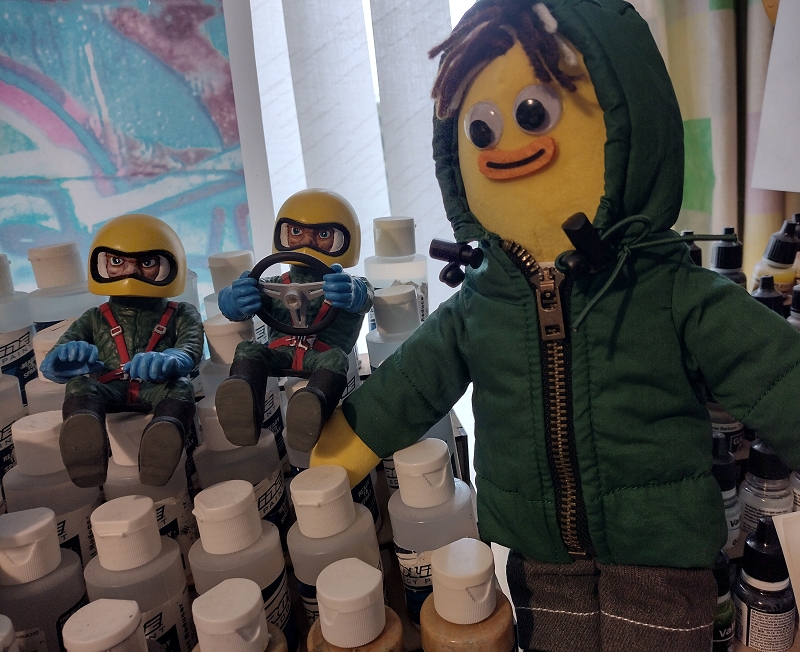
It'll be Hycote generic "Gloss White" (same colour as any fridge or Transit van Today I realised I'd forgotten to spray the roof, but "luckily" the July heatwave continues so I can go and do that now Another Wheelie Yellow video appeared yesterday - I know he's only a crocheted corn on the cob, but no helmet, no HANS, no Halo in an F1 made me cringe a bit Attachments: |
|
Please Log in to join the conversation. |
|
Attachments:
The following user(s) Liked this: caprinut, stingray-63
|
|
Please Log in to join the conversation. |
|
Attachments: |
|
Please Log in to join the conversation. |
|
Yeahhhh 🥳🥳🥳🥳👏👏👏👏👏👏🙌🙌🙌🙌🙌
I love his parka. |
|
Please Log in to join the conversation.
Last edit: by stingray-63.
|
|
Having seen the video in which the current Wheelie Yellow was built and how crude it is (clad in beer cans), your version is actually going to be significantly superior to the original. We'll see if you can also match his driving though....
|
|
|
Please Log in to join the conversation. |
|
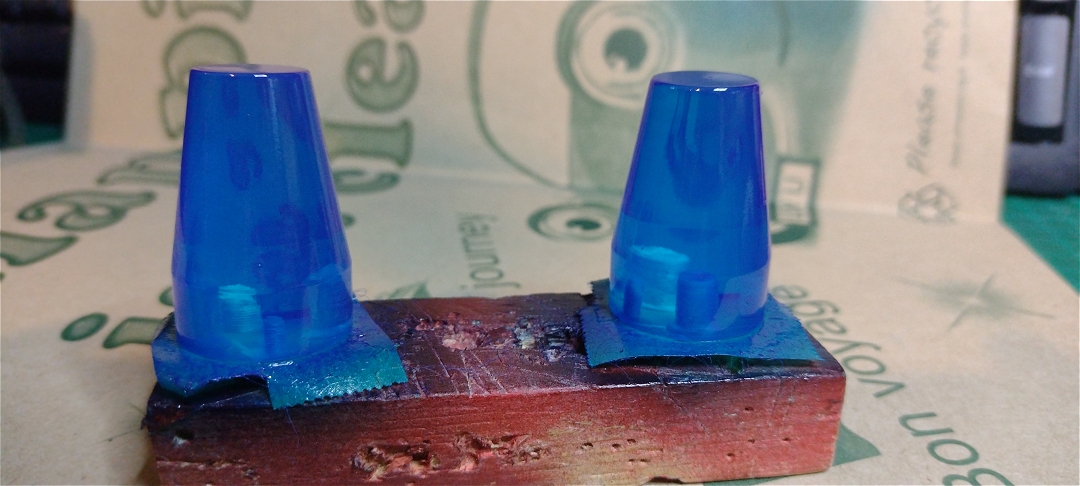
First time I've I've touched this in months - but today I airbrushed the beacons in X-23 Clear Blue. Can't say I kept count of the number of coats, I think it was at least eight and may be been as high as a totally unneccessary twelve
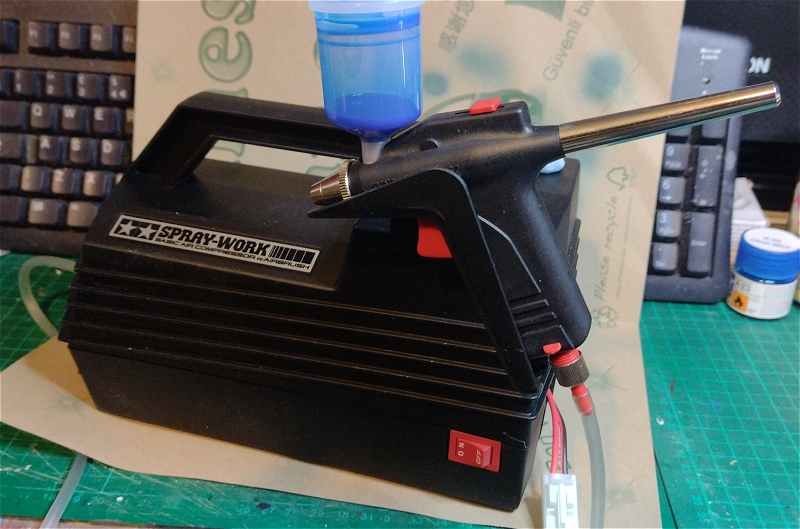
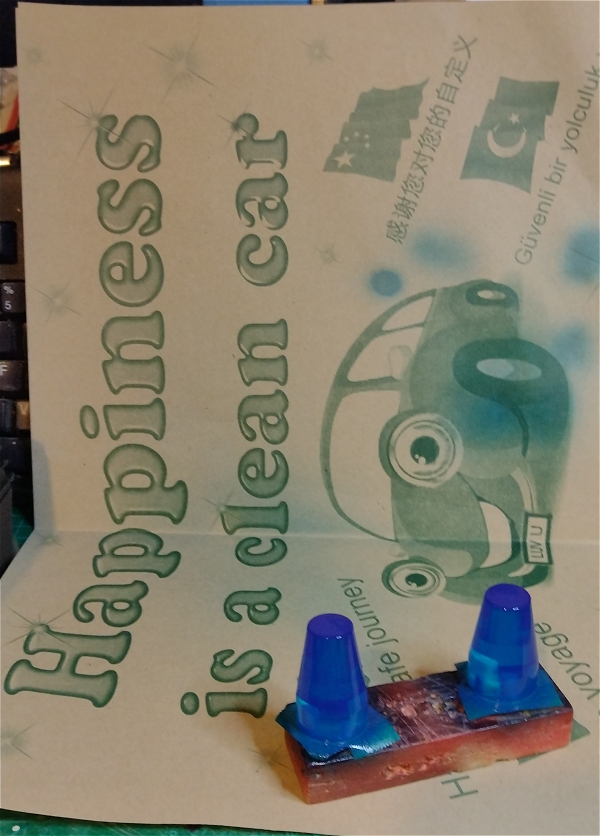
The Tamiya 74520 compressor has some internal upgrades over the previous 74502 model, but I think both it and the box it came in don't look as good. The 74531 airbrush is unchanged, it's easy to use and gives good results, but IMO is even more of a faff to clean than a regular one. The whole setup doesn't produce very much spray drift at all, most of the blue on the paper car mat (I have a bunch of these & have never used any for the correct purpose Attachments:
The following user(s) Liked this: stingray-63, Al
|
|
Please Log in to join the conversation. |
|
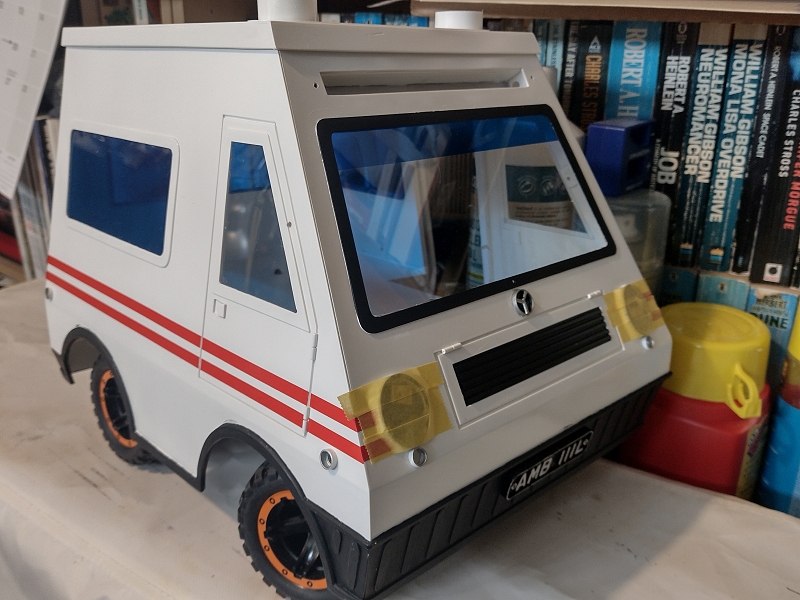
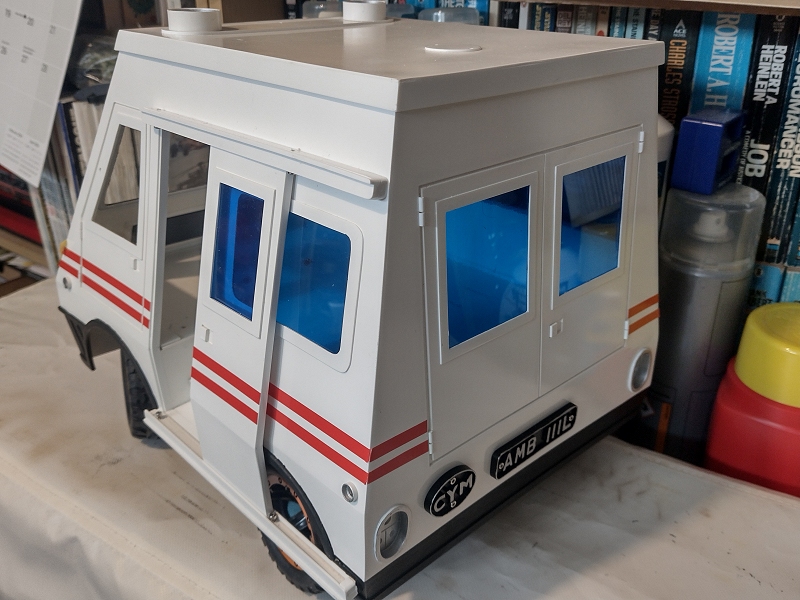
This has been "next" on my to do list so some time, and as such has been has been sitting on my bench rather than safely sat in a box. All the wiring had detached itself from the board & the "corners" of the loom separated. One of the stalks on the steering column had got broken off, and the "glass" from the sliding door had also gone missing. The wiper - which yesterday and hung up somewhere safe so it wouldn't get lost - is now nowhere to be seen so will need remaking.
After a bit of investigation I worked out which LEDS are supposed to go where, and managed to wire up the switches. I thought I'd left plently of room for soldering, but what I really needed was the services of a double-jointed spider monkey Stripes are on, I've painted some of the details (wish I masked for all the black edges, not just the windscreen surround and the rear bumper), and the windows are in. Light lenses & illuminated service window are in progress, and I need to fit a 9v battery connector to the wiring. Theoretically, after that it's "just" a matter of fitting things in the right order - LEDs and dash, seats (with prefitted figures), bunk. Mirrors can go on at any point, though probably best after I've rassled the interior in. Attachments: |
|
Please Log in to join the conversation. |