Keyword

TOPIC:

This is not the greatest van in the world ... 2 years 2 weeks ago #79293

... this is a tribute


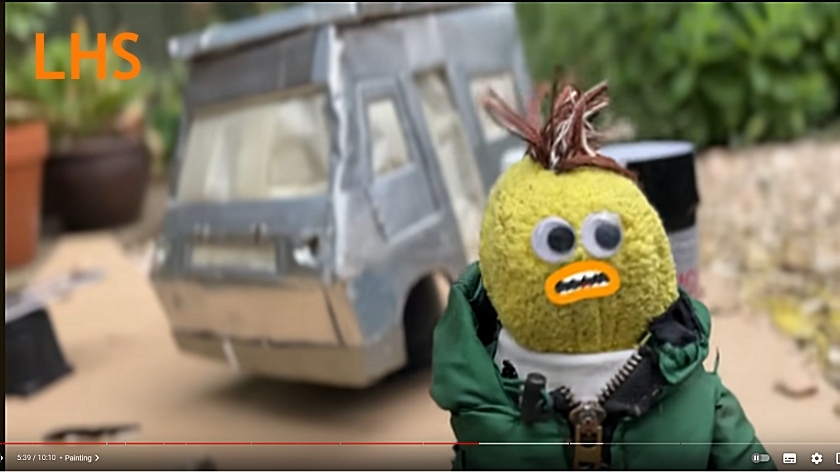
If you’re not familiar with the “Wheelie Yellow” videos across social media, they’re around 10% philosophy and ruminations on modern life, and 90% RC shenanigans. They chronicle the adventures of a c.250mm (10”) tall knitted banana (or possibly corn on the cob?) and his trusty van(s).

Knowing what the chassis is, and looking at the simple, 70s angular construction, it should be straightforward to build something with similar flavour, but adjusted to my preferences and material(s) of choice.

The Wheelie Yellow Van is built on an FTX Tracer chassis, but the HBX 168nn/169nn/a are basically the same thing. All are ARTR shaft drive chassis 215mm wide & 175mm wheelbase with 78mm tyres and ugly 1:16 scale truck/truggy  bodies. Higher spec/price ones have a brushless motor & come with a 2s Lipo, but I bought one of the cheapest I could find. This came with a 390 brushed motor and an extra 2S, 800mAh Li-Ion battery from Jadlam for a headline price of 79.99 GBP (www.jadlamracin...w-battery/), but I had a voucher to reduce the cost some more.

The reduced performance is not an issue for me – the chaos in the videos resulting from the speed & questionable handling from the weight and high CoG is all part of the charm, but not something I feel the need to reproduce. To be honest, having a steerwheel TX is all the opportunity for trouble that I’ll need.

This may not be the last Tracer I buy – it’s very close in wheelbase and track to a Tamiya Willy’s Wheeler / Honda City Turbo body, and a 4WD, somewhat offroad version has some appeal :)


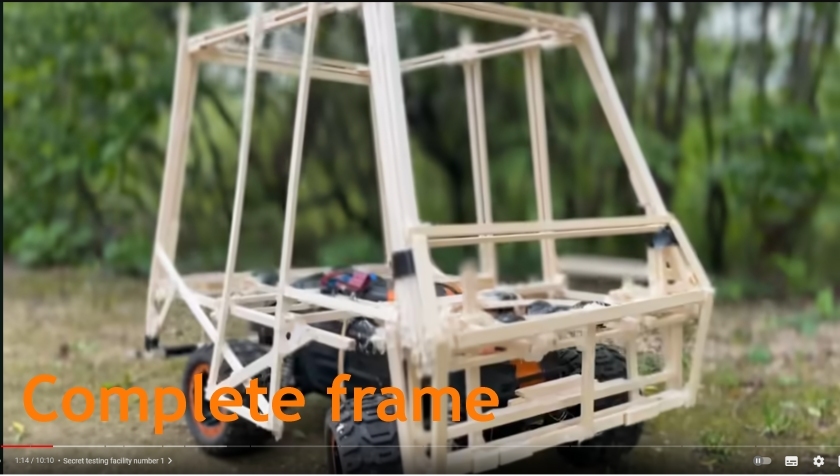
I rewatched the build video (

), taking around 40 stills, annotating them and making additional notes. These included:

The “<” and “>” keys are very useful for advancing & reversing one frame at a time.

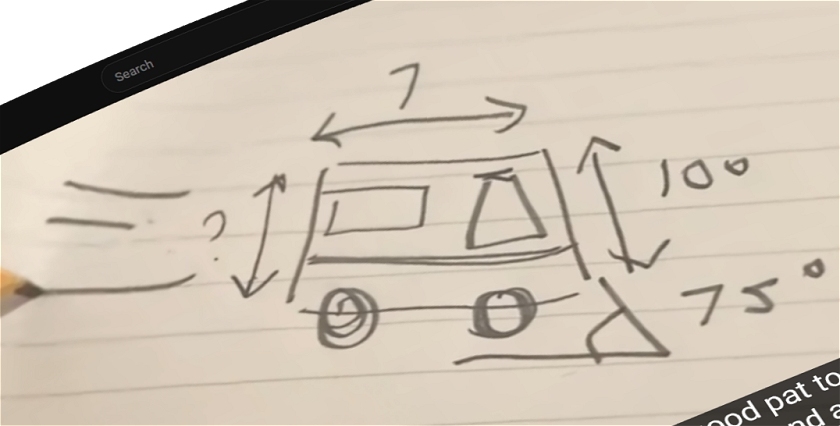
I thought the initial sketch was quite useful at first, showing the 10 degree angle of the windscreen panel & a 5 degree angle on the engine cover section below the “waist”. If “7” above the roof is seven inches & I know those two angles, then quite a lot can be extrapolated. However, I think the 10 “degrees” were more likely to be inches…

It’s very tall. Think of a Willy’s Wheeler with another body on top.

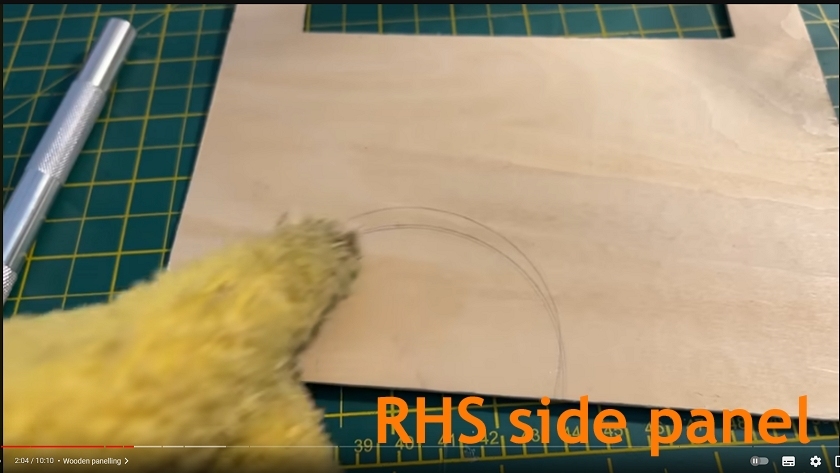
I’m not going to use the wood framed, wood panelled and beercan skinned construction method, I’m going to use styrene panels with only the minimum of framing at the corners.

The Hot glue method of the original does away with the need for engineered joints, but I’m going to have to do some sanding. The completely flat side panels make the engine cover taper outwards at the side which I don’t like, so I’m going to have a waistline on the sides & either revert to vertical or a negative angle.

Access to the loadspace is from the cab an aperture with steps on the left hand side, rear door(s) – and a removeable roof panel. There are also openable (but not lockable) front doors.

It’s got to have lights, controlled by 4 SPST switches on the dash, each with amber marker lights … possibly wired as side markers (indicators, non-flashing), lights (“dim” headlights & taillights), high beam, and interior?

It doesn’t really have a floor, or interior (at least yet).

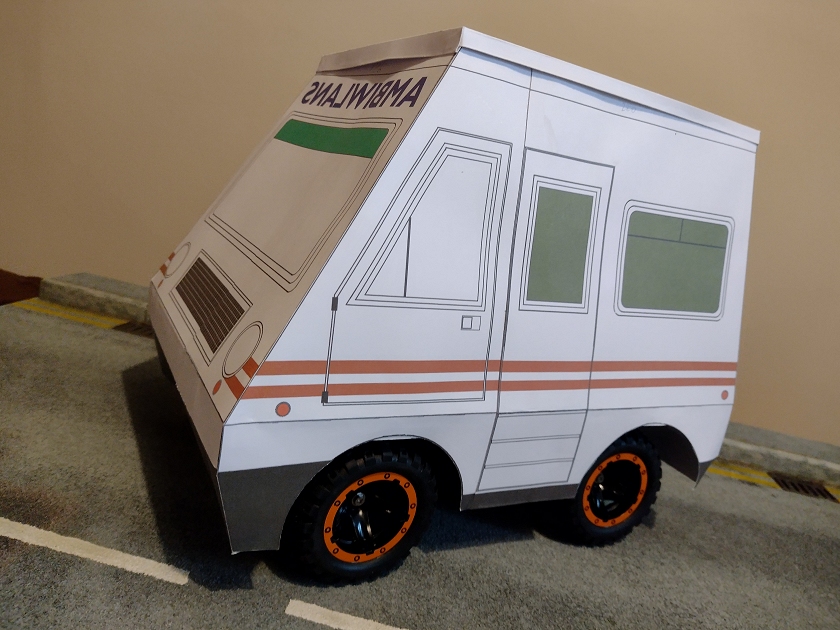
It’s not really based on any particular van, the styling is something like Bond Bug meets Grumman LLV. Colour/stripes, angled front & twin rear doors smack of old UK ambulances, such as the Dennis AV1 and Morris LD. There’s also a resemblance to the three generations of Ford Transit van between 1986 and 2000. All that said, the thing it most resembles is one of the Playmobil van designs, which has appeared in School Minibus, Police Van and Ambulance guises.

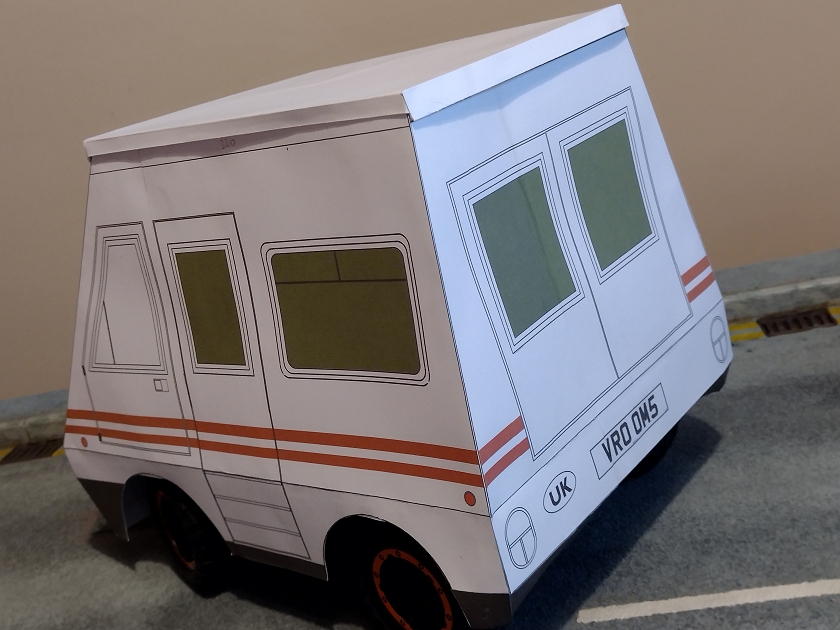
Each side is not the same, the sliding door on the right-hand side of the “Mk.1” (the original) and “mk.2” (as recently built) moves to the left hand side. A sliding door and steps to a load space you can stand up in is very reminiscent of some of the coachbuilt mobile shops of the 1960s. That said, it’s very much a “super deformed” or “comical” version of such a vehicle.

As the originals have a completely flat side there’s a runner at the top and bottom of the door, but as I want to have a square lower, this will complicate things.


TBC ...

Attachments:
The following user(s) Liked this: caprinut, stingray-63, Al, blakbird, 1972 LeMansGT Jim, silvertriple, Ducksnuts, GToddC5

Please Log in to join the conversation.

This is not the greatest van in the world ... 2 years 2 weeks ago #79295

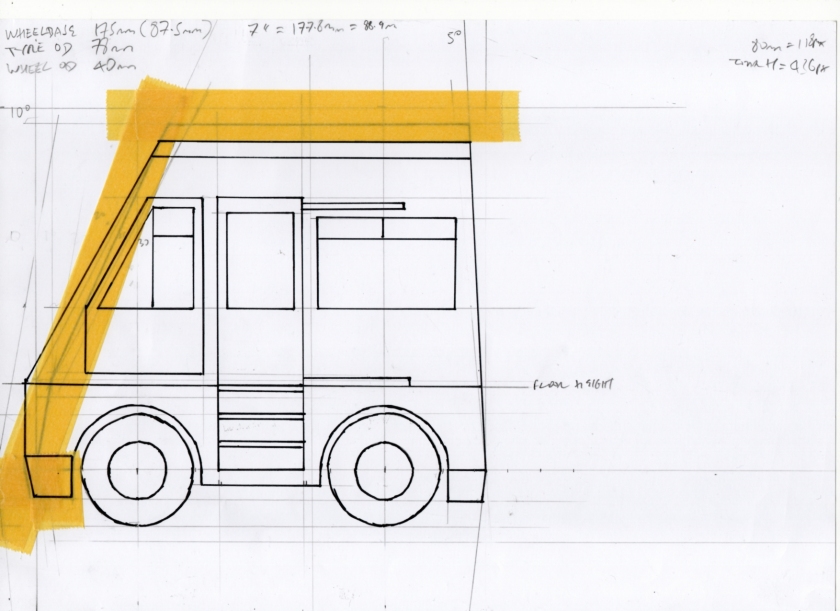
I started with a half scale version of the left-hand side, using a lot of compromises and guesses.

I went with a longer and lower roof & front at an apparent angle less than the “real” van(s), but at 20 degrees, more than what I thought the “drawing”said. The steps on this side as per the “mk.2” van but I intend to have the sliding door entirely non-functional, or maybe just fixed open).

I drew the back angled up at a 5 degree angle, whereas the original vans I think are vertical?. Square sides up to floor level are more “realistic” (looking at real road vehicles) and will me much easier to build.

After doing lots of experiments in pencil I moved on to ink … then had to use masking tape so I could redraw the front end.


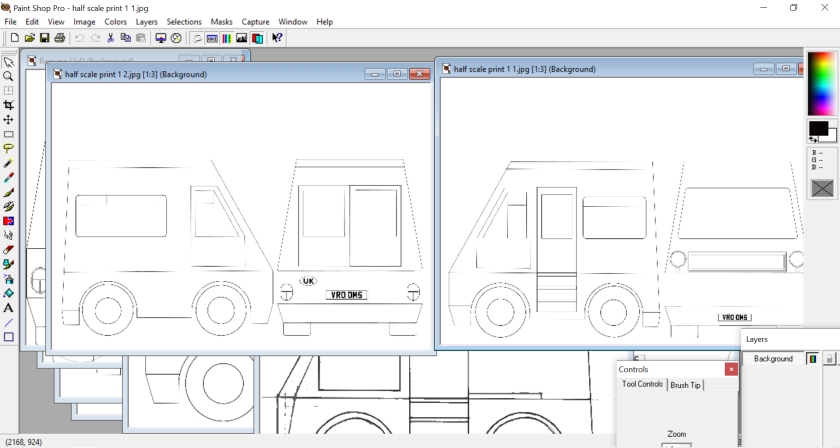
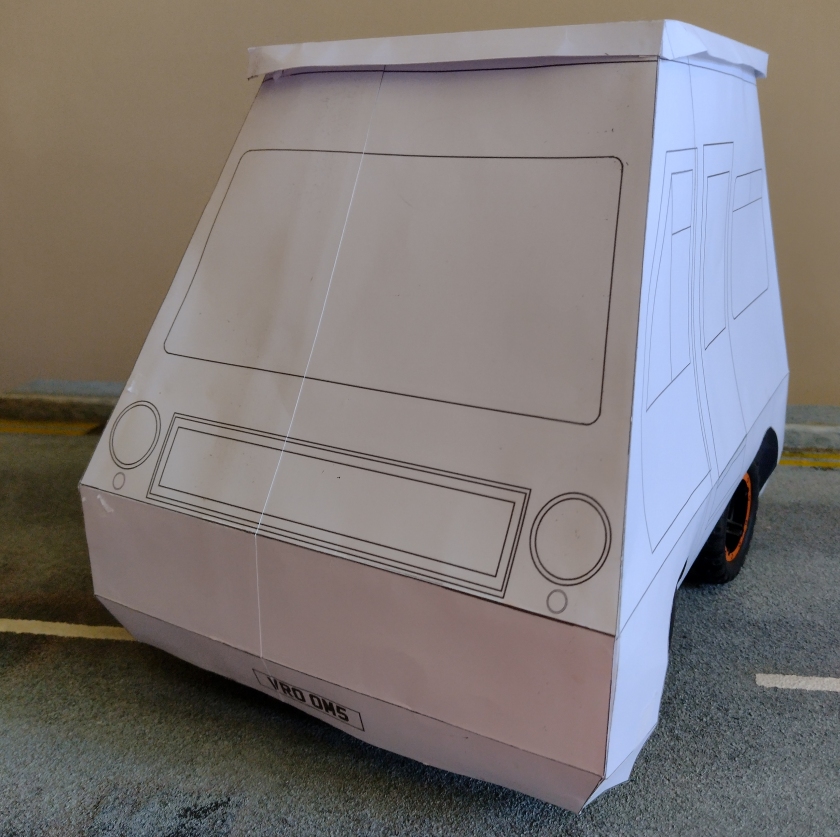
After scanning my drawing it was easy to draw up the RHS (in my ancient but still functional – and completely adequate - licensed copy of PaintShopPro), and work out the front and rear views. The front end especially will suffer from errors from a flat view of an angled surface, so I’ll have to revise that after making a card mockup.

I soon worked out that the Wheelie Yellow can is not 1:10 scale – I did the number plates that size initially and they’re far too small. It’s either a very small 1:8 scale or ludicrously small 1:6 scale van. Key dimensions at this stage (doubling the version here) would be 270mm height, 225mm width below the waistline, and a roof length of 220mm.

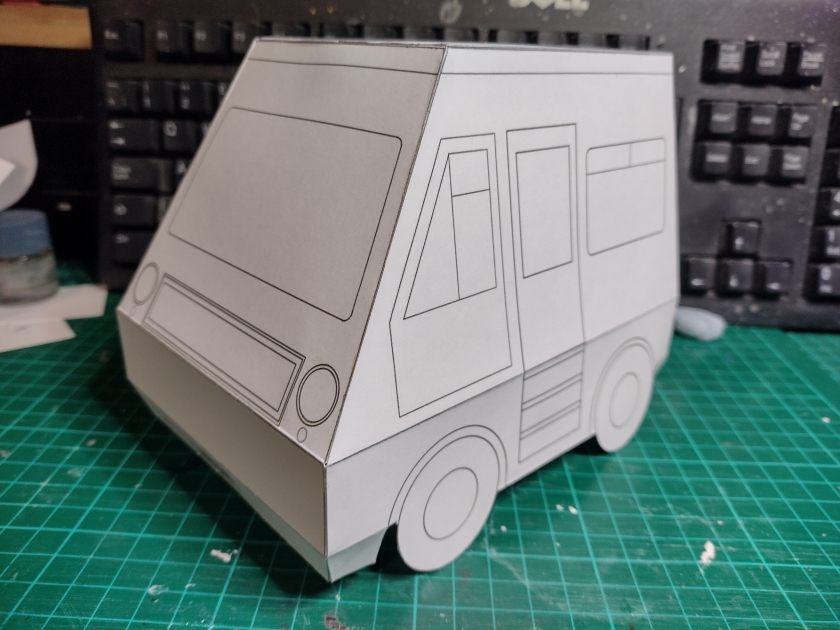
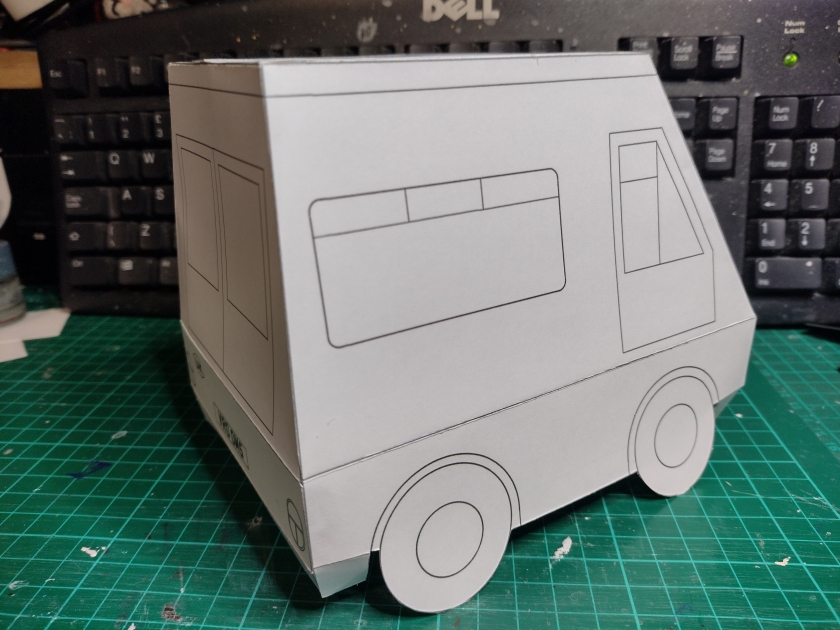
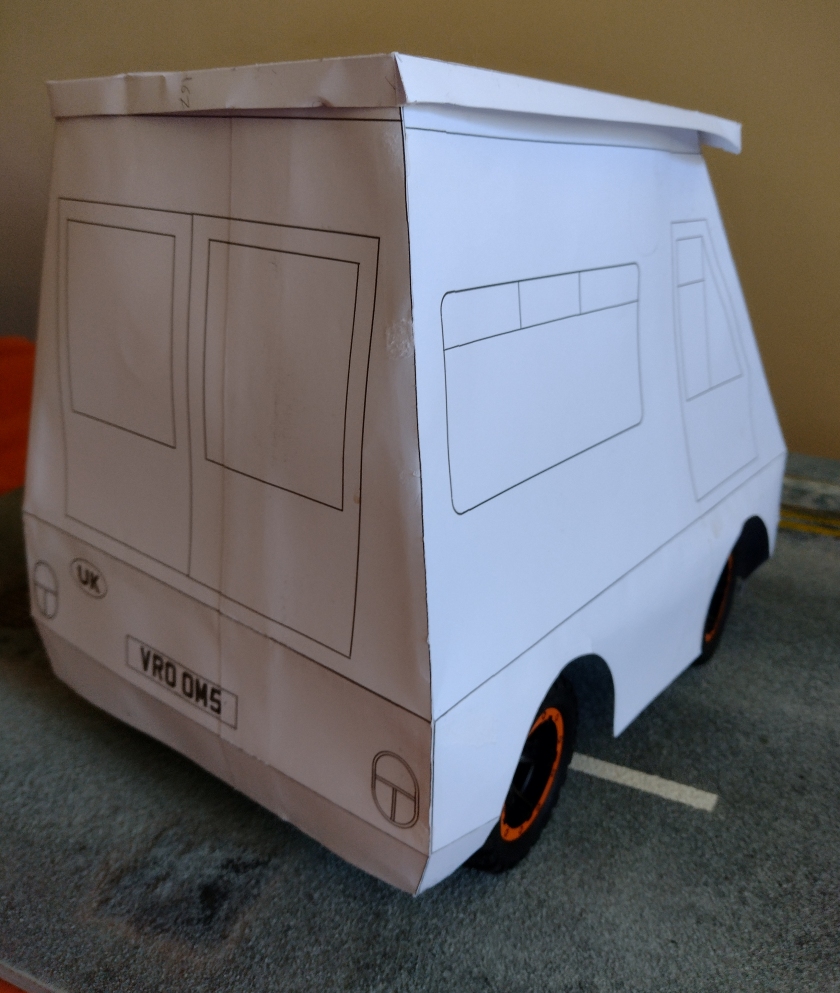
I printed each view on card (actually 200gsm A4 production paper) which showed me to what extent I needed to adjust the rear end (barely) and front end (a lot) to account for the angles, allowing me to make a half scale card mockup …


Attachments:
The following user(s) Liked this: caprinut, stingray-63, Al, GToddC5

Please Log in to join the conversation.

This is not the greatest van in the world ... 2 years 2 weeks ago #79296
I couldn’t really see anything wrong with it so moved on to a “full size” version.

After thinking about it for a few days – and seeing a new video with the new van (
) – a few issues were apparent with the proportions. Not wide enough, too tall, and all manner of problems below the waist.

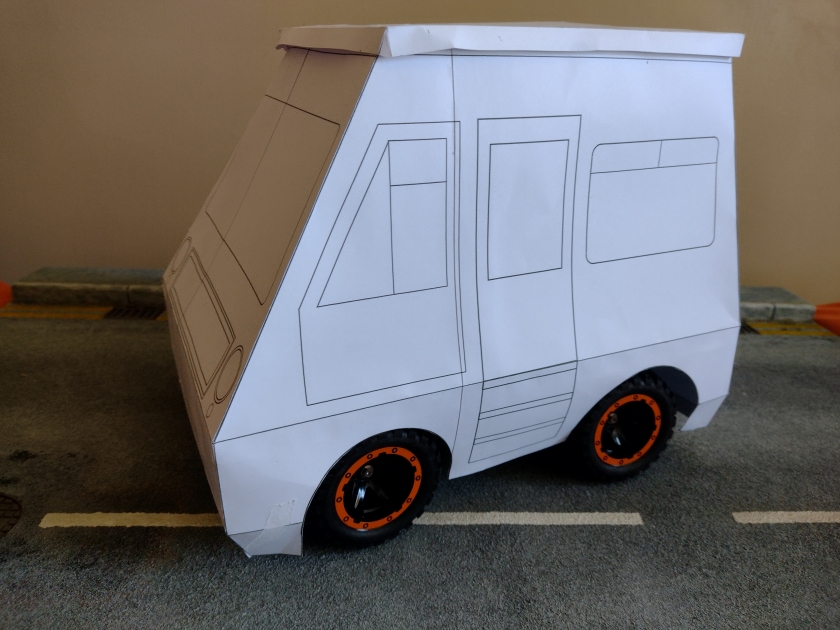
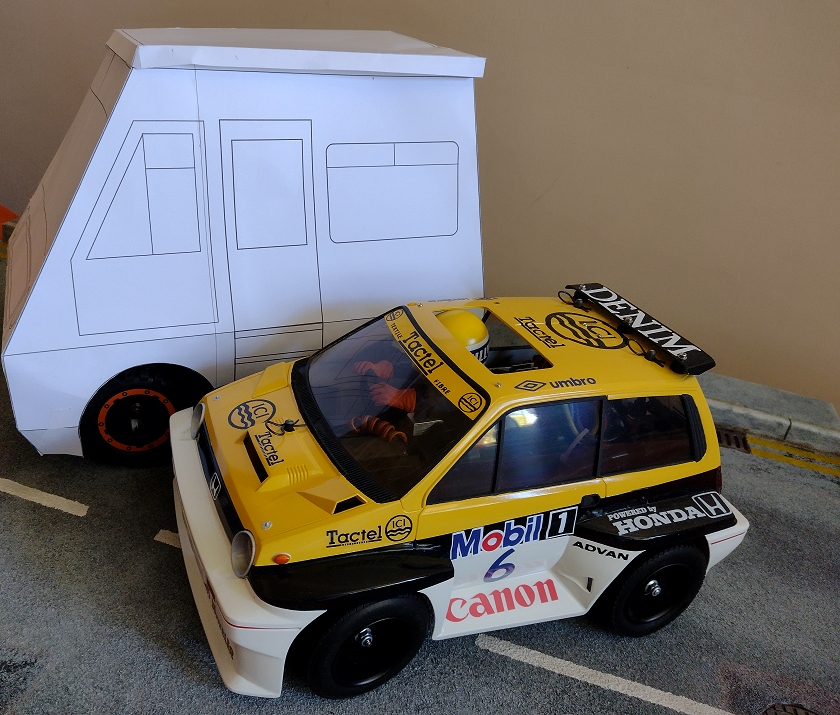
The card looks very wobbly in the photos, but it's very thin, I used far too much glue putting it together & didn't keep anything flat while it dried, and it had been kicking about for some time when I finally took these photos. Note City Turbo for scale :)


Attachments:
The following user(s) Liked this: caprinut, stingray-63, Al, 1972 LeMansGT Jim, GToddC5

Please Log in to join the conversation.

This is not the greatest van in the world ... 2 years 2 weeks ago #79297
Lots of detail chances for the 2nd card version:

The square “waist” section, regardless of the plus points, is problematic from the point of view of making it look as much like the Wheelie Yellow van as possible – the sliding door “should” be flat, but the change of angle necessitates a very obvious kink part way down. At minimum, the waist section is far too deep and needs at least 15mm taking off the bottom of the sides.
The wheelarches needed to be a little bigger and start nearer to the top of the waist section. Making them 8mm bigger in diameter effectively lifted them 4mm.
The front bumper is black, and apparently, ribbed, it’s also closer to the waistline and deeper than what I had – minimising the “waist” section fixed both. The rear bumper also needed similar treatment.

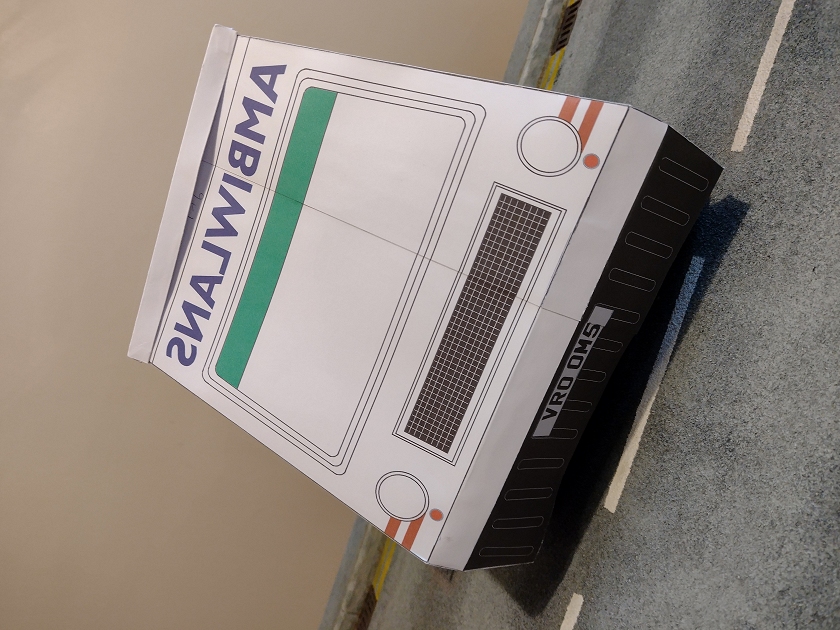
The front & rear needed to be widened by 10mm, while doing this I moved the headlamps and windscreen inboard a little & made the grille less wide. While I felt the roofline could be lifted and the rear angled a bit more, I left those changes out of this iteration so I wasn’t changing too many variables at once.

Other details were increasing the number plate size, adding side marker lights & red stripes, and adding door gaps & guidelines for window rubbers. I also thought about what I could do to make my van more than (or, at least different to) a direct copy … I’m not sure it will stay as a Welsh ambulance, but in the meantime I added appropriate text & shaded some of the windows.

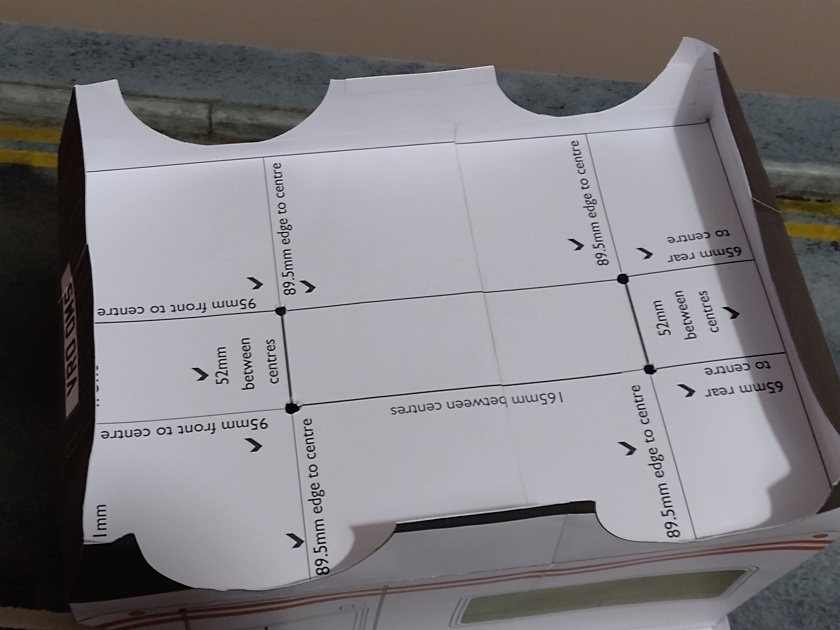
For some time I had a bit of a mental block on how I could mark the “floor” for the bodyposts. In the end I did it by the most obvious means - positioning the first full size card body as centrally as I could, then finding the rounded ends of the posts & marking the centres in pencil. I punched holes to double check & then took measurements … obviously the whole thing was very floppy & some inaccuracies were inevitable, but my worst discrepancy was only 2mm and almost everything was much better. After corrections I had a load of dimensions scribbled on the underside of the body, making it easy to draw up a new floor for printing out.

Putting the “new” drawings into 3D card form gave me a result I was much happier with – slightly more like the “real” thing but also giving it it’s own identity.


Attachments:
The following user(s) Liked this: caprinut, stingray-63, Ducksnuts, GToddC5

Please Log in to join the conversation.

This is not the greatest van in the world ... 2 years 2 weeks ago #79299

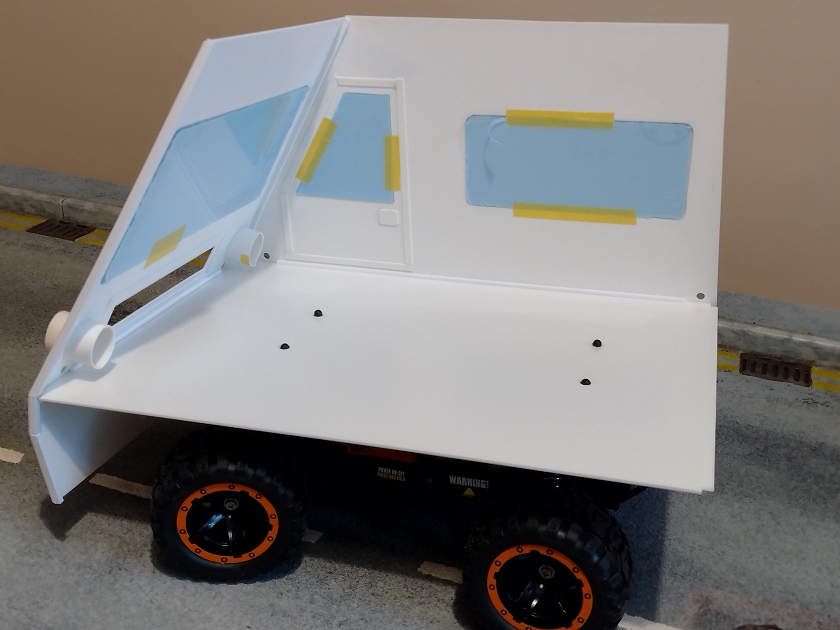
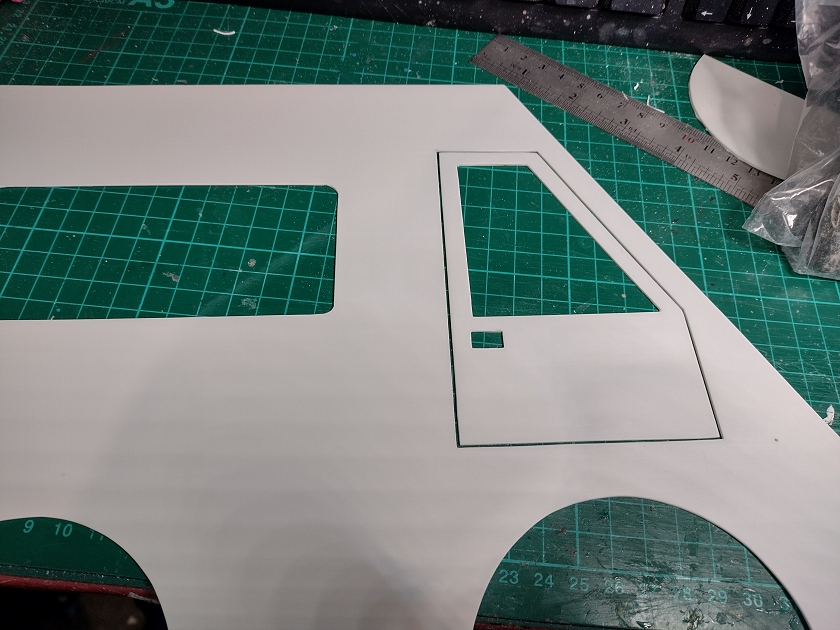
After printing out another set of the plans (in greyscale draft, on paper) I could start cutting panels from “A3+” styrene sheet.

The floor is 1.5mm thick & will almost certainly need bracing, but it’s a good compromise between weight and stiffness for now. The righthand side is 1mm sheet with the door cut out and fixed back in with strips on the inside. Window glazing is what I swear was sold as polycarbonate sheet when I bought it, but it’s too late now to complain about it being labelled “extruded copolyester” and cracking like Perspex when I score & snap ….

Window “rubbers” are a bit off a faff to make but they do help with painting, and holding the glazing in. Some sharp creases were required, these were done by scribing lines on the inside part way through the sheet, and careful bending.

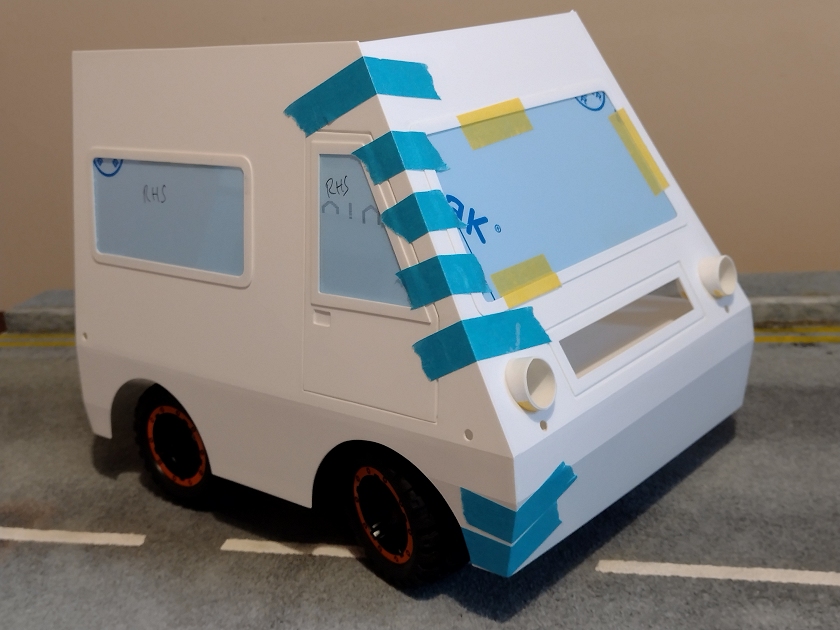
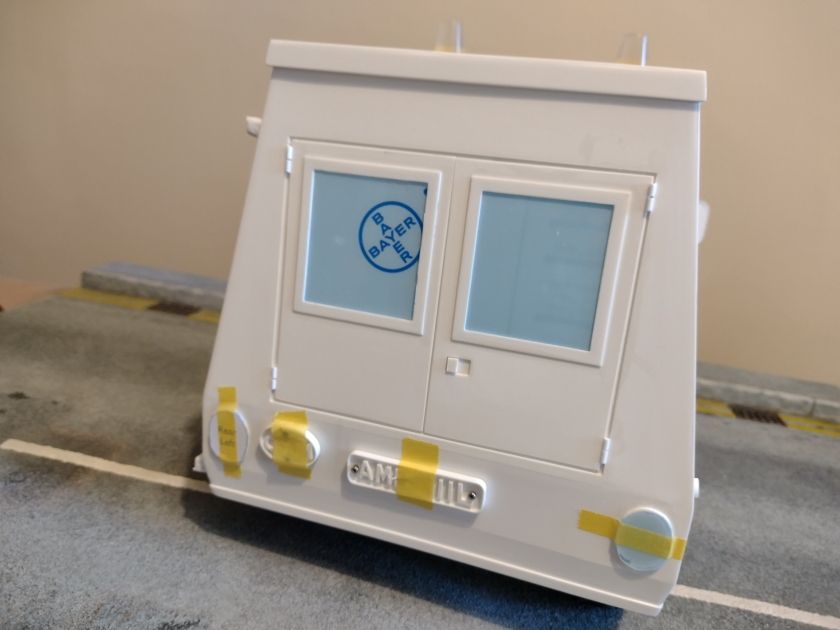
The front is very much the same, with the exception that I’ve added two layers of 0.75mm styrene sheet through the elongated headlight holes. These didn’t turn out quite as I would have liked, but by the time they are finished flush on the outside &  closer to vertical on the inside, they should be good enough.

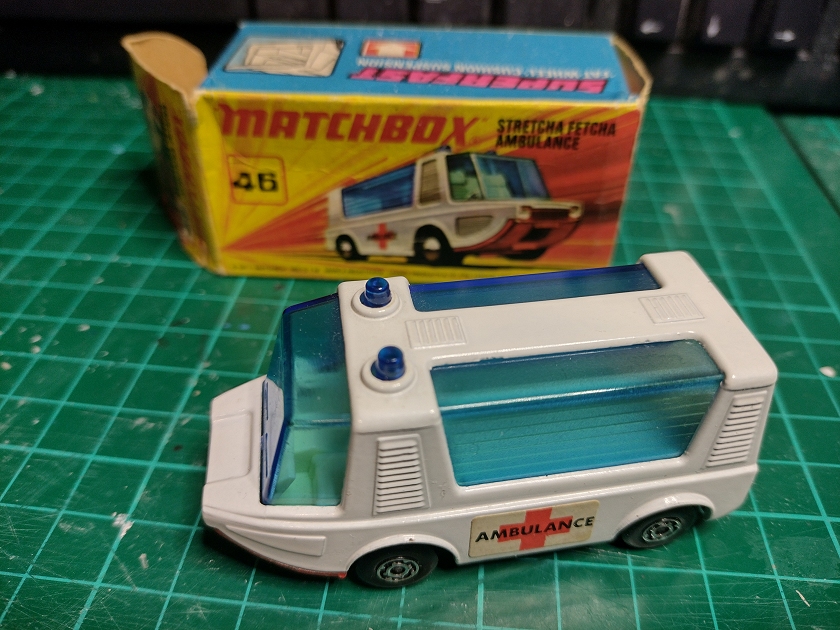
Seeing the blue of the window protective film and the bare white made me think that I was on the right track going with the ambulance theme  - in fact it put me in mind of the 1970s Matchbox “Stretcha Fetcha” I had in childhood. The original is long gone & minty ones are silly expensive, but I got a fairly tidy replacement from eBay :)
 
This makes it look like things are progressing well – they are, it’s just not quite as complete from other angles ;)


Attachments:
The following user(s) Liked this: caprinut, stingray-63, 1972 LeMansGT Jim, GToddC5

Please Log in to join the conversation.

This is not the greatest van in the world ... 2 years 2 weeks ago #79301

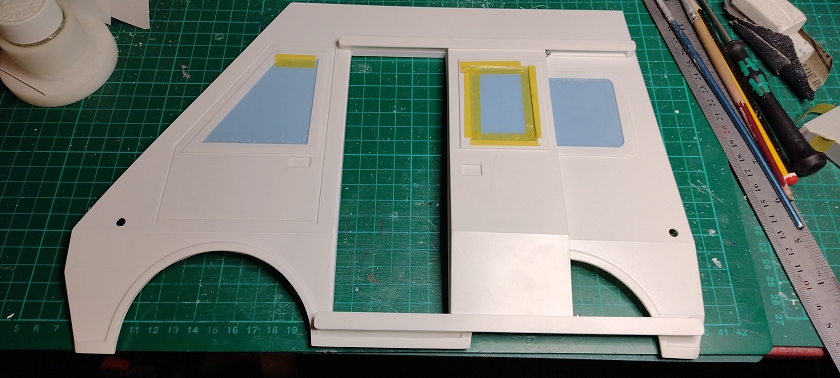
Working on the left hand side:

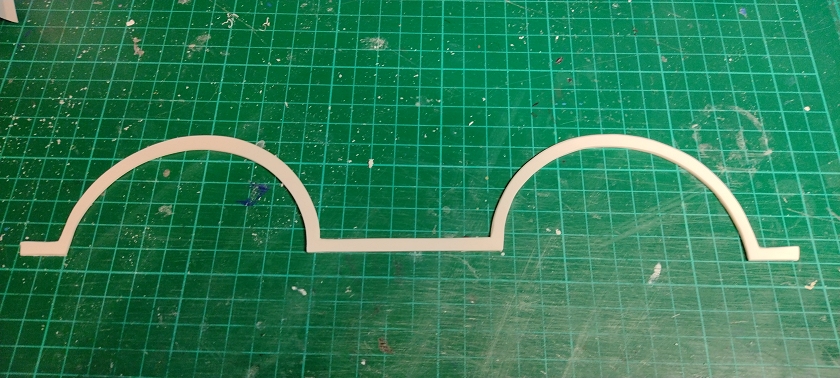
Double moustache set of spats for the wheelarches:


Semi-functional sliding door:


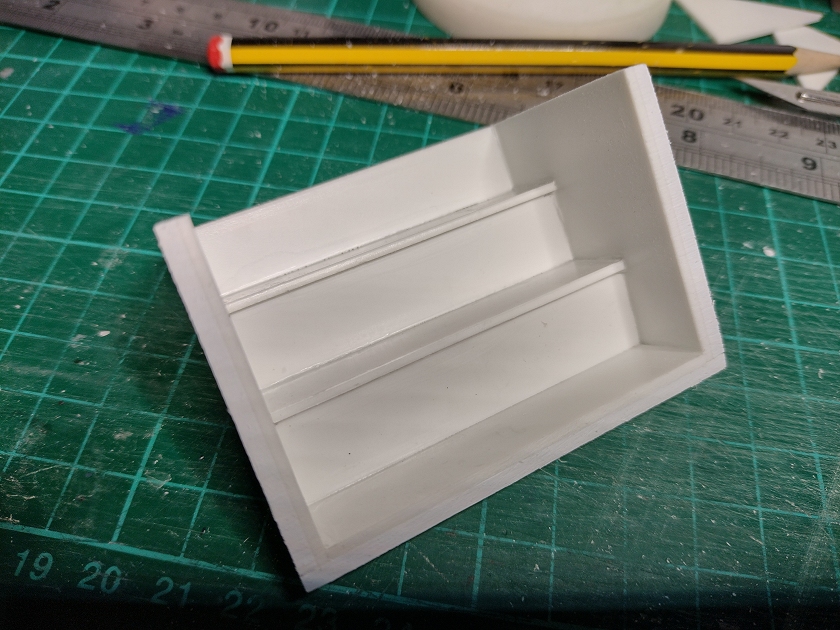
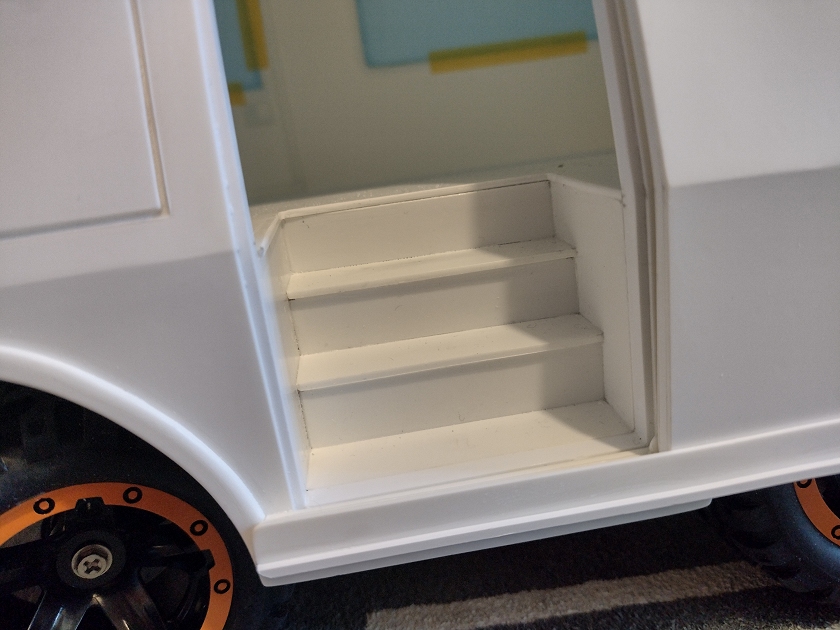
And the steps behind it:


Attachments:
The following user(s) Liked this: caprinut, stingray-63, 1972 LeMansGT Jim, GToddC5

Please Log in to join the conversation.

This is not the greatest van in the world ... 2 years 2 weeks ago #79302

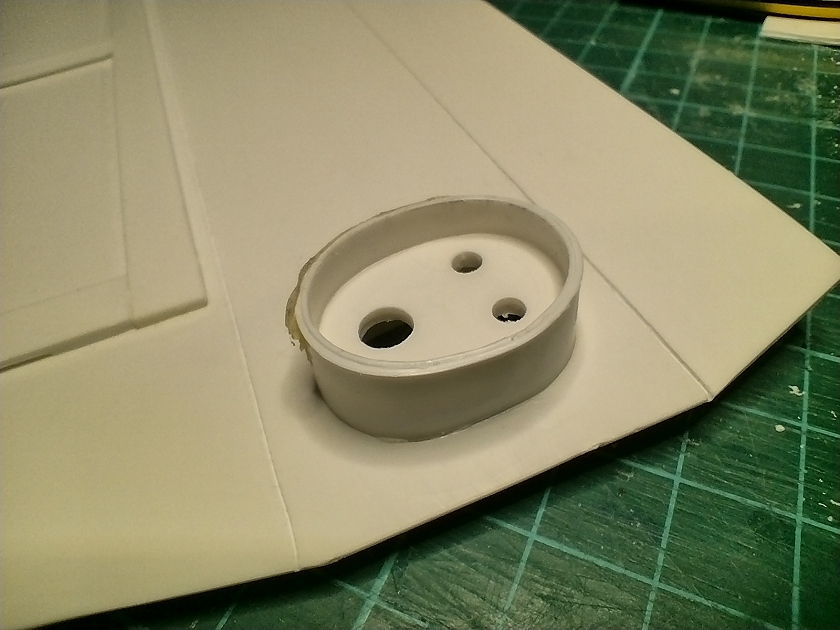
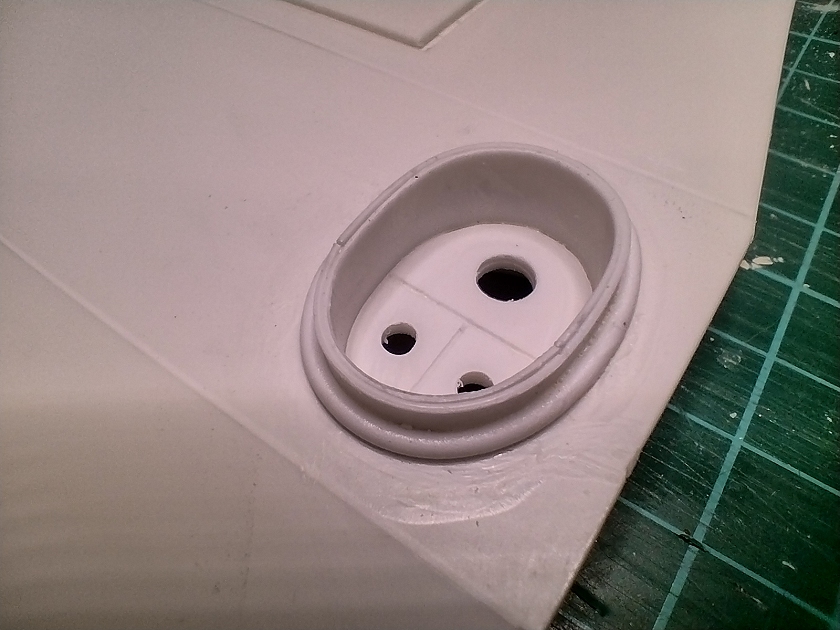
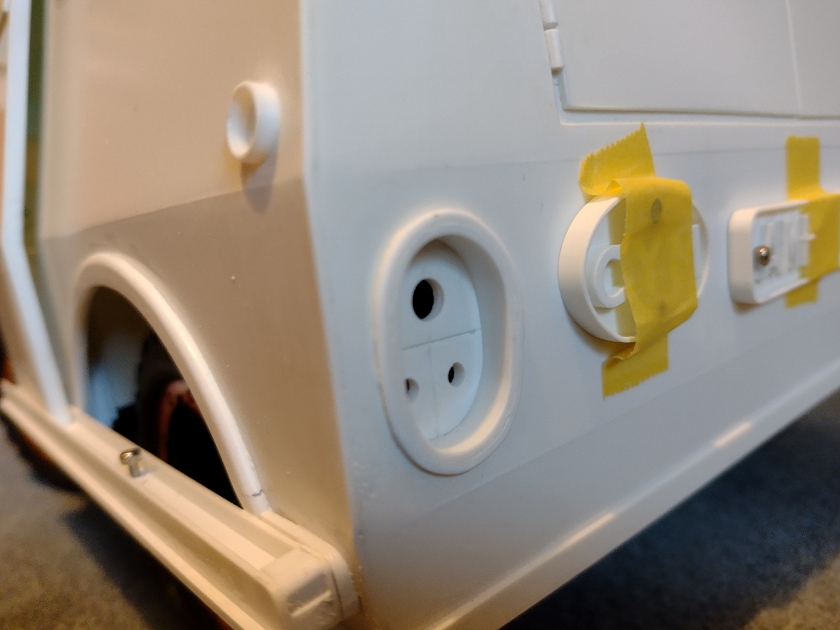
Working on the rear lights:


Finshed, apart from paint, lens, LEDs...


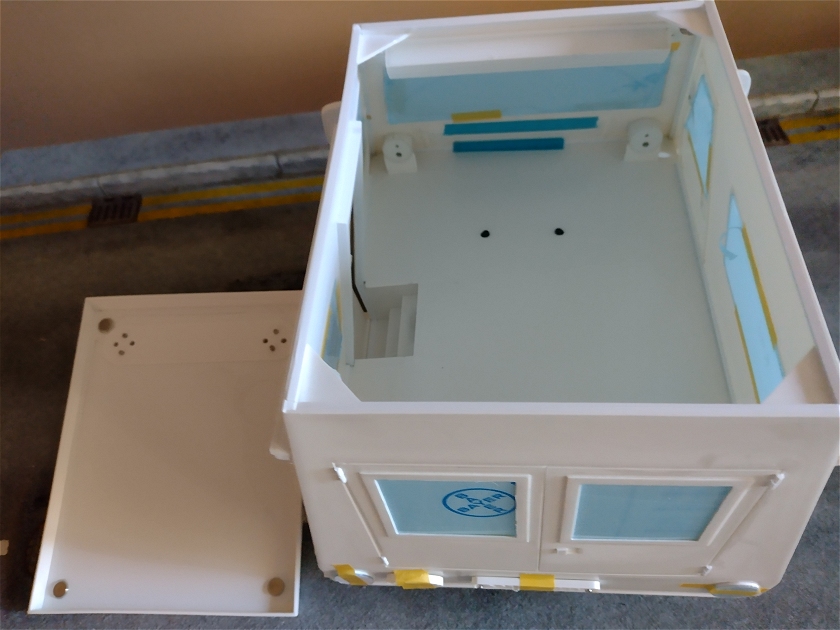
Roof is held on by magnets:

Attachments:
The following user(s) Liked this: caprinut, 1972 LeMansGT Jim, GToddC5

Please Log in to join the conversation.

This is not the greatest van in the world ... 2 years 2 weeks ago #79303

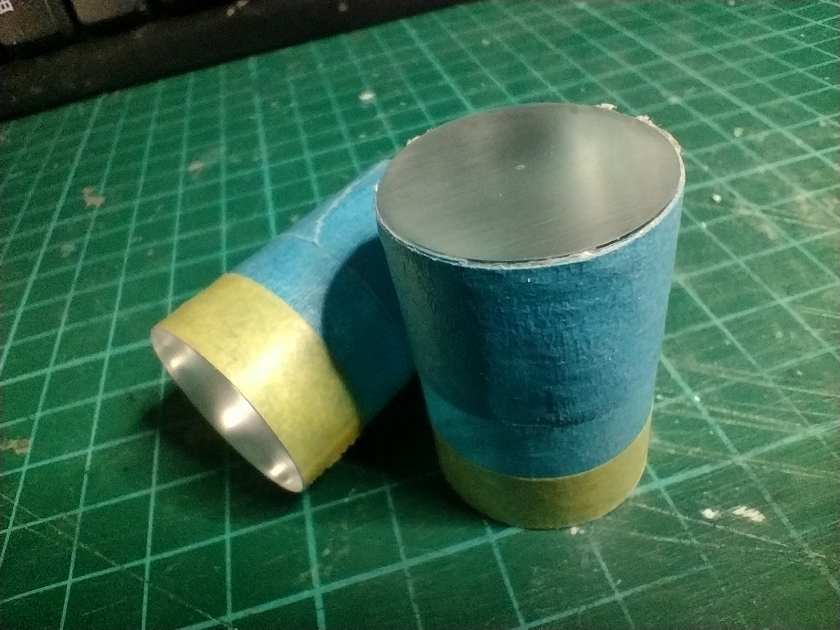
Comedically oversized beacons are a must ... started with 25mm OD perspex blanks ...


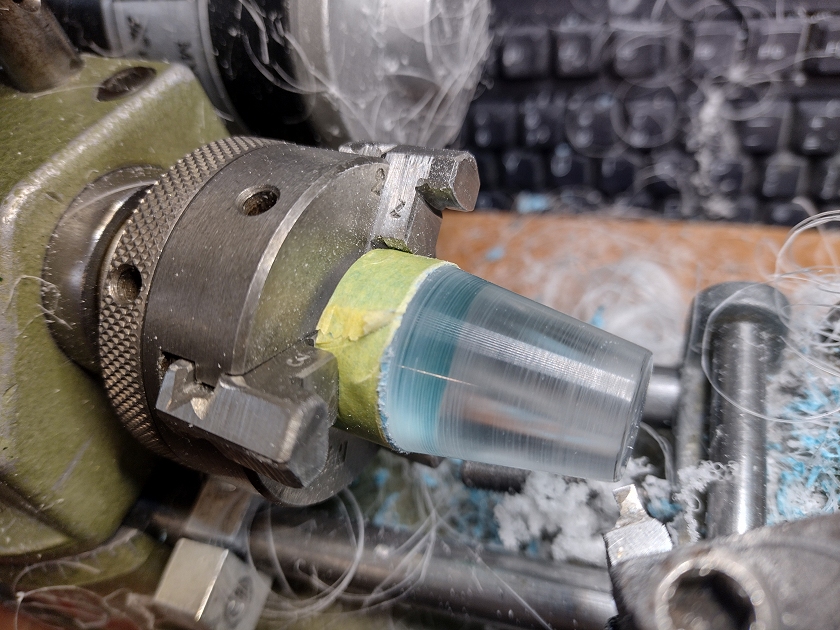
... turned on the wonk on the Unimat - pleased how well they sanded up, I didn't really want to polish them as I plan to airbrush them clear blue:


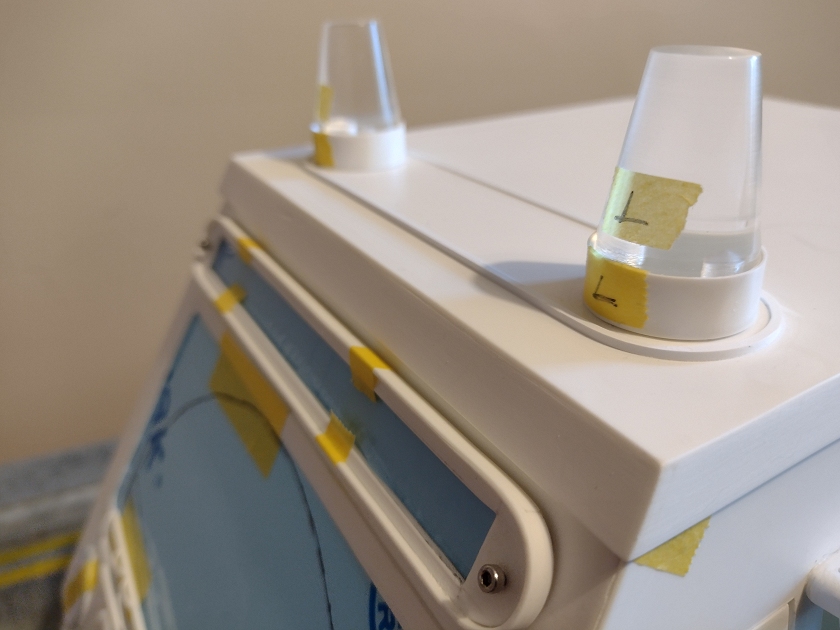
Beacons drilled, tapped & helicoiled for retaining screws, plus space for two 5mm LEDS each, and fitted on the van.

Space for text on the front of the van has been replaced with a box to spread light from two LEDs on the inside through a sign I'll fit on the front - much more like ambulances here used to be in the 1970s :)


Attachments:
The following user(s) Liked this: caprinut, stingray-63, 1972 LeMansGT Jim, Ducksnuts, GToddC5

Please Log in to join the conversation.

This is not the greatest van in the world ... 2 years 2 weeks ago #79304

I already said that, but I'm fan of your creations Jonny. Your chassis looks like my spirit one. I hope to be able to build a body one day like you did on the camper van and my beetle. You are a reference for me.
The following user(s) Liked this: 1972 LeMansGT Jim

Please Log in to join the conversation.

This is not the greatest van in the world ... 2 years 2 weeks ago #79305

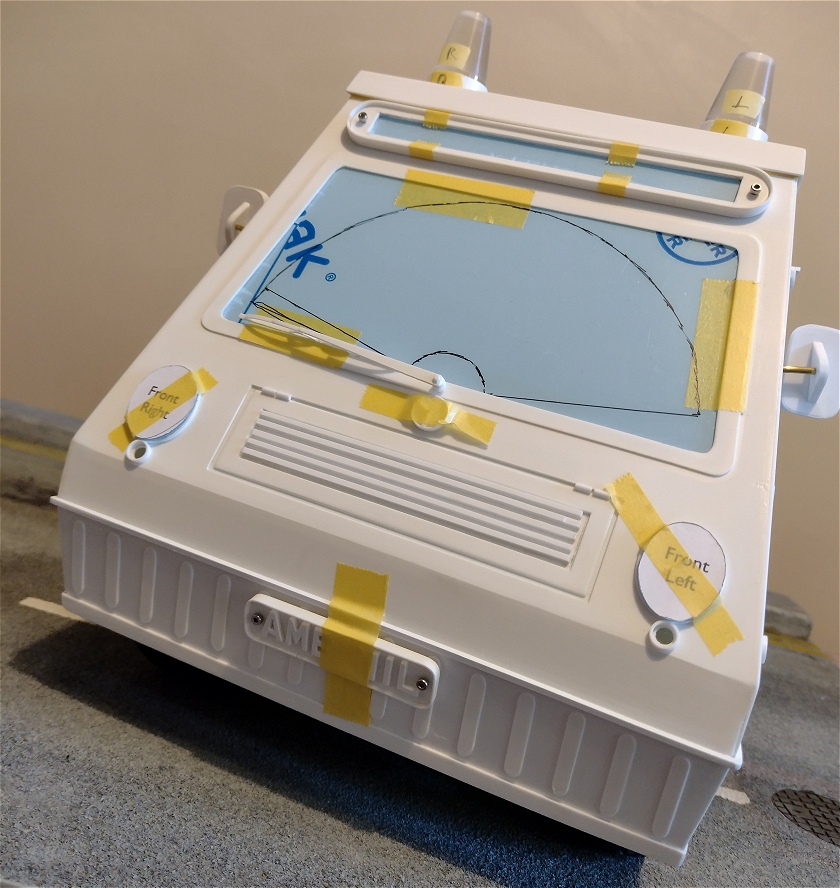
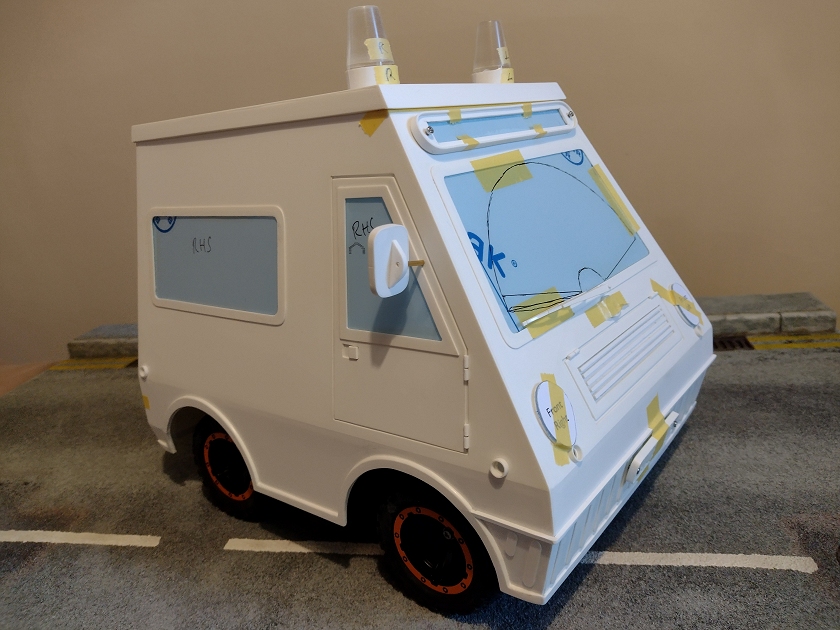
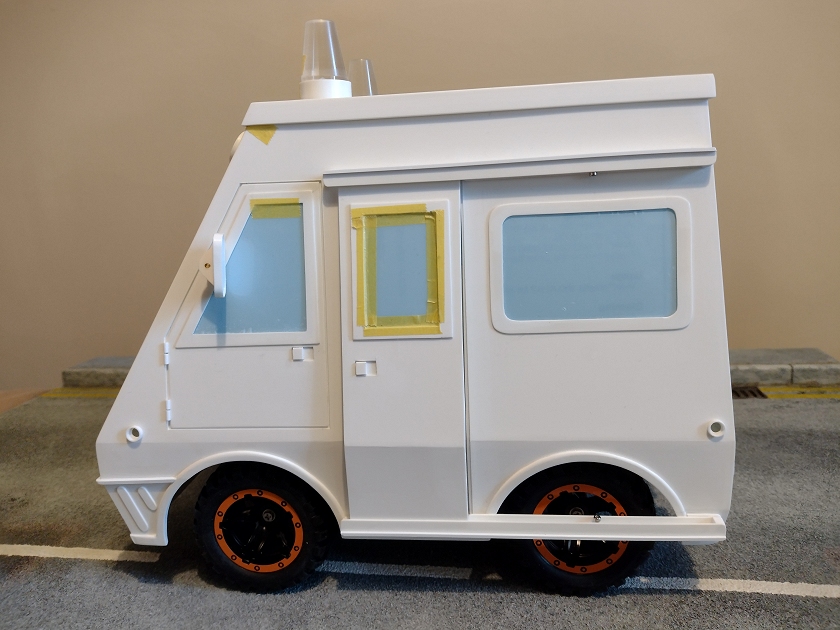
This is how it stands at the moment, all (I think) exterior details done, but no interior, wiring or paint.

There are some other things I want to be getting on with now, I may return to this soon but I know I've well and truly missed any chance to spray colour on this until next spring, so it's slipped way down in priority.

:)


Attachments:
The following user(s) Liked this: caprinut, stingray-63, 1972 LeMansGT Jim, Ducksnuts, GToddC5, Deekay777

Please Log in to join the conversation.

Moderators: caprinut, stingray-63, AndyAus
Time to create page: 0.180 seconds