|
I am sure that you will find the best solution
|
|
Please Log in to join the conversation. |

|
The following user(s) Liked this: larbut
|
|
Please Log in to join the conversation. |
|
|
|
Please Log in to join the conversation. |
|
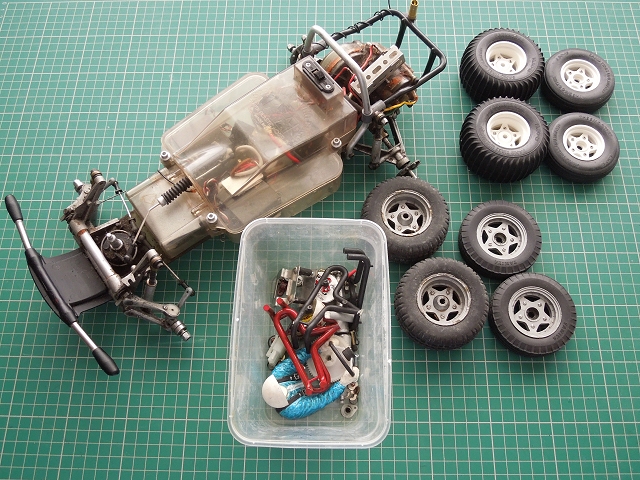
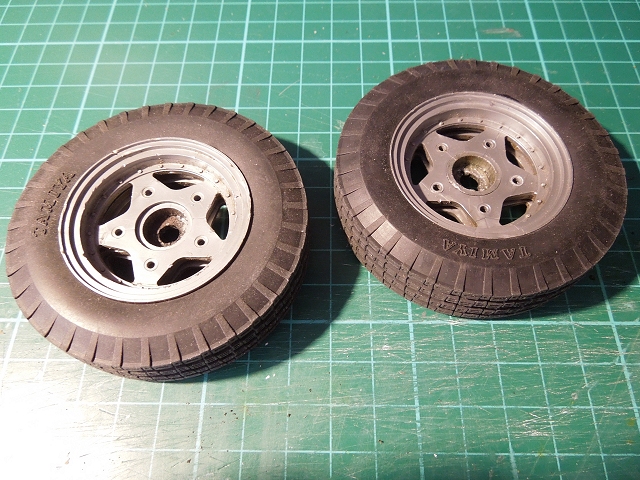
Mk.1 chassis (which will go under the Scorcher shell), plus vintage wheels from my spares box (originally from a Grasshopper so the screws on one pair have slotted heads, the others have crosspoints):
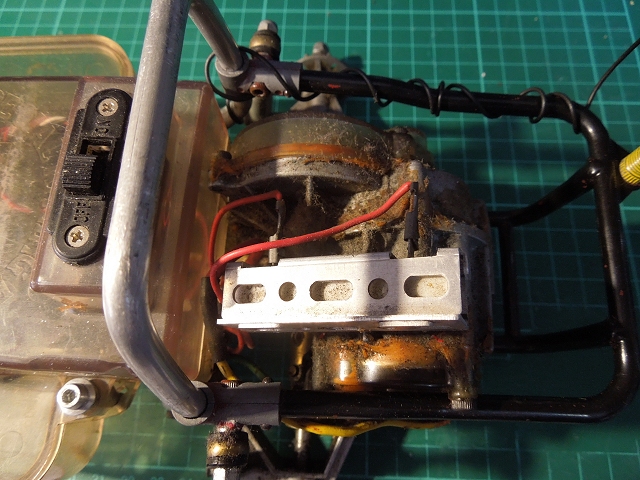
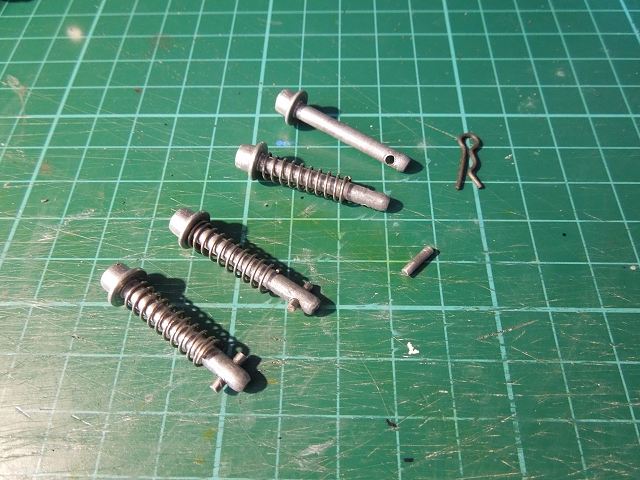
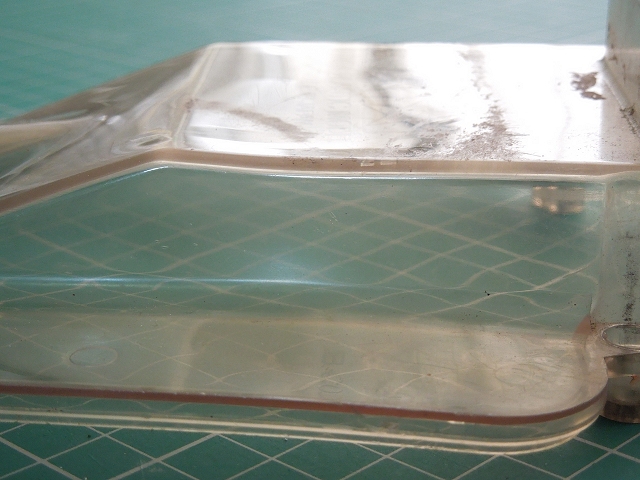
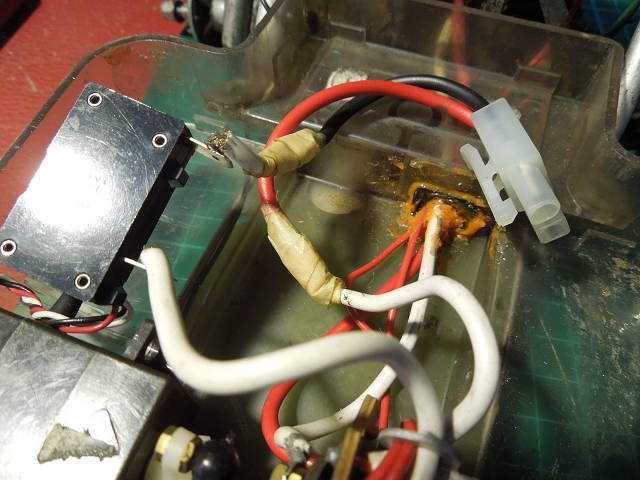
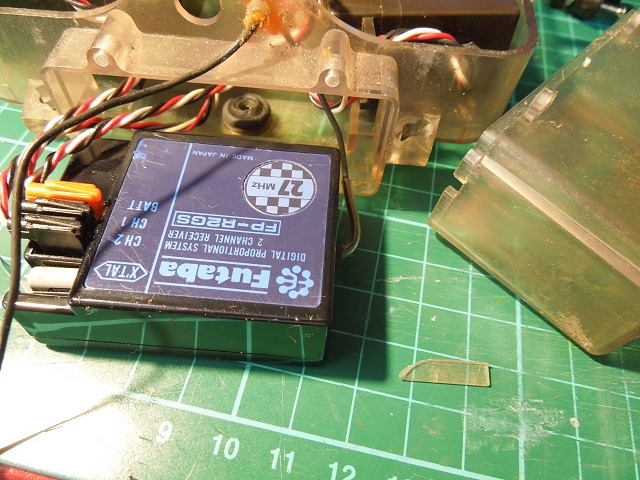
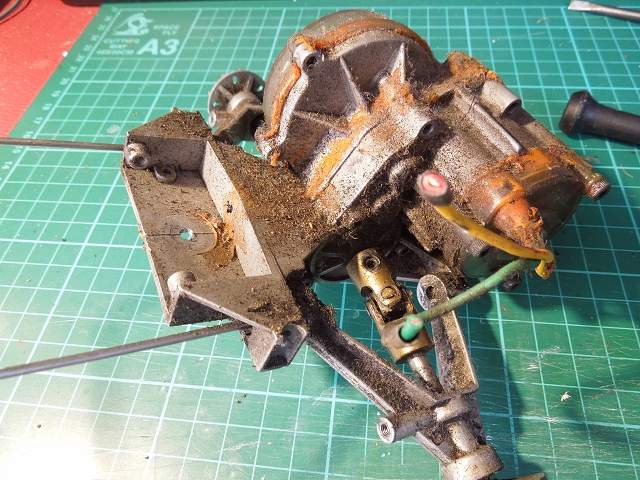
Dismantling the Rough Rider wheels stalled at the fresh superglue Apart from the missing switch boot (which took me serveral days to notice - doh!) the chassis looks very complete - but it is absolutely minging: I was warned about the missing pin on one of the camlocks being replaced with an R-clip - but I just pulled the clip & the camlock rocket propelled itself across the bench Radio box will clean up I'm sure, but there is evidence of heat related warping - a little to the top & a lot on the underside - overheating battery I guess? Wiring could stand some "refreshing": Nice, period Futaba radio gear, bot note the fragment of radio box plastic. I couldn't find a missing area on the box parts |
|
Please Log in to join the conversation. |

|
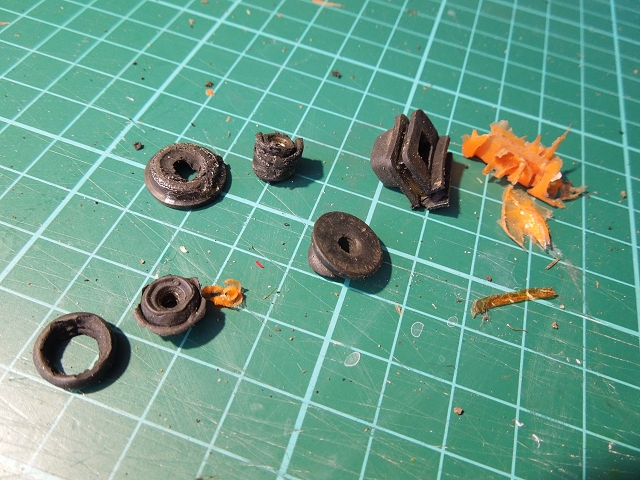
Well nuts have completely had it... they were working well enough, but disintegrated while I was trying to get them out. Motor/resistor wiring grommet is still just about serviceable:
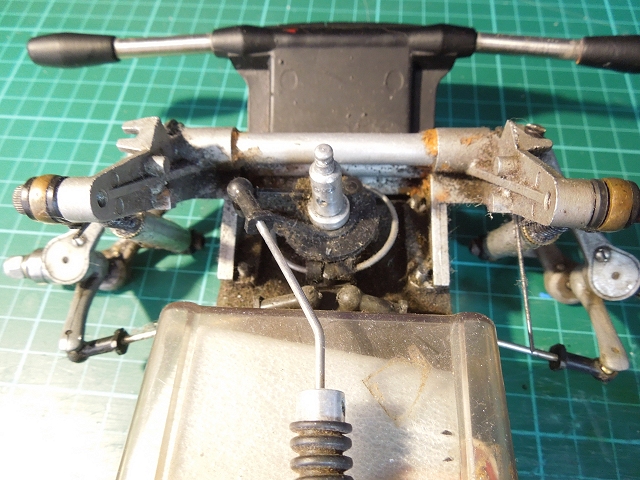
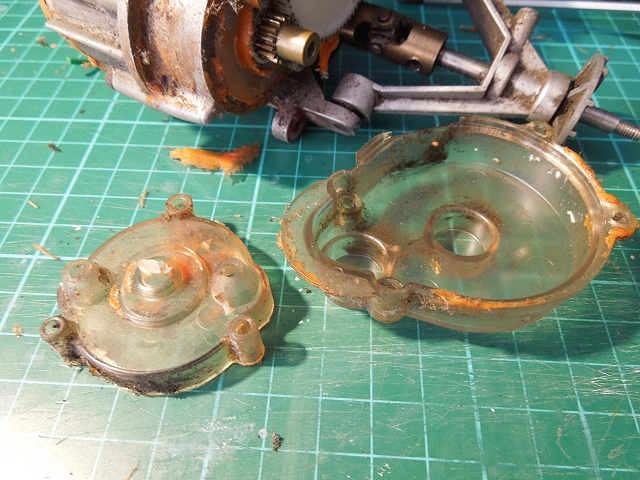
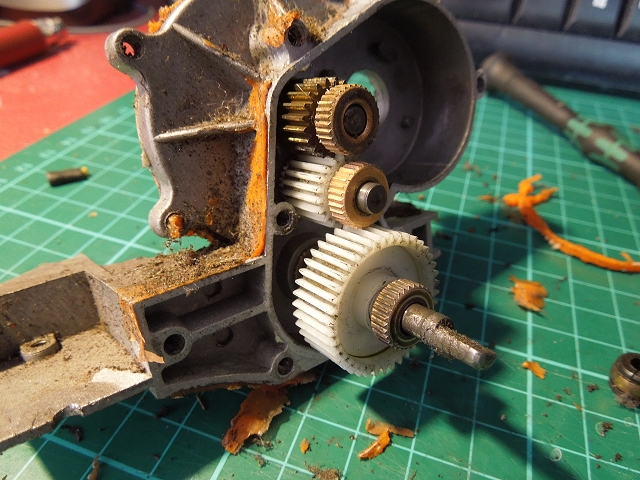
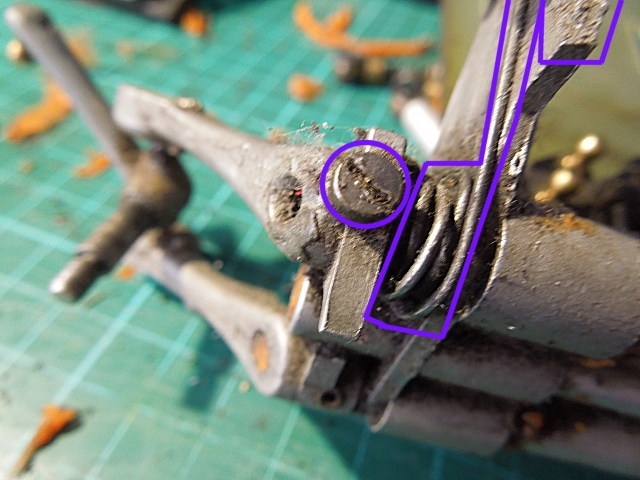
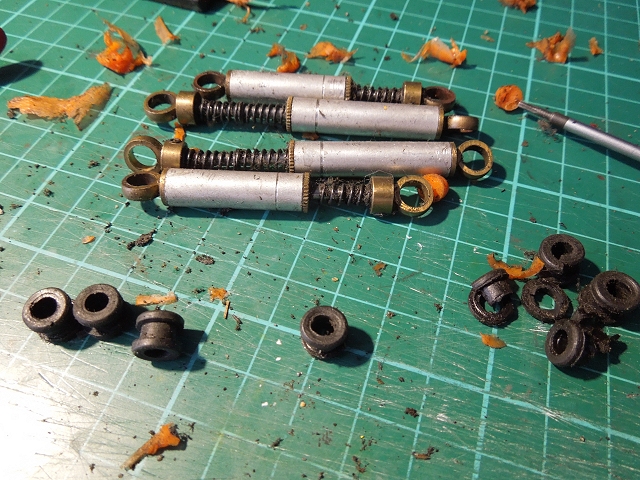
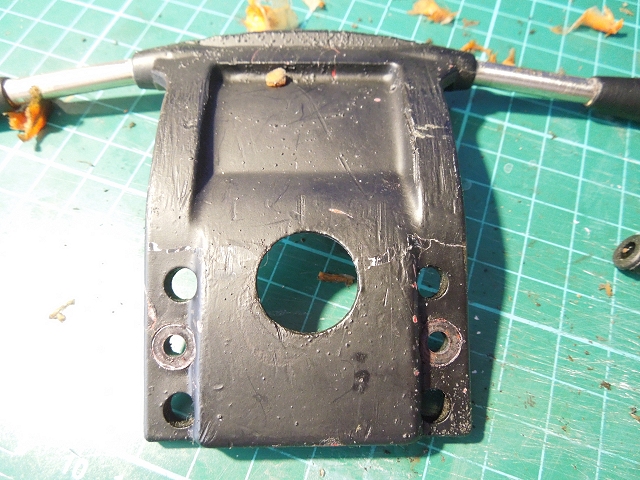
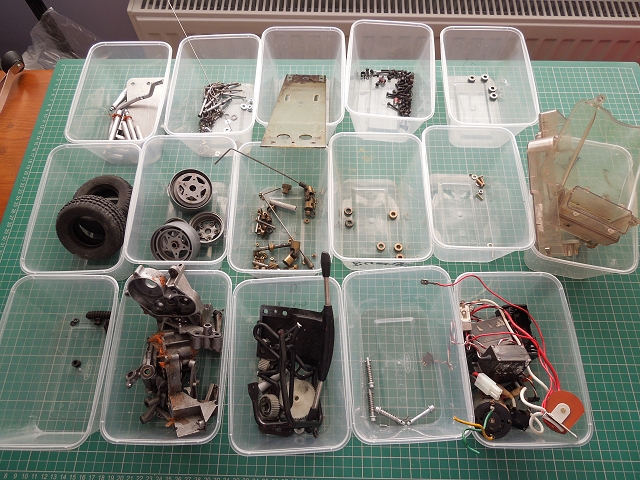
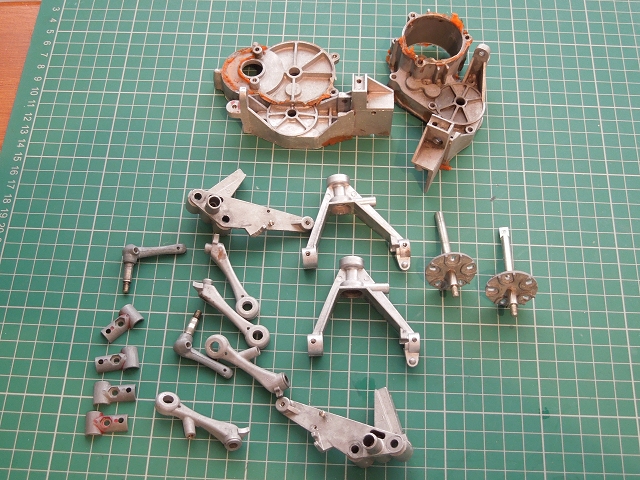
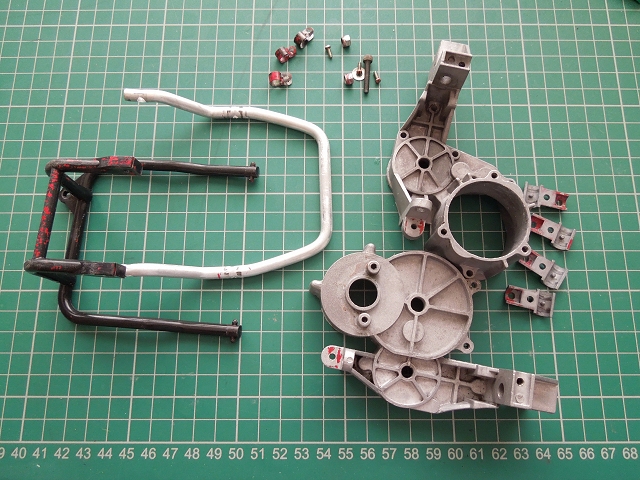
That gearbox isn't looking any prettier (UJs are the most worn I have ever seen, and the grub screws weren't tight, maybe suggesting some parts swappery?) ... ... but the covers are reusable ... ... and the insides look pretty good: Front right corner has some issues - headlamp tab broken off, I don't think thin dual springs are OE (other side the same), odd screw in top arm: Shock bushings: 4 are marginal, 4 disintegrated: I'm sure the bumper is the correct black one, but it's worn, bent, cracked, glued, and been painted over without brushing the sand off first ... Initially I wanted to just replace it with a re-re Fighting Buggy one, then I thought if I can't do that I'll strip the paint off, but TBH I know it'll be a horror show under there and that would probably take it from ugly to unusable - now I'm thinking just throw a wet wipe at it & leave it alone Parts divided by material, most of this will go through the Ultrasonic tank - but that's a job for a (future) rainy day, I just wanted to get a head start on getting any required bits in |
|
Please Log in to join the conversation. |

|
Well yesterday was a rainy day - it rained continuously for 18 hours
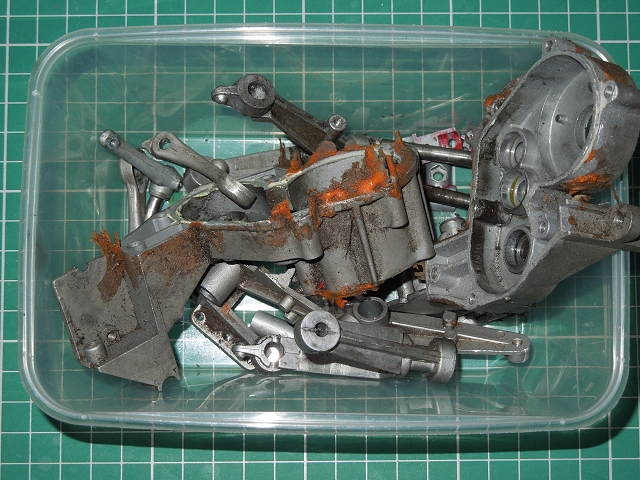
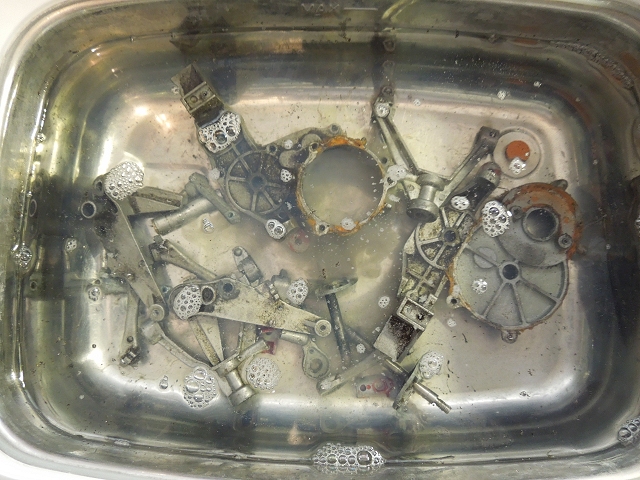
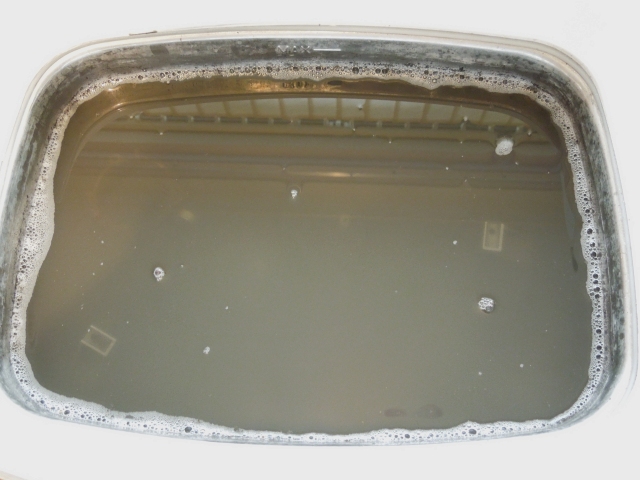
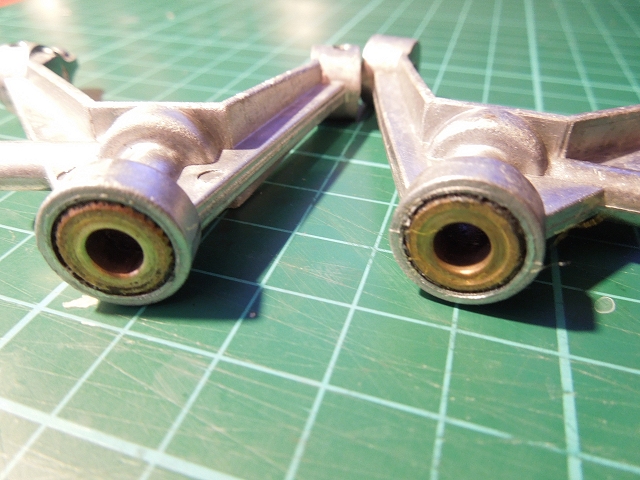
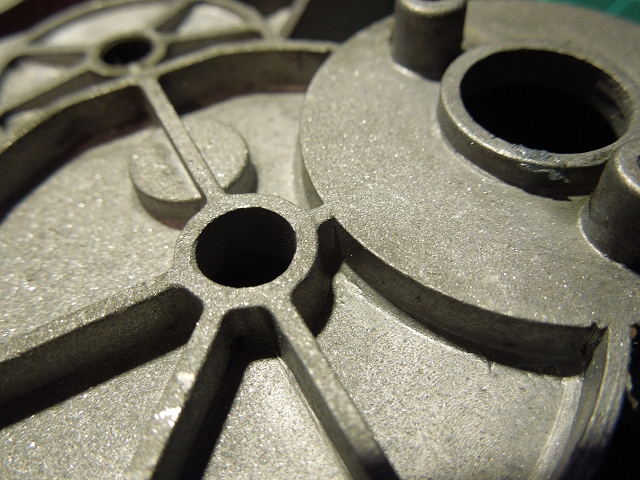
A reminder of how yukky the bits were: Filth started lifting off immediately in the ultrasonic tank: ... and after 30 mins: After a going over with a toothbrush, another session in the tank, plus rinsing & drying: (note the variations in colour) These bronze bearings didn't want to come out initially, but after cleaning I could see it was just blue Hylomar (and possibly evostick, or sealant) holding them in so they could safely be drifted out from behind & the void cleaned... Gearbox had two type of sealant on it - carefully applied white, and orange put on with bog knows what... Some parts of the gearbox were suspiciously sparkly & rough, like they'd previously been media blasted? ... |
|
Please Log in to join the conversation. |
|
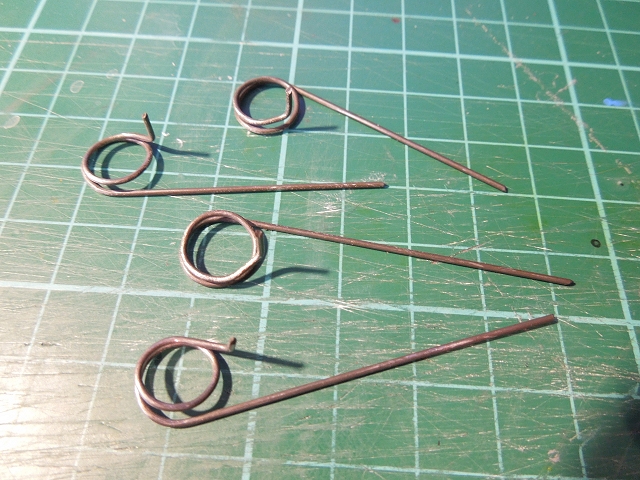
Front springs are definitely home made:
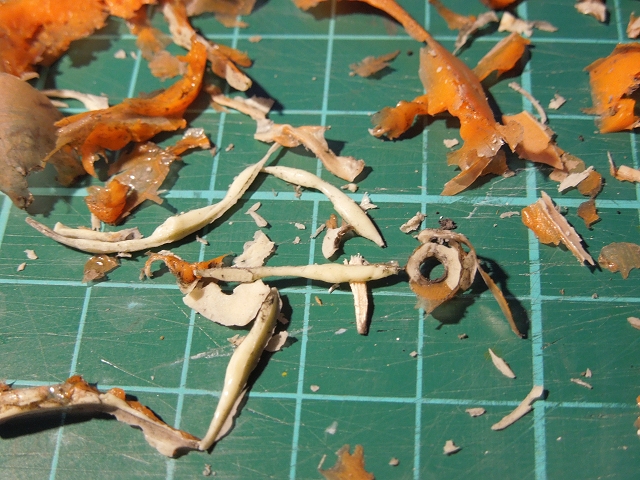
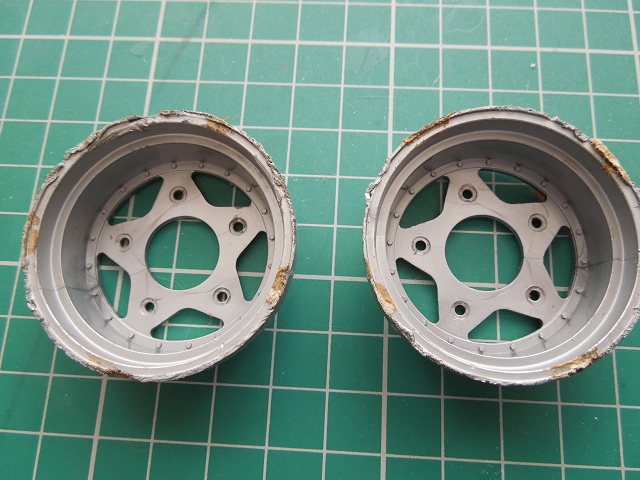
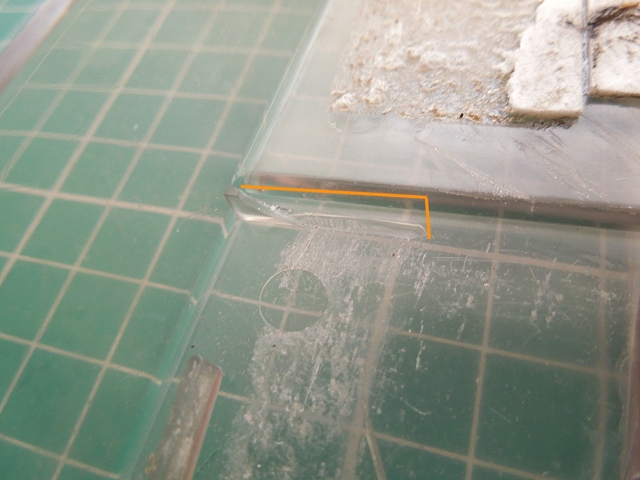
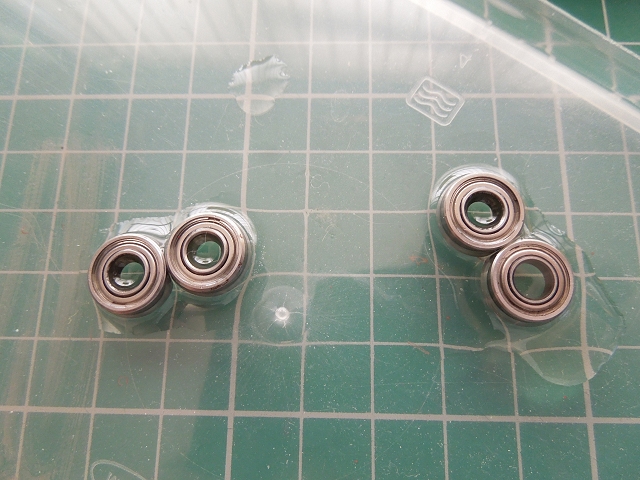
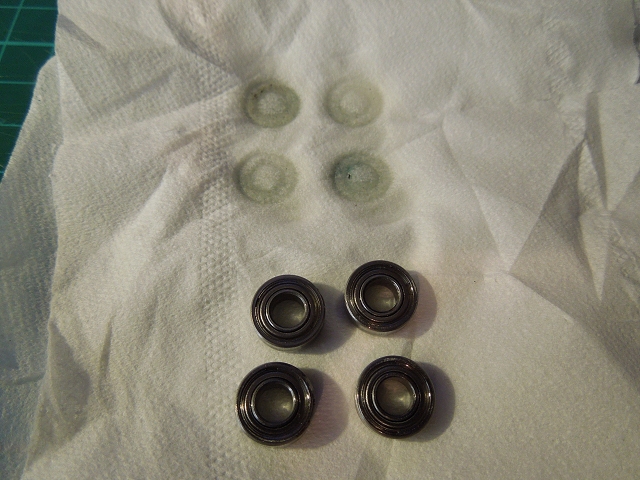
A lot of the rear end components have red paint on them: I'll give the Rough Rider rear wheels a quick skin on the Unimat to tidy them up ... Extra plastic bit mystery solved: This method usually works for bearings - drip on 3 in 1 oil & leave overnight, draw off with capillary action from underneath with tissue or rag, repeat until clean - these are surprisingly clean. All the other bits (excluding the electrics) have been through the tank too |
|
Please Log in to join the conversation. |