Keyword

TOPIC:

Adventures in painting 1 year 6 months ago #80334

🤤🤤🤤🤤 two are lovely. If you make another one in this color theme, you could make a ritz crackers one. Like in the NASCAR. 

Please Log in to join the conversation.

Adventures in painting 6 months 3 weeks ago #81984

My Dad sold "Minty", the toothpaste coloured (new) Fiat 500, back to the main dealer post-Covid and prices had gone up so much he barely lost any money between buying it (preregistered) new and selling it at four years old. IDK how much the dealer made on re-selling it, but I'm pretty sure they'd sold it before we even dropped it off :D

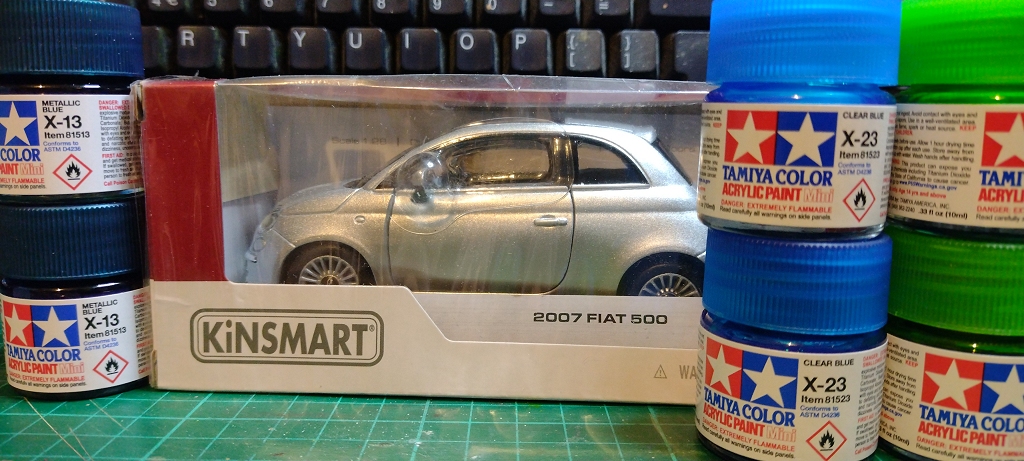
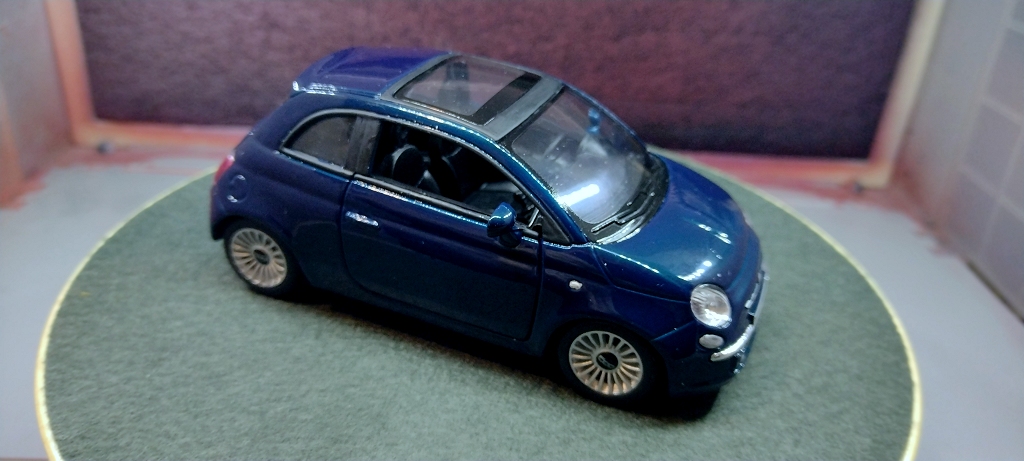
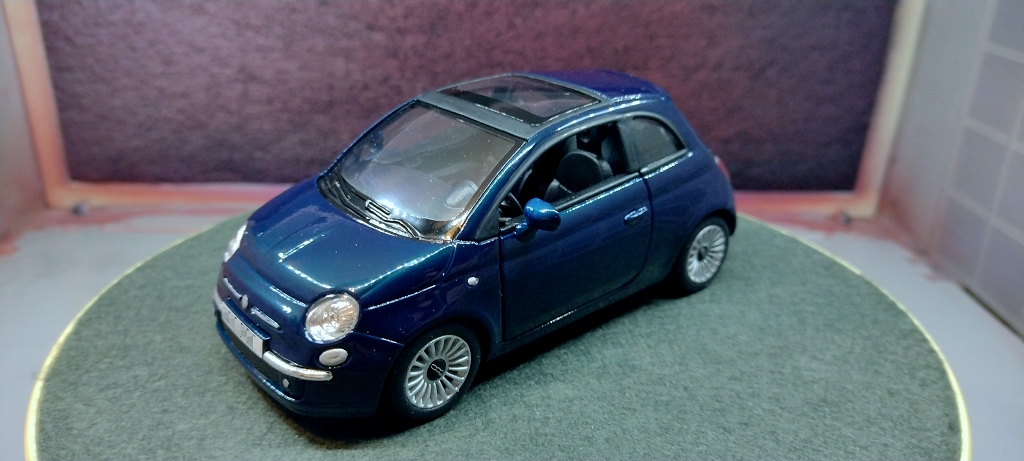
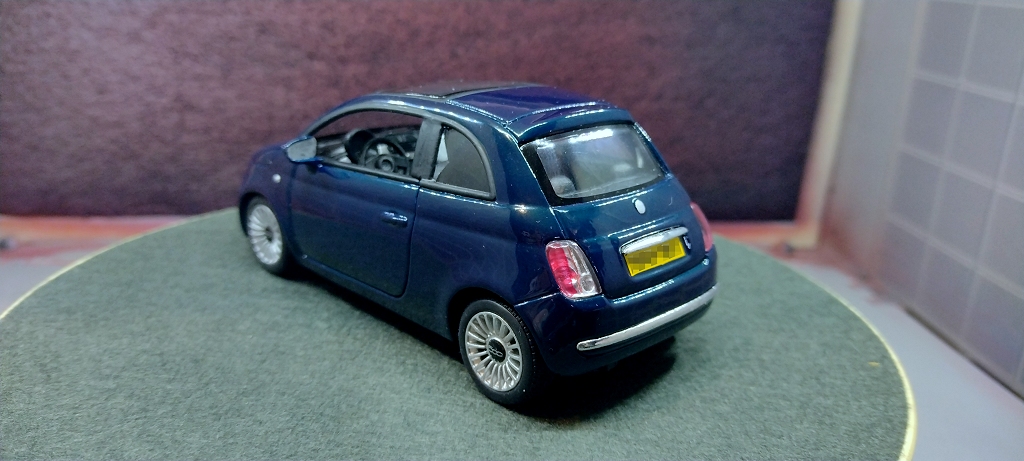
Fast forward a couple of years and he missed it so much, he bought another one -  again new/preregistered but this time a hybrid with a wee 1 litre 3 -cylinder engine and electric motor to restore the performance gap ... the main difference is it's in "Epic Blue", which means I had to find another of the diecast models in that awkward 1:28 scale. Long out of production, I'd been looking for ages but finally had to accept defeat and buy one from Italy ... total cost between the car (15 EUR) post (another 15 EUR), a ruinouis exchange rate,  plus VAT (8.95 GBP) and now paint is more than I want to add up :S

The car arrived with a squished top that had been fretting all the way on the sunroof, but hopefully I can polish out the damage with the Novus "repair" polishes.

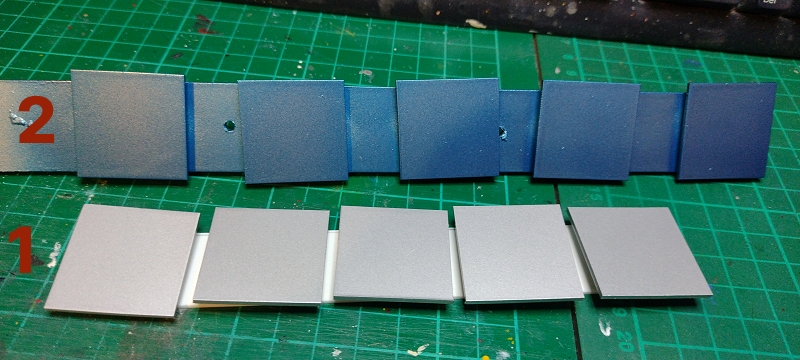
"Epic Blue" looks to be a coloured clear over a metallic blue base, so I've cut up some test squares of styrene sheet, which is now outgassing from primer, alumininium coat and clear, ready for some airbrushed X-3 Metallic Blue. I'll then try various proportions of X-25 Clear Blue and X-25 Clear Green & hope to get a match ... it's a difficult shade, most of the time it looks like a pointlessly difficult and expensive to repair green/blue shade of black, in poor light it's very much like British Racing Green - you know it's green but it might as well be black, in really strong sun it's a green/blue irridescent like a bluebottle fly :whistle:

Attachments:
The following user(s) Liked this: stingray-63, Al

Please Log in to join the conversation.

Adventures in painting 6 months 2 weeks ago #82009

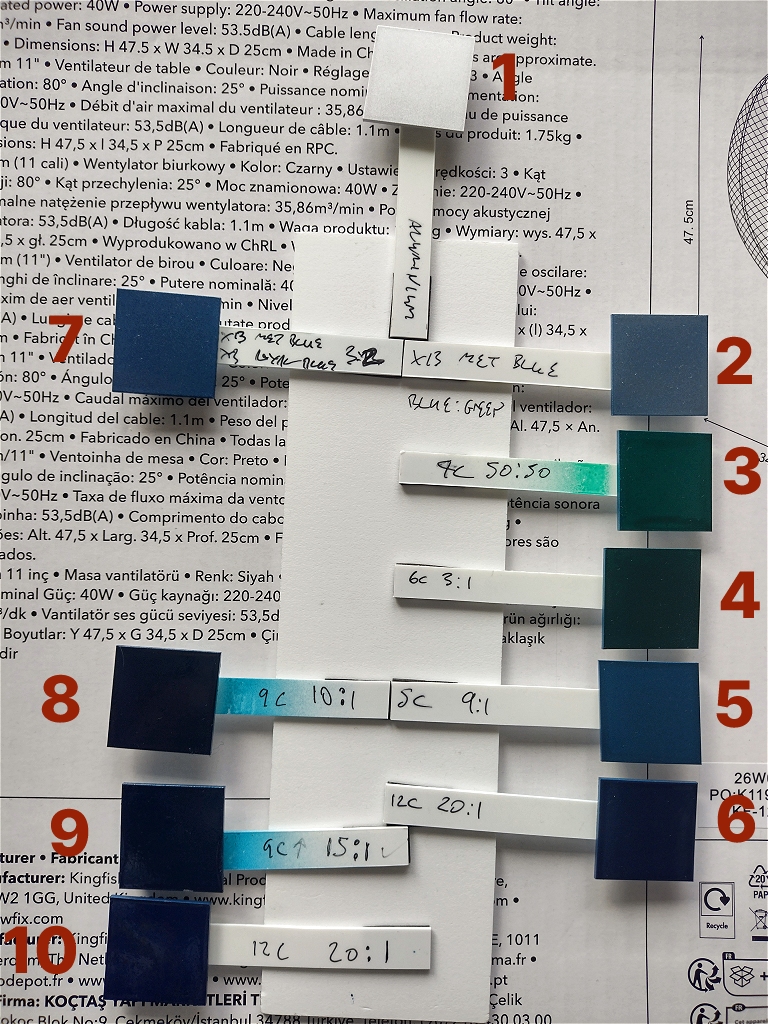
Getting to the correct combination and mixes of colours took a lot longer than I expected, TBH I thought preparing some samples in the right sort of colour to replicate either what was already on the car (1) (or bare metal (depending on how much time I have), then a base coat of X-13 Metallic Blue (2), followed by a 50:50 mix of X-23 Clear Blue and X-25 Clear Green (3) would be 99% of the work, and I'd just have to the tweak the final mix a little. 

However, 50:50, 3:1 (4) and 9:1 (5) all proved to be wrong. A silly number of coats of a 20:1 mix (6) was getting there, but it was obvious the base colour wasn't really dark enough - it's also very fussy, varying massively with viewing angle and light strength/colour.

I tried a base coat of 3 parts X013 Metallic Blue and two parts X-3 Royal Blue (7). This looked a lot more like the cap on the jar, though I may go for a 1:1 ratio when it comes to painting the toy car.

As for the top coat, 10:1 (8) and 20:1 (10) of clear blue/green were too green and a touch too dark respectively, so splitting the difference at 15:1 looks like the way to go.

TL;DR - difficult looking paint colour proves difficult to replicate :whistle:


Attachments:
The following user(s) Liked this: stingray-63

Please Log in to join the conversation.

Adventures in painting 4 months 3 weeks ago #82206

No pics of the multiple coats of my DIY Epic Blue Base (3 parts X-13 Metallic Blue to 2 parts X-3 Royal Blue), but it is a nice colour & I plan on using it elsewhere soon :)

Lots of coats (like 15) of my DIY Epic Clue Top Coat (15 Parts X23 Clear Blue to 1 part X25 Clear Green) & it looked the correct super dark blue, almost black in some light, but with a green tinge at times - and flawless. Multiple weeks of curing later, it's not as deep blue & some small inclusions of dust showed up too. I've done some detail painting & reassembled, it can go back in the box for wrapping for Fathers Day. 

Did I mention that after months & months of a complete drought of these in the UK (that prompted me to buy this one at great expense from Italy) that I got another NIB one locally for 1/4 the cost? :whistle:


Attachments:
The following user(s) Liked this: stingray-63, Al

Please Log in to join the conversation.

Last edit: by Jonny Retro.

Adventures in painting 4 months 2 weeks ago #82245

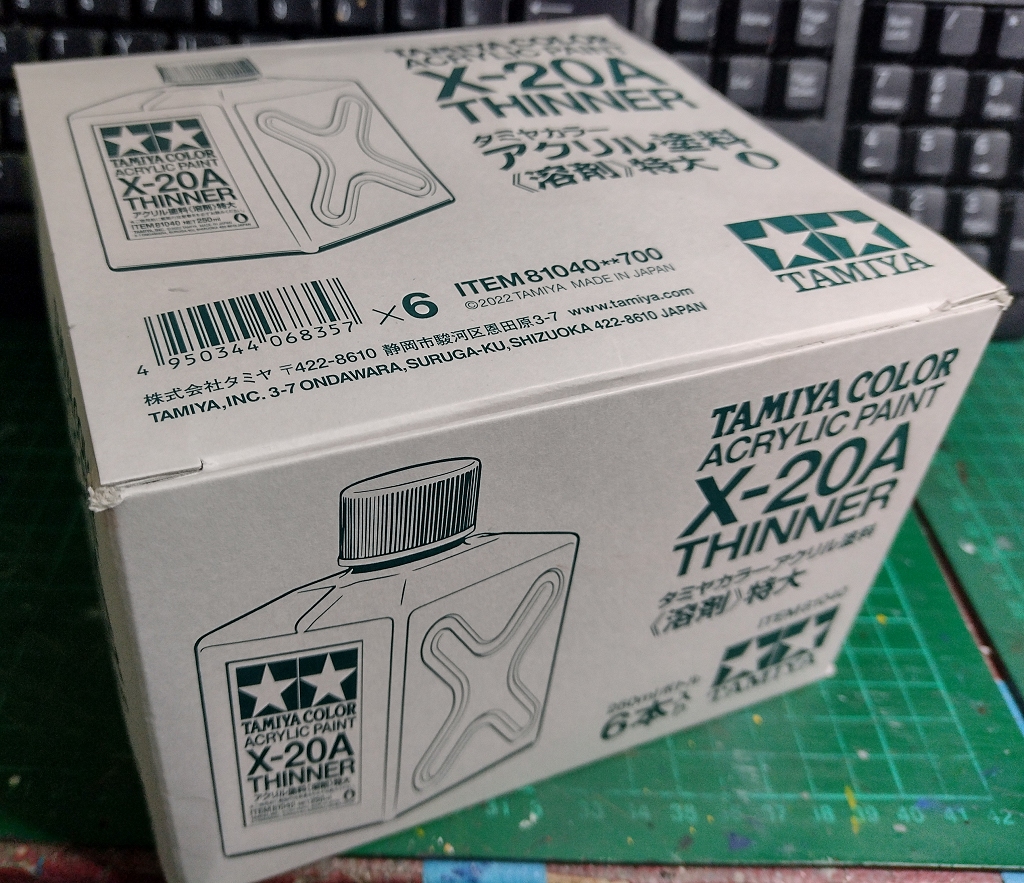
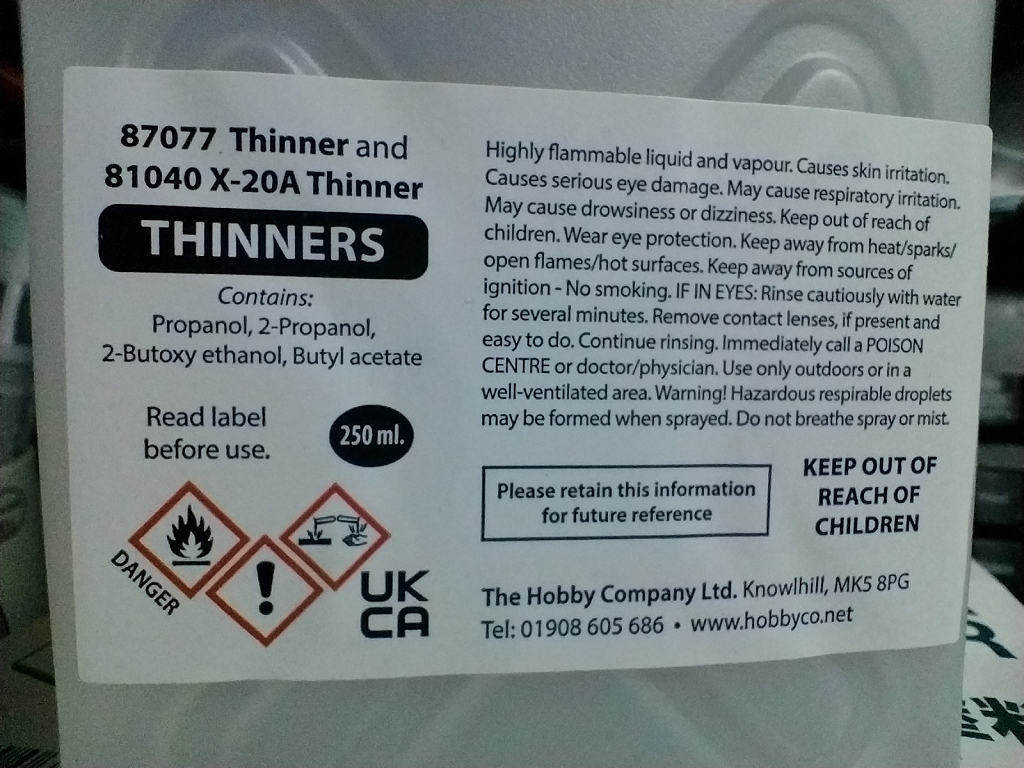
Airbrushing Tamiya acrylic paints means getting through quite a lot of their X-20A thinners - some for thinning of course, but mostly cleaning.In 10ml jars it would be completely unsustainable, but there are 250ml containers which still hurt a bit, but I try to get a few at a time so it doesn't feel quite so spendy so often, and I can spread the postage costs among a few pots. 

This time I bought four :whistle: and they came in a nice outer box (for six) that I hadn't seen before. You'd think the top would fold in half and the front be perforated for display in hobby shops, but no. 

New labelling on the side of the 250ml containers gives further clues as to the recipe (previously discussed at tamiyabase.com/...t=20#33259) but I don't think the economics and supply issues have got any easier, so a DIY equivalent is still not on the cards.

However, I think DIY Surgical Spirit (known as Rubbing Alcohol in the US) which is 70% IPA, 30% pure water, or another blend like 55% IPA, 45% pure water & a tiny bit of dish soap may work just as well for cleanup, at something like 1/13 and 1/15 the cost of X-20A respectively.  


Attachments:

Please Log in to join the conversation.

Adventures in painting 4 months 2 weeks ago #82247

The x20a thinner is the best to clean airbrushes.
The following user(s) Liked this: Al

Please Log in to join the conversation.

Adventures in painting 3 months 2 weeks ago #82365

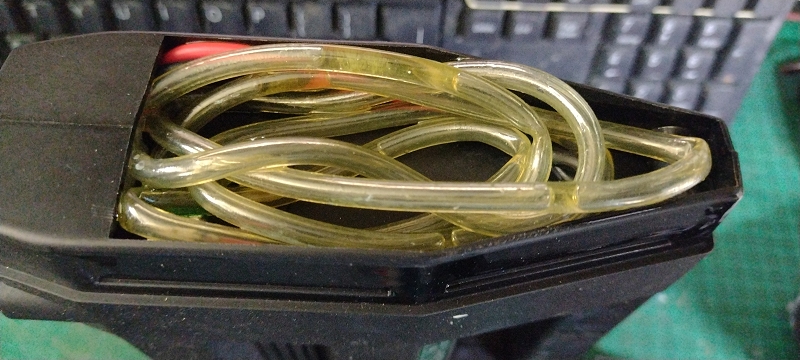
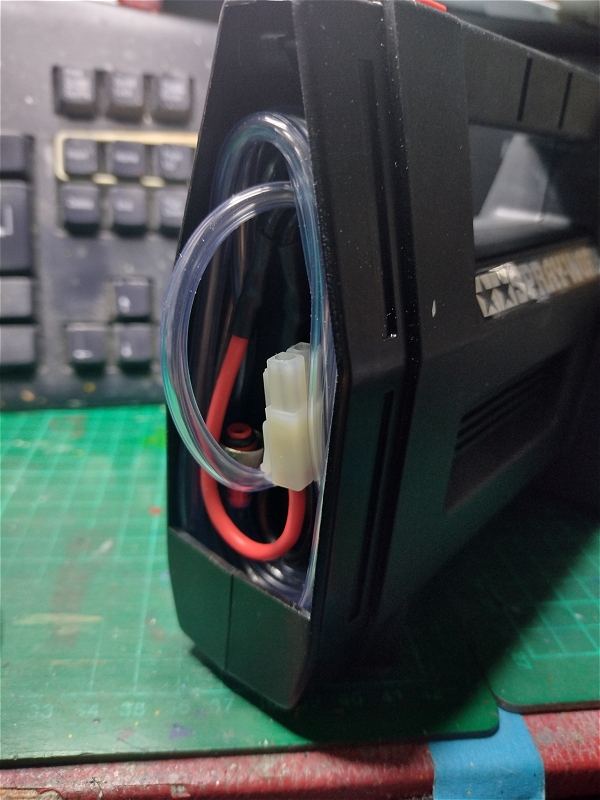
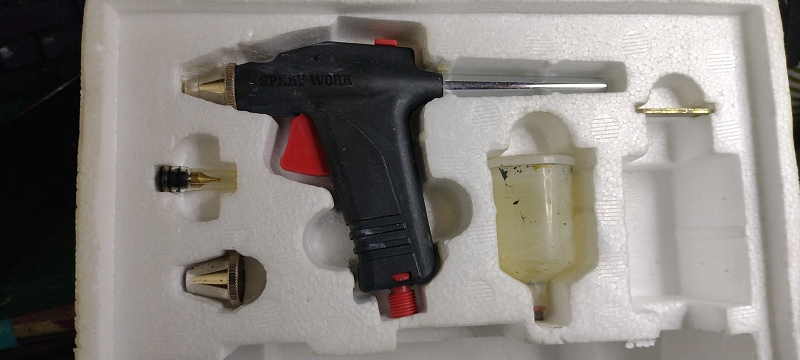
Another Tamiya 74501 Spray-Work Airbrush System Set from eBay - this one was described as untested and having oil in the hose.


It was just the usual breakdown of the PVC pipe, not even the worst I've seen. Easily fixed, and I replaced the incorrect battery connector while I was at it.


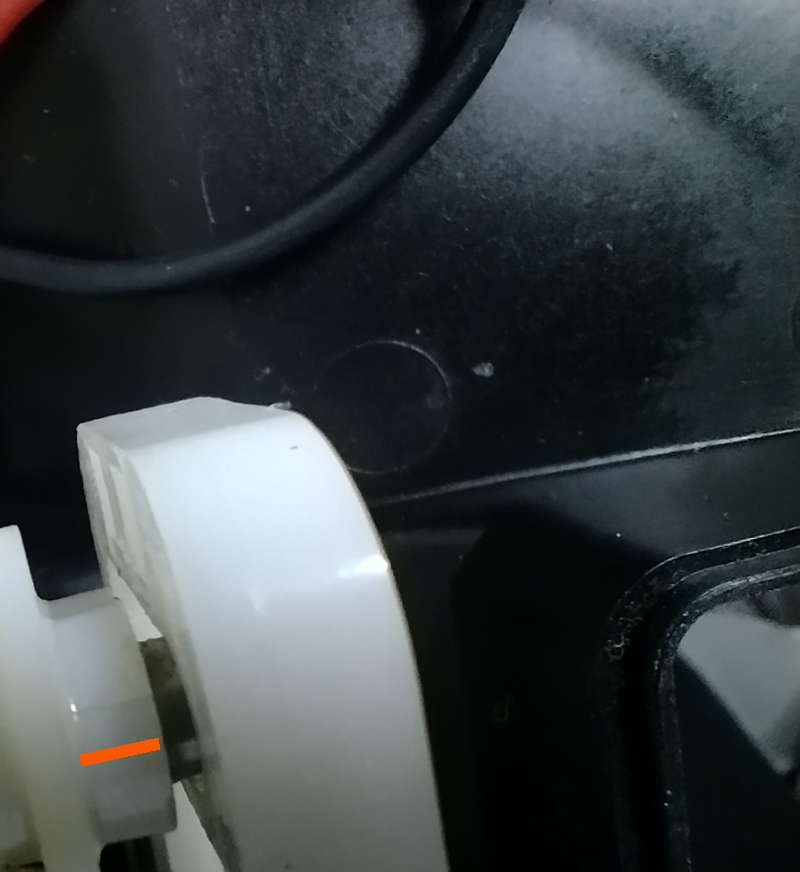
The compressor seems to work fine, but there is a crack partway through one of the cranks. It might never get worse, or it might fail very quickly ...


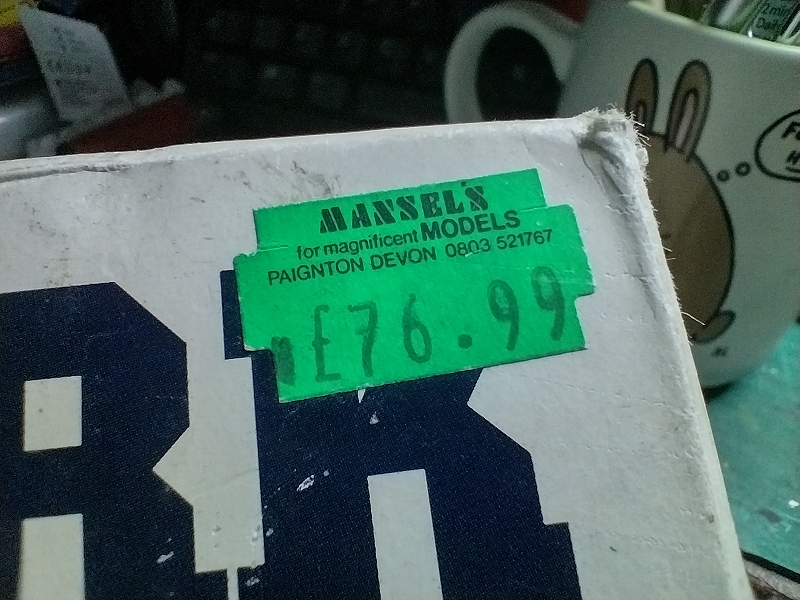
Note price tag on box - according to this (www.devonlive.c...97Cl5zRCaY), Maxwel's Models became Paignton Model shop in 2007 (which then closed in 2024) so this set msit be pre-2007. We knew that anyway as it was supplanted by a slightly revised but less stylish model (IMO) in 2001/2002. I've reached the age where 25 years ago is a long time, but 2001 seems really recent. Seriously, only 1987 and before seems like the past ;)

Assuming it's mid 90's, 76.99 GBP is about the same cost as a mid level RWD Tamiya buggy of the time :blink: No wonder you don't see many of these.
Attachments:

Please Log in to join the conversation.

Adventures in painting 3 months 2 weeks ago #82366

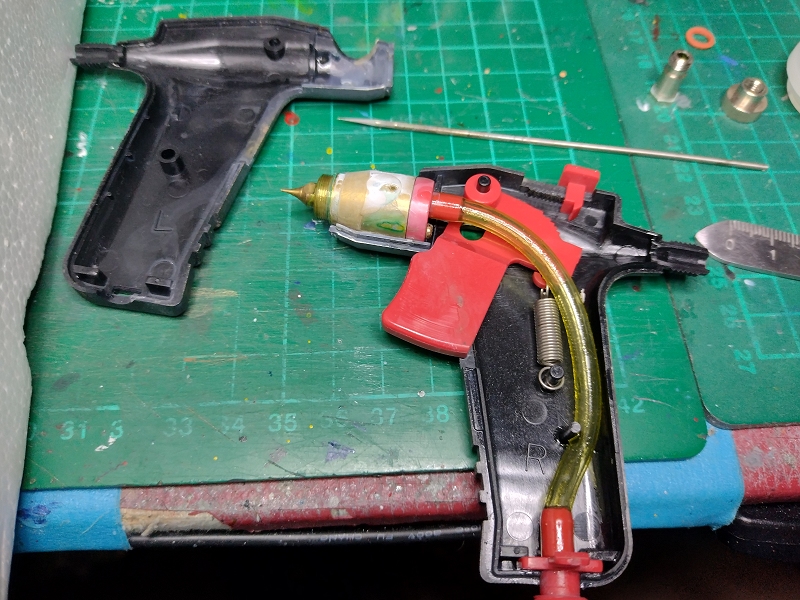
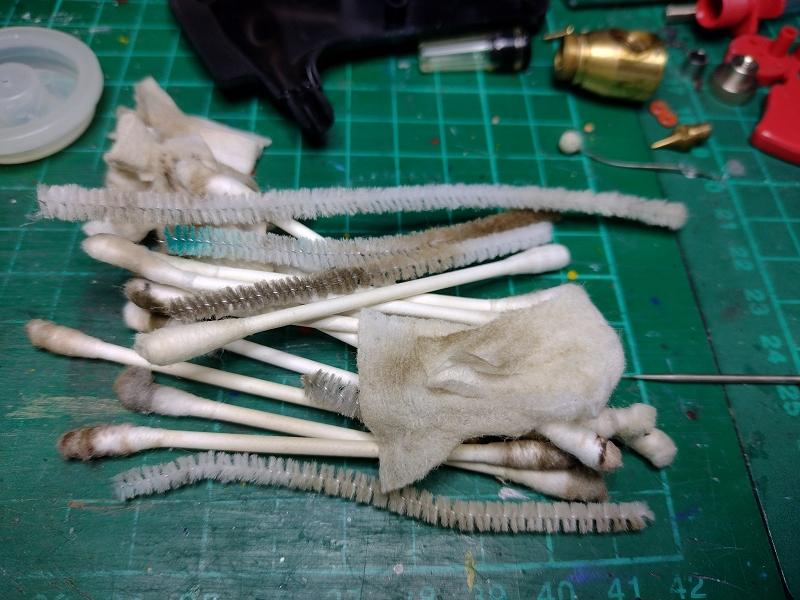
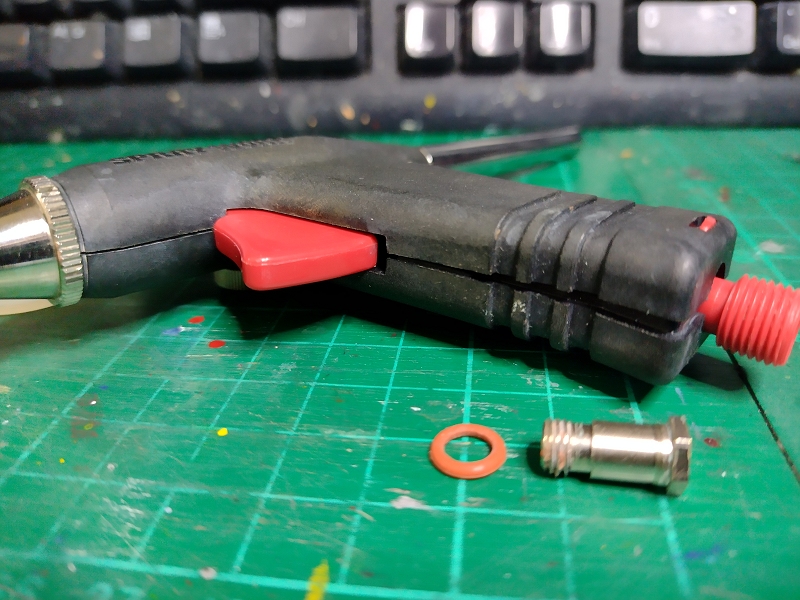
The airbrush itself looks ok in the "outside" photo & not even that bad in the "inside" one, but IDK if it had ever been cleaned properly before, only backflushed. The debris is from my second, detail clean :S The cup came up a lot better, but I couldn't make the narrow nozzle work. I swapped to the "wide" nozzle and surround from the box, they were just as dirty.


The inner half of the seal between cup and brush disintegrated, I think it's a standard 8mm/5mm o-ring so some are on order. The two halves of the airbrush case won't hold closed at the bottom, it doesn't look great but wouldn't affect how it works.


New 10ml mixing jars have a sticker on them rather than paint, so I'll put in an empty, delabelled one instead to "complete" the set for now.


Longer term, some parts swappery is on the cards & I anticipate ending up with a "shelf queen" and one for gentle use - and a dilemma about what to do with an incomplete third one :blink: 


For future reference:

Tube dimensions/spec:
5mm OD, 3mm ID (1mm wall thickness) food grade clear PVC pipe 
89/90mm length in airbrush
50mm length short side within compressor
945mm length between compressor output & airbrush connector

Cup seal O-ring dimensions/spec:
8mm OD
5mm ID
(1.5mm thick)

 
Attachments:
The following user(s) Liked this: stingray-63

Please Log in to join the conversation.

Adventures in painting 3 months 2 weeks ago #82369

My airbrush has the oily pvc tube to. It could be nice to restaure it . 

Please Log in to join the conversation.

Moderators: caprinut, stingray-63, AndyAus
Time to create page: 0.173 seconds