|
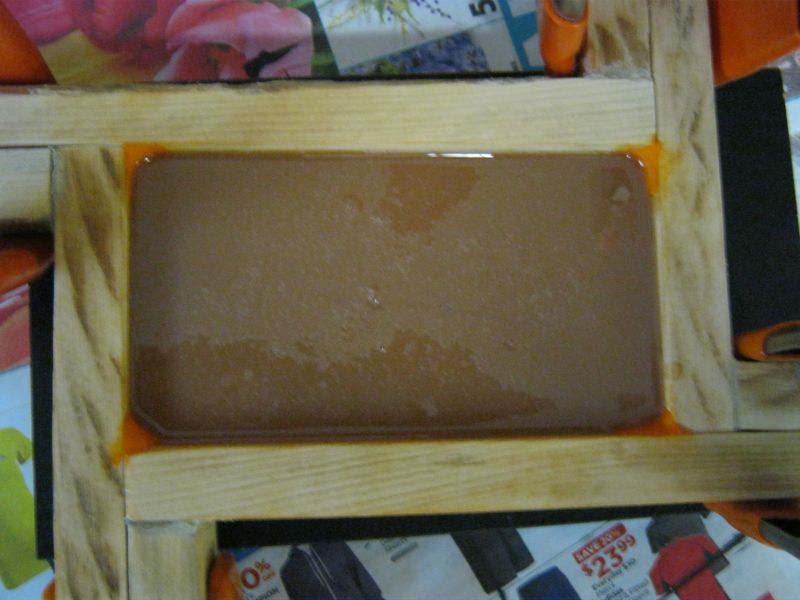
As of today, the final half of the front lower a arm mold has been poured, casting resin has been ordered. Once I get a chance to pour BOTH sets, inspect them for quality, drill them, and mount them on MY FOX, take pictures, revise my website, and take care of people that have been on back order for rear arms (new molds, no cutting/filing/sanding should be needed anymore), I will finally be ready to take care of people that have been very patiently waiting. I want to thank everyone in advance - previous customers, return customers, future customers, for your patience in what has been an expensive (a few hundred dollars)time consuming (a few hundred hours)process of taking a challenge. I myself am dying to take MY FOX out to the park with at least 3 battery packs for some much needed fun in the sun!
|
|
Please Log in to join the conversation. |
|
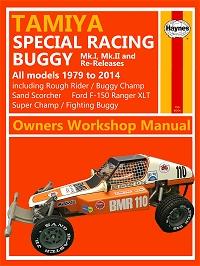
Where old, broken a arms go to die... eBay.
I listed this lot before dinner, will ship internationally. I know they are only useful to very serious advanced restoration people. Good luck. www.ebay.com/it...3cd007adea |
|
Please Log in to join the conversation. |

|
Everyone, I hit a little snag.
Whereas the front upper pair came out ok (the first pair poured is sitting on my workbench drilled and ready to be mounted on my buggy), the front lower pair did not work out at all. The thin walls around the parts I was hoping to leave open (so at least people with genuine Tamiya Front End Stabilizers or 'sway bars') could still mount and use them prevented the liquid plastic from properly filling in the mold. After staring at half-cast parts for a few hours, I have concluded that the only way I can make truly reinforced front lower a arms would be to make them COMPLETELY SOLID, which means nobody can mount wire-type front end stabilizers of ANY brand (Tamiya, CRP, Parma, etc) without intensive modifications. I know many of you like your wire-type sway bars, they look great and I have been told really do a great job of keeping the front end in check... I have one of those simple braces, a CRP 1614 (which they still sell on eBay new) which is similar to a Parma 12851 or a JG 3005. People, if I make the front lower arms completely solid, those are your main options. I just would like to know from those that are patiently waiting if they are willing to compromise their hop-up options for the front lower arms before I go any further reworking the prototypes. I feel that if you are willing to wait, I am willing to keep putting the time in. Please either email me with your thoughts, or PM me. I do not think it is fair to take anyone's money unless the product is up to par, even though this has been a few hundred hours, and a few hundred dollars already. I will be making test pours of the rear a arms from the new molds later today, and will be back with an update. |
|
Please Log in to join the conversation. |
|
I have the Tamiya front sway bar kit on one Fox - I can see the Tamiya kit wouldn't fit due to the way the droplinks fit on the alu bracket, & that needs the recess to fit in to ...
I have Parma kits both ends on my other Fox (13227 front, 13228 rear - pics here ), all the front kit would need would be careful drilling of your solid lower arms & use the existing lower screw without the nut, or maybe a shorter screw, or possibly a tiny self tapper... Edit - I don't know how your arms would react to having something screwed in - there'd have to be some pressure exerted, otherwise the screw would get pulled out ... is casting in some M2 studding at the right point an option? The Parma instructions state (a 0.080" hole) 1" from the arm pivot point, 1/8" from the top of the arm. |
|
Please Log in to join the conversation.
Last edit: by Jonny Retro.
|
|
I drill all sets for standard mounting before they are shipped out. Looked at your pics Jonny Retro, and they just confirm the fact that Parma hop-ups would be completely out without buyers drilling for any modifications on their own. I will see if I can modify the molds for the front lower arms to be completely solid. If I can modify the mold, I can test pour soon.
Test poured the rear molds, will have a look tomorrow, it's a bit cold here. |
|
Please Log in to join the conversation. |
|
I will need to contact tech support, and maybe modify the molds, before I can make any more test pours. Please hold off on any orders until I say that I am ready. I have come too far to just give up.
|
|
Please Log in to join the conversation. |

|
If it were me, I'd ditch trying to mould them, but instead look for someone with a CNC router, & machine them out of (9mm, 12mm?) black polypropylene or polyethylene sheet - they should come out more or less indestructable.
I haven't got a set to look at in detail, but I would have thought this method would be far easier - I only consider moulding parts if they're too complex to machine & aren't under any stress
Custom F2
...
Hilux crossmember drawing
...
F2 axle drawing
...
Quattro radio lid
...
Holiday Buggy motor bracket drawing
...
Quattro resto
...
HitnMiss engine
...
Wild Willy resto
...
Mardave Cobra resto
...
Thunder Dragon resto
...
Grasshopper resto
...
XR311 resto
...
Modded XR311
...
Carbon 25th scratch build
|
|
|
Please Log in to join the conversation. |
|
Hi Eddick, I am attempting such a thing with Mark (member ap6318 on the T
Tamiyaclub formus
) He has some made up via cnc a couple of years ago in the USA, but they were hideously expensive to set up. Now that I have a desktop cnc I am attempting the same thing.
I am going to machine them out of acetyl (its what Mark also initially used) as its very hard wearing. Not too sure about using pp, but I don't think pe would be up to the task on a runner. Also we are going to have to make some modifications as well, because I don't know how to do 3D cnc yet, but I've nutted out 2D. Differences will include no taper on the arms (its only about a 1mm I think), no stopper and should be lighter weight to the way this bracing is cut out. If you follow the link above you'll get an idea. So these are runner replacements, not vintage replacements. So far I have drawn up the 2D plans and I intend to make some test cuts either later this week or next week. Although I really need to make a jig so I can accurately cnc from both sides and then I can start making test pieces. I have both jewellers wax to make sample copies and I enough acetyl to see if I can make these. The down side is that acetyl (also know as Delrin) is expensive, but I should be able to make then cheaper than what Mark had to sell them for initially (no charge on the setup costs). But moulding would have been cheaper again if that had worked, regards Johann |
|
|
Please Log in to join the conversation. |