|
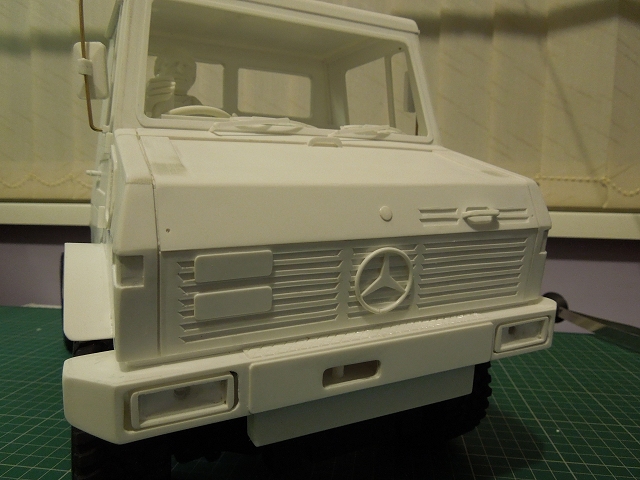
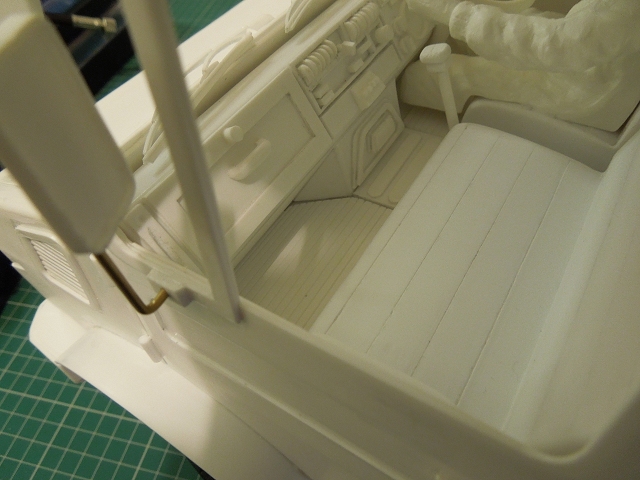
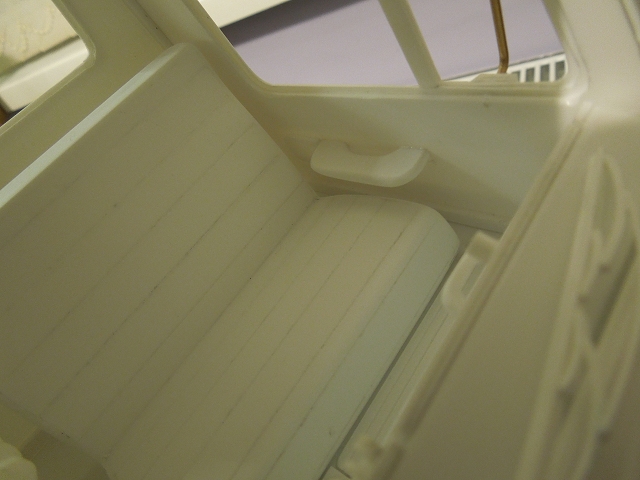
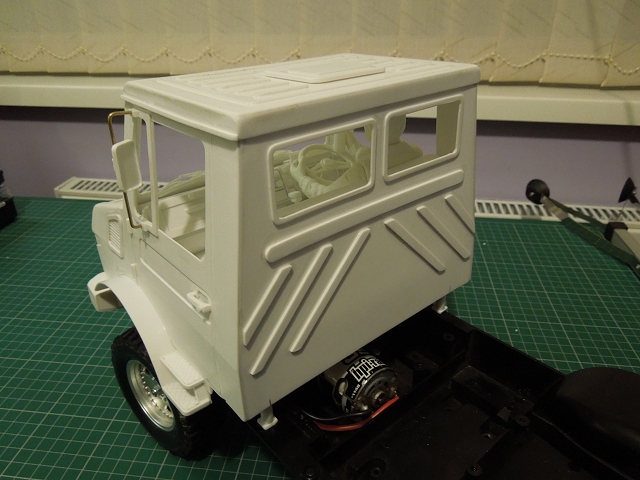
I think this might be the 3rd time I've said this - but I believe I've now finished the cab ... floor mats are trivial, but took 3 attempts (embossed circles & small squares were early failures).
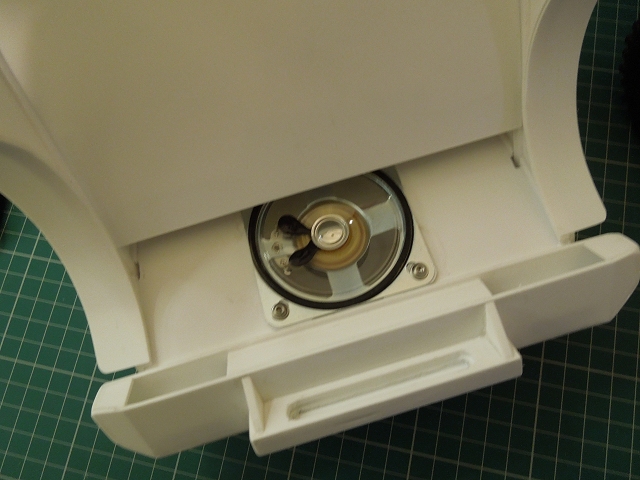
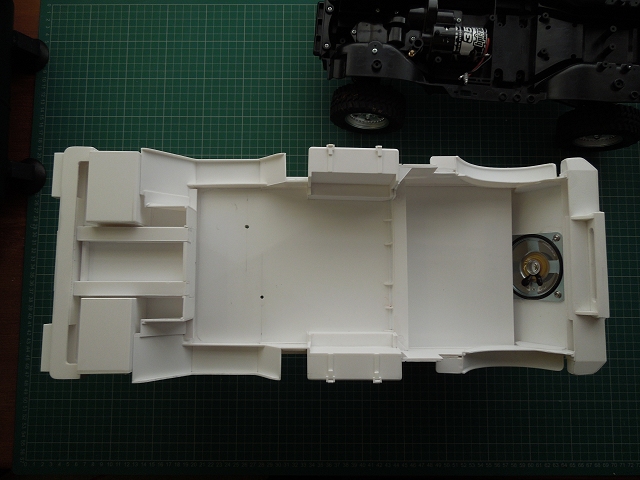
I cheated on the door cards & just fitted handles instead; Ribbing on back is somewhat realistic, but looks heavier than I'd anticipated. Speaker is installed (but not wired) on an angled baffle; final thing is the front body mount - I'd been worrying about this for some time, in the end I thought I was probably over thinking it, so made a simple slot/box to take the existing front body mount poky thing (tongue?).
The following user(s) Liked this: larbut
|
|
Please Log in to join the conversation. |
|
wawawawahooooooooooooooooooooooooooooooooooo
|
|
Please Log in to join the conversation. |

|
|
|
Please Log in to join the conversation. |
|
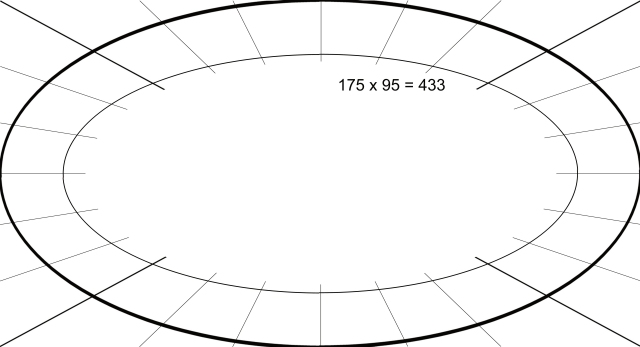
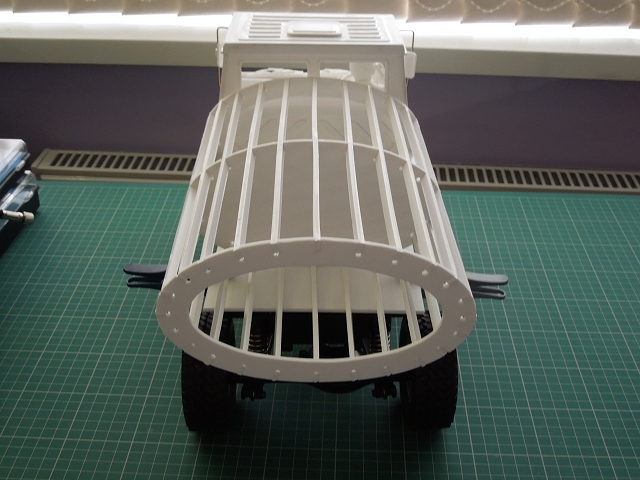
The next logical thing to do is the tank - which I've always wanted to be oval, this meant drawing what is called in mathematical circles an ellipse
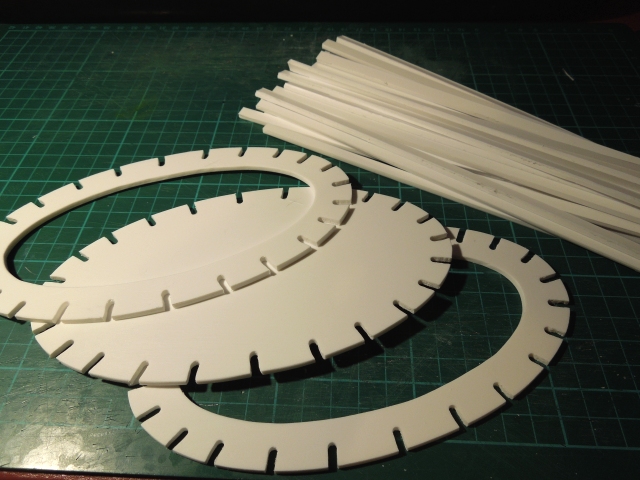
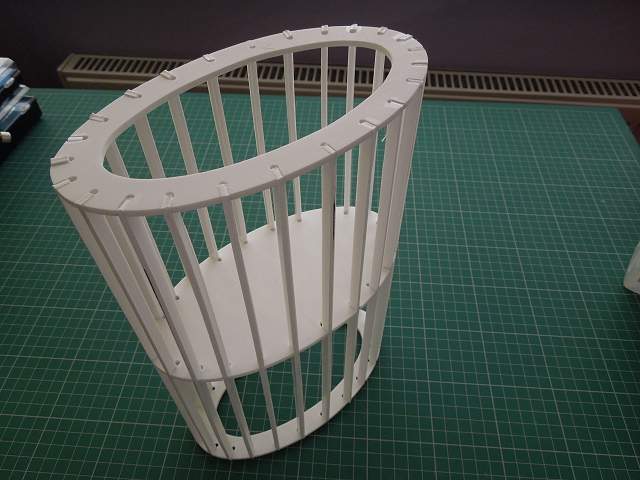
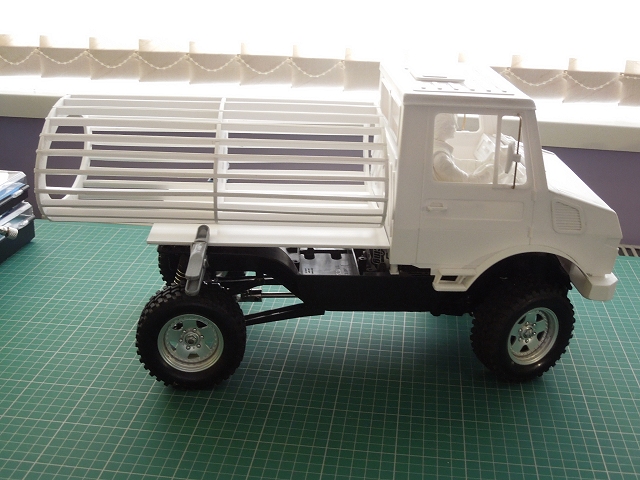
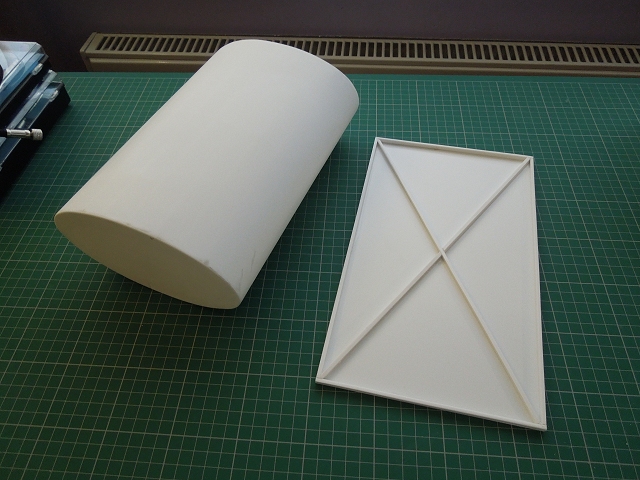
I'd thought that would be simple, there was bound to be a simple online calculator which I could enter my key parameters (the circumference, or perimeter being the main one, with tank size really being limited by what I could "skin" with an "A3+" sheet of styrene, width of some importance, height a bit less so), but no, they were either hideously complex to use (or "unfinished", as I'd put it), didn't allow circumference to be entered as a variable, or most often, buried any possible useful function under layers of unwanted complex "explanation". I'm well aware that any field you could care to study quickly becomes maths, but I'm also aware that you can draw an ellipse with two pins, a loop of string & a pencil - no maths involved. In the end I just squashed the styrene sheet to the dimensions I thought looked right, measured width & height & used www.cleavebooks...llipse.htm to confirm (175mm major axis, 95mm minor = 433mm circumference, created an image the right size in Paint Shop Pro, found the centre & used the "ellipse" tool :whistle: Construction of the basic frame is 3 baffles & 24 stringers - sanding, skinning & capping (+ details, etc) will all come later ... dimensions are a bit of a compromise, I would have liked the tank to be a bit less "squashed", but the back end of the CC01 chassis is quite high, and it would have translated to an implausibly high centre of gravity. I'd also planned on making the tank as long as I could (326mm), but 240mm looked more sensible (only 1/3rd hanging out over the rear axle), in the end I went for 260mm as that was as far as I felt I could push it. It looks a bit silly ATM hanging out in space like that, but with a full rear deck + chassis extensions, rear bumper, guard rails & various infills it'll make more sense
The following user(s) Liked this: AndyAus
|
|
Please Log in to join the conversation. |
|
Work continues ...
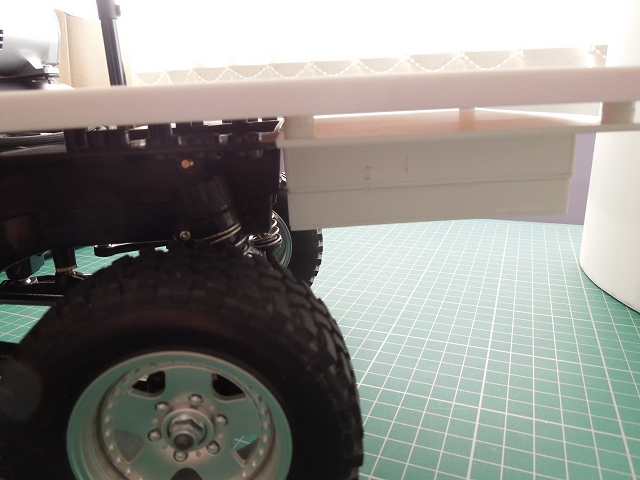
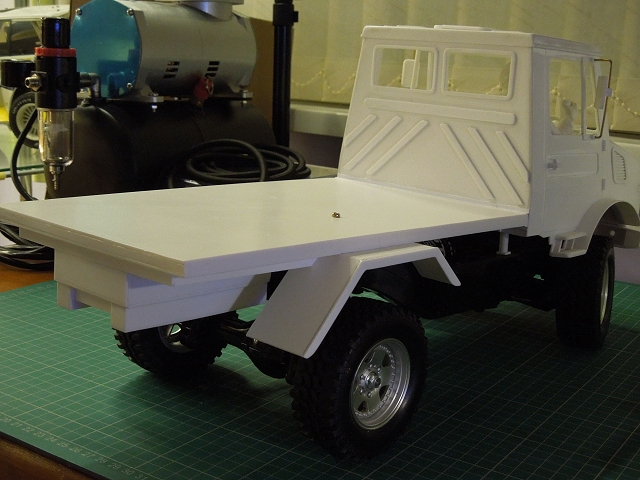
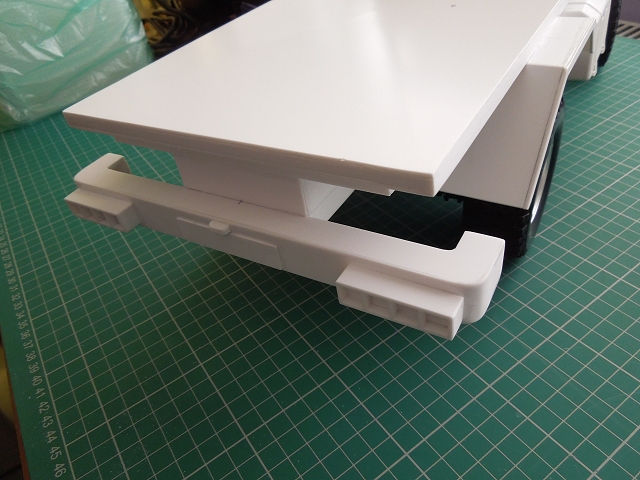
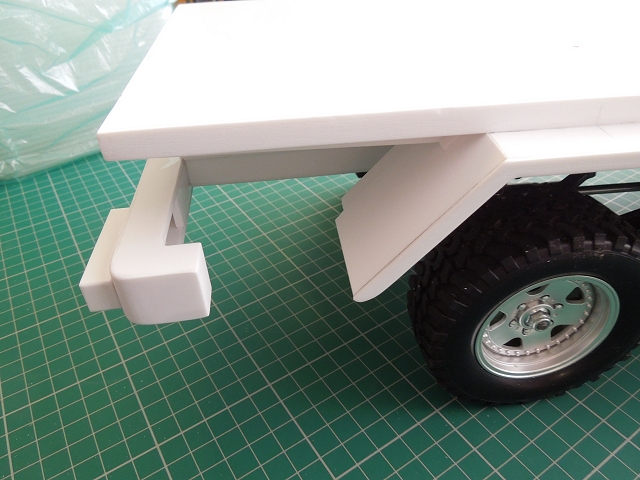
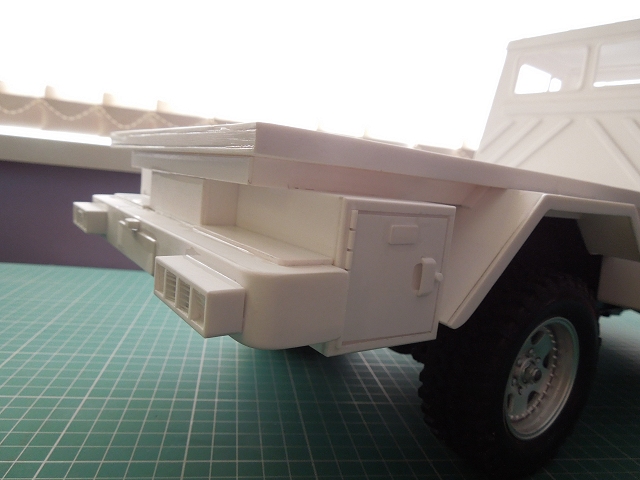
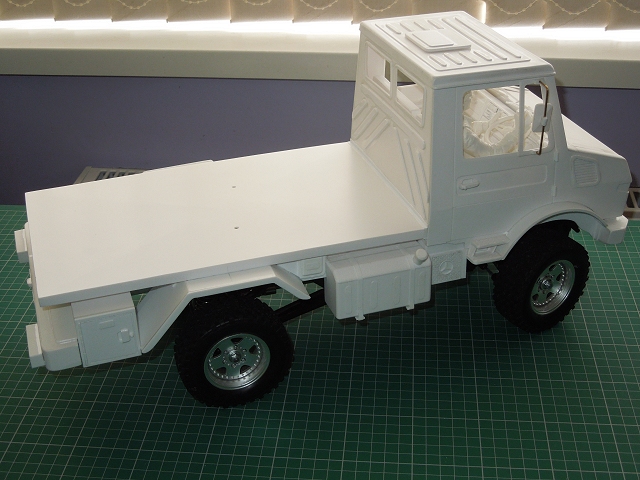
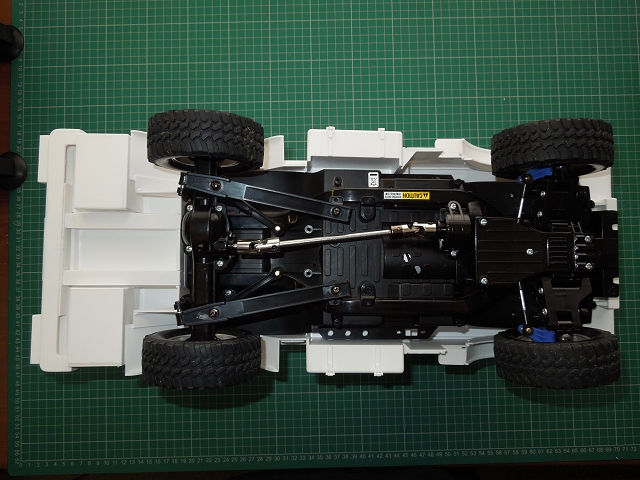
Tank skinned with two layers of 0.5mm styrene, + ends; starting on the load bed: Chassis extension; note the gap - but this is as tight as I can make it, it already relies on "give" in the chassis & bodywork to get the body off. I hope with later additions & paint it won't be quite so obvious ... Rear mudguards + a few bits of infill; note screw holding the body on - this is temporary. Next thing to do I guess is the rear bumper, but that needs a bit more thought - I'll probably go with something very similar to the front, fixed on at the level of the fake chassis rails as it would make sense for an offroad truck to have a high rear bumper, "angle of departure" being more important than the potential safety of anyone crashing into it from behind
The following user(s) Liked this: stingray-63
|
|
Please Log in to join the conversation. |
|
I'll go out on a limb, and say: This is going to look great!
Signature now gets correct formatting if you edit it in your Profile. Use normal BBcode if you want.
www.tamiyabase.com was formatted automatically. |
|
|
Please Log in to join the conversation.
Last edit: by larbut.
|
|
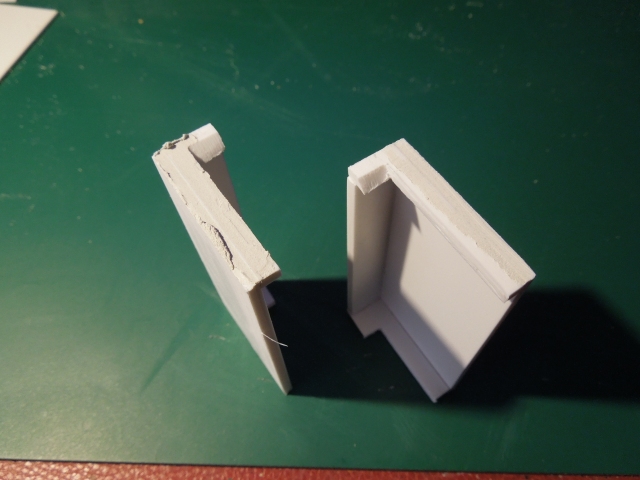
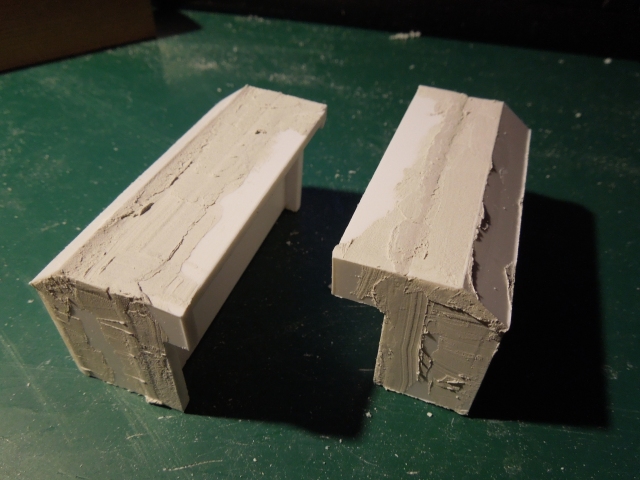
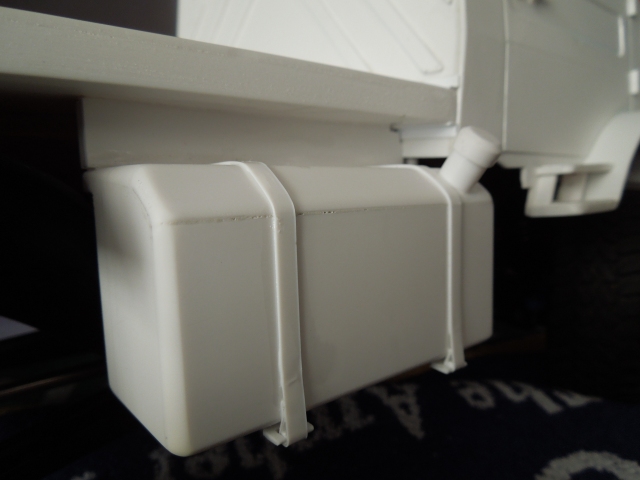
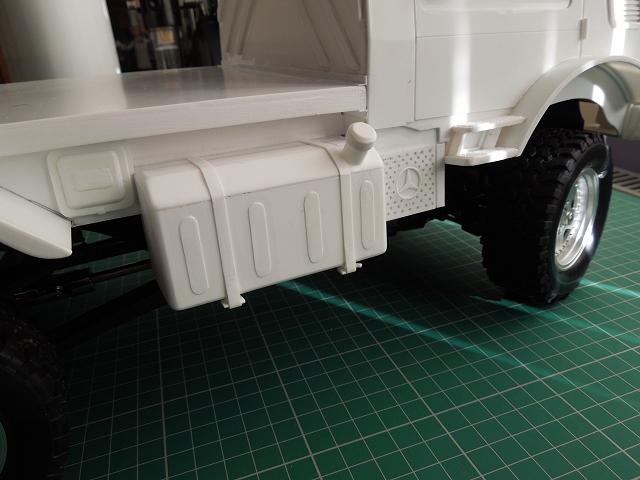
Work on the under bed stuff continues ... at first the fuel tanks were going to be tucked right under & therefore needed to be almost flat to fit against the chassis, but photo of several 1:1 'mogs suggested the tanks on some models stuck out almost as far as the rear wheelarches - so they could be a lot more three dimensional:
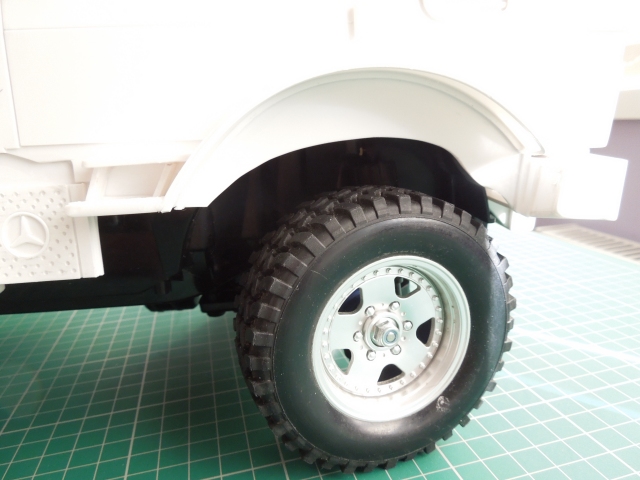
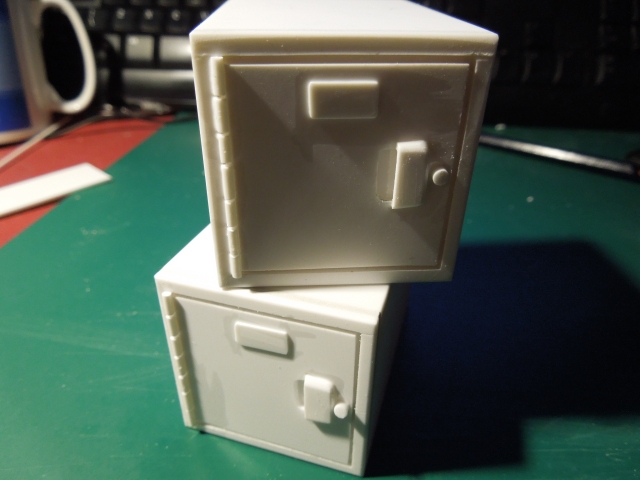
More bits of infill to hid the gap between chassis & load bed/cab, + fire extinguisher bin & tool box details (other side is a mirror image): Infill in the high front wheelarches, this completely hides the gap but I may reduce it as it looks a bit too obvious to me. Ideally it would go back a further 15mm or so, but it can't as I need access for the interior.
The following user(s) Liked this: larbut, stingray-63
|
|
Please Log in to join the conversation. |
|
|
|
Please Log in to join the conversation. |