|
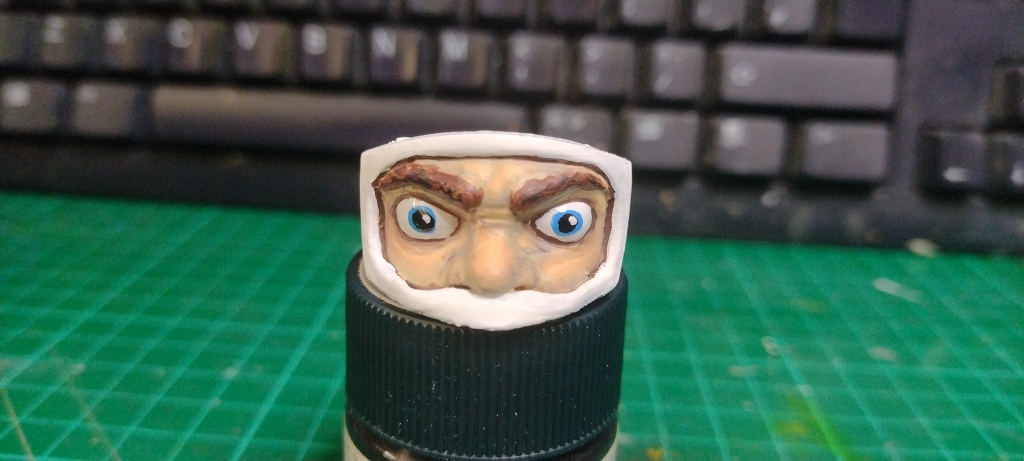
Last time I painted a Willy face I used Tamiya paints & an Army Painter Wet Palette, so colour mixing was done strictly by eye - and no notes on even approximate ratios.
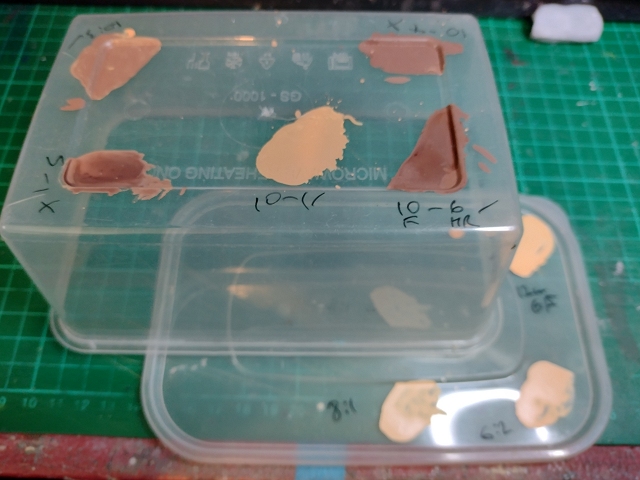
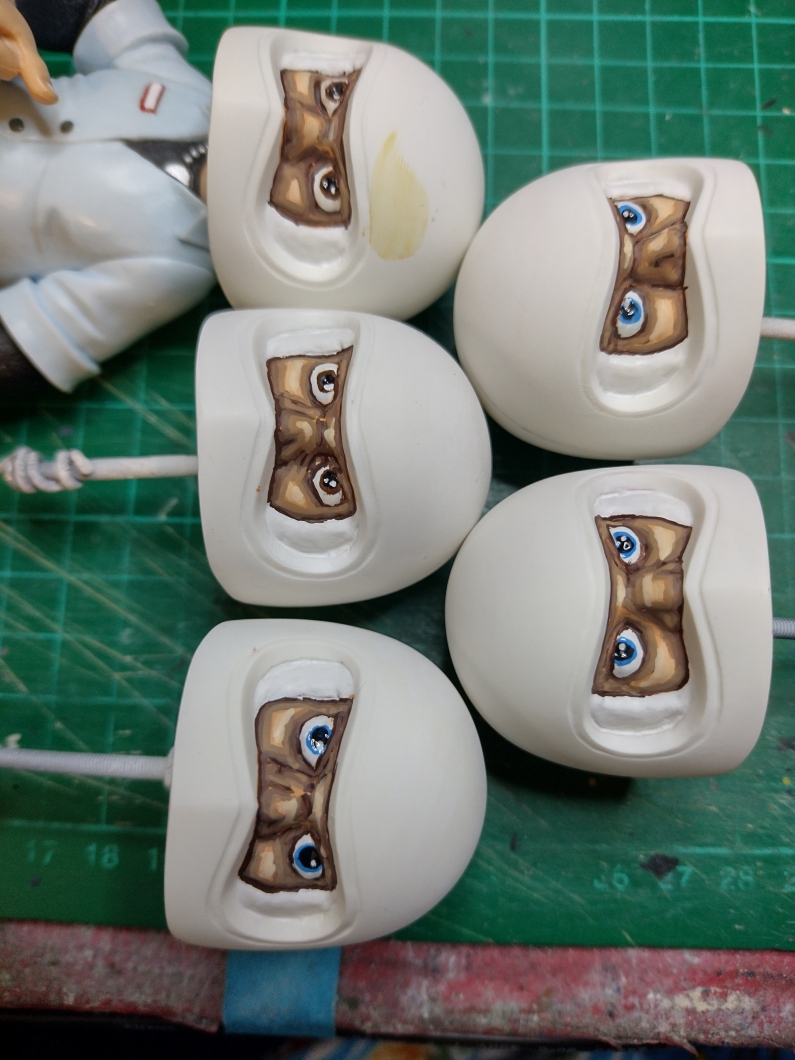
I get the idea of a wet palette (use less paint & keep it damp between applications, just add a drop of another colour part of that already mixed so you've got the old colour and the new one), but I'm not an artist & value codification & repeatability over on the fly artistic mixing/expression. If I'm going to mix a tiny amount of paint it'll be on a plastic takeaway container, if I'm going to want to keep it, I'll use one of those 3ml paint pots. I don't think I'm likely to start using a wet palette on a regular basis, before this one arrived I knew of the concept but hadn't even tried the DIY version (small plate, wetted kitchen towel, greaseproof paper, plastic bag to cover). With five faces to paint this time I may have used it again but had misplaced the pack of refill sheets For blending the outer edges & deepest creases (in Hull red) to the Flesh background, mixes of 10 parts XF-15 Flesh to 6 parts XF-9 Hull Red works, as does 10 to 3 and 10 to 1, but intermediate steps of 10 to 4 and 5 to 1 don't really add anything. Things are still a bit muddy, so there's still room for improvement? For highlights, (cheekbones etc), mixes of 2 parts XF-2 Flat White to 1 part Flesh, 3 to 1 and 8 to 1 all work, but there is scope for a extra \lighter mix. They look a bit "They Live" at the moment, but it's supposed to be underlying structure that will get substantially evened out by the glaze. The glaze 10 parts XF-86 Flat Clear, 2 parts Flesh & 2 Flat White for the three most caucasian faces, an added part or Hull Red for the most tanned, and finally another 4 parts white for the less tanned face. I don't think Hull Red was necessarily the right colour to use, maybe XF-68 NATO Brown might have been a better choice. I think I could have used more Flat Clear too. Attachments: |
|
Please Log in to join the conversation. |
|
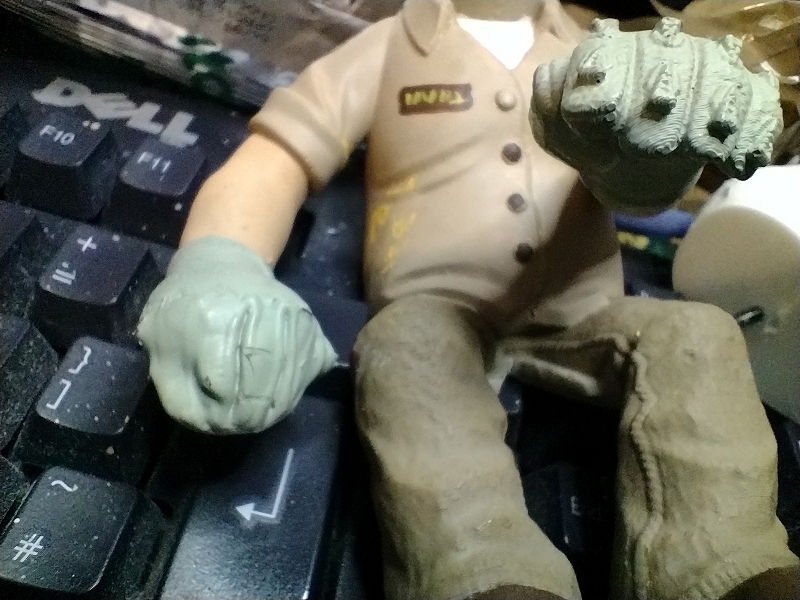
Bought another failed project - this time an untouched red re-hash Sand Rover body in red, some 3D printed rear lights and speedo for it, and a Knight Customs type Willy Driver that was never, ever going to fit.
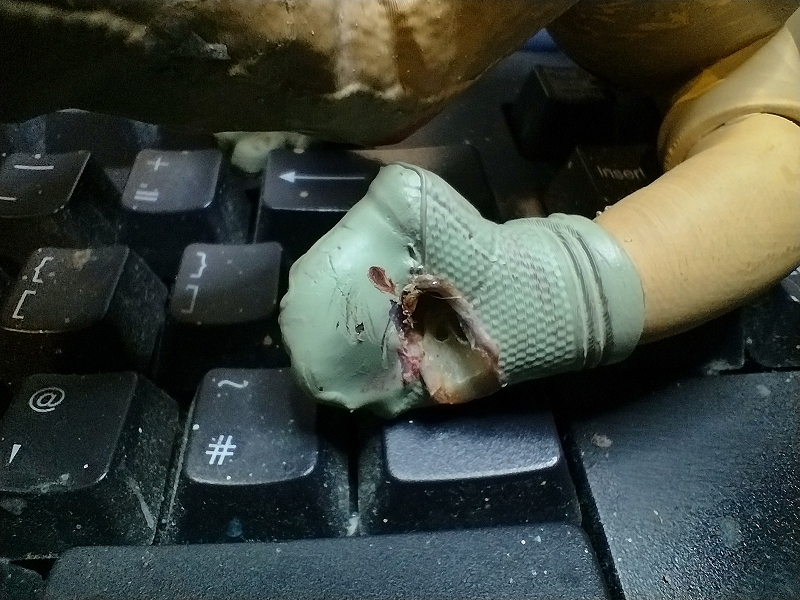
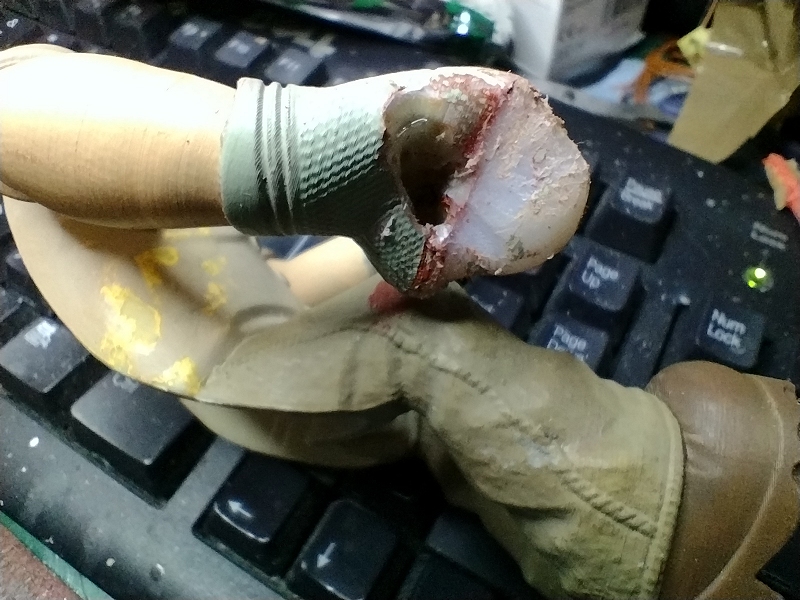
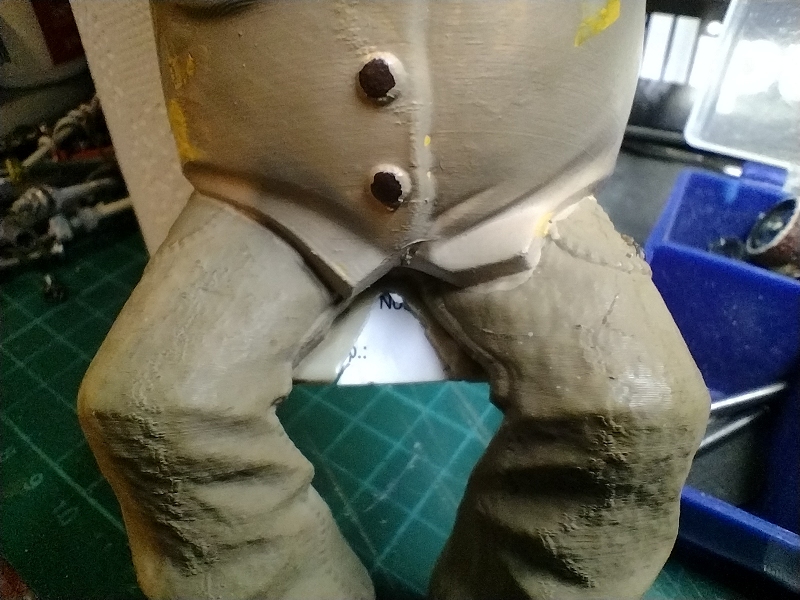
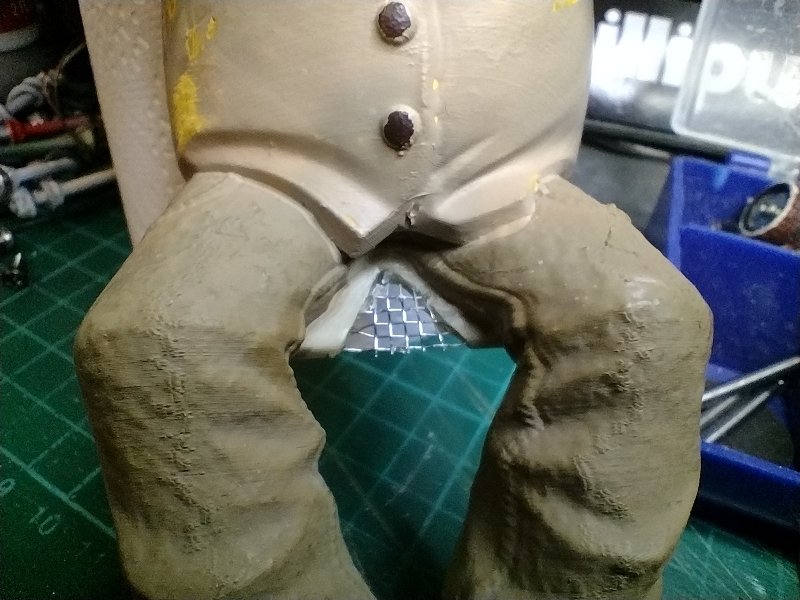
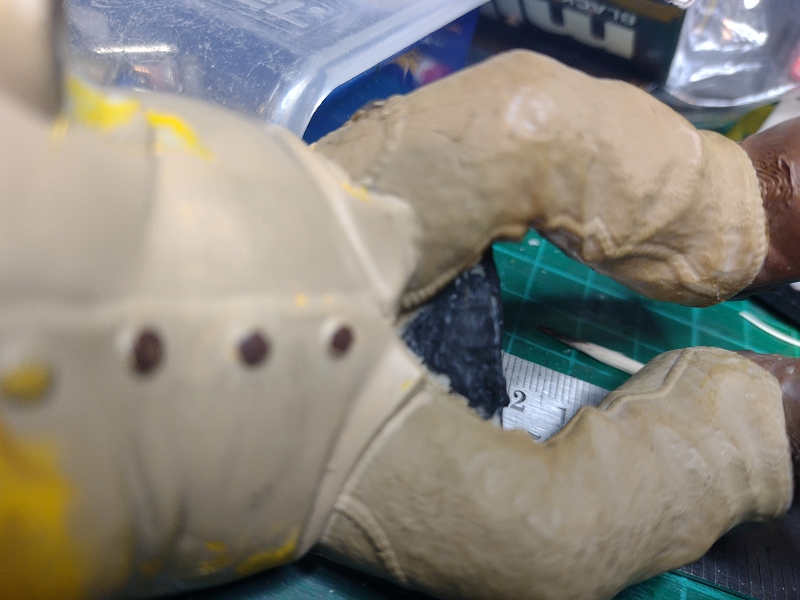
I knew the figure was going to need some work, at least a repaint and the right hand fixing, but it's so much worse than I thought The Sand Rover body is surplus to requirements, I'm sure I remember someone one here asking for one, but I can't find the thread or anything even close ... Didn't take a picture of the driver when it arrived, this is from the eBay listing: Note melted right hand, and butchered crotch support: Underside of right hand "modified" ... with a soldering iron? Attachments:
The following user(s) Liked this: stingray-63
|
|
Please Log in to join the conversation. |

|
Sanded right hand, lower half is enitrely hot melt glue:
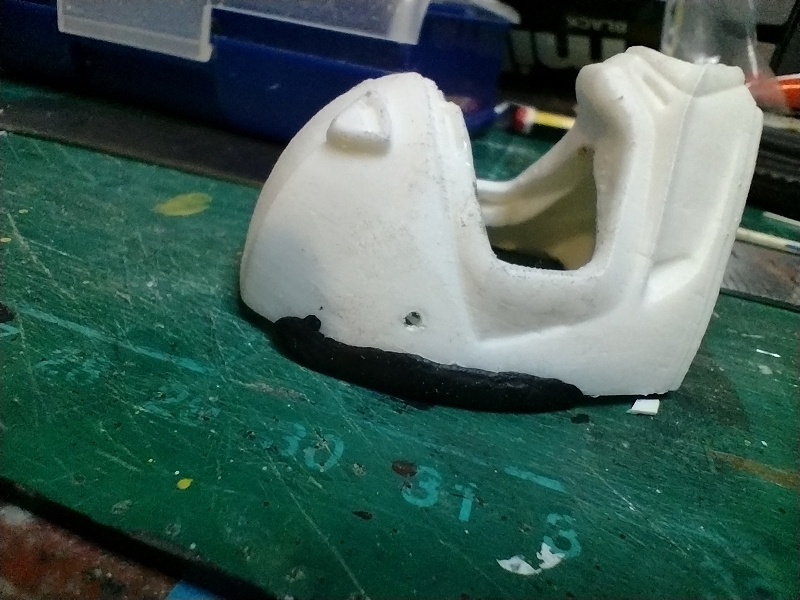
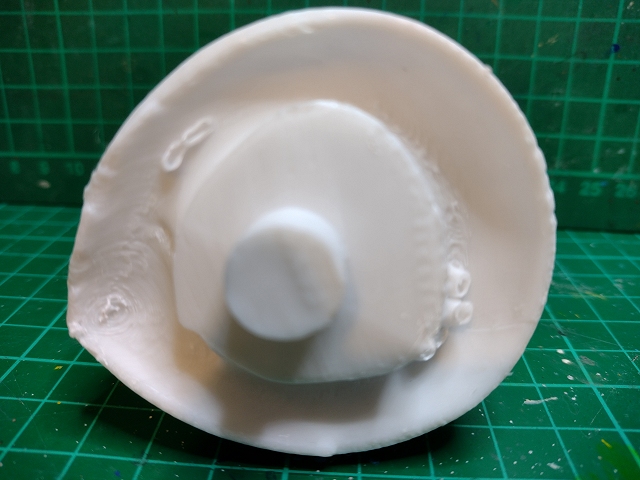
After weighing up all the options, I thought Milliput was the cheapest Edge of helmet front half was bit chewed up, my first attempt in white Milliput had to be re-done after it failed to cure properly. Attachments:
The following user(s) Liked this: stingray-63
|
|
Please Log in to join the conversation. |
|
Attachments:
The following user(s) Liked this: stingray-63, Al
|
|
Please Log in to join the conversation. |
|
You should put it in a ww2. And 50 years after, Radar(in the french version) is back from the 4077th MASH. (The serie version. Not the movie).
The following user(s) Liked this: Jonny Retro, Al
|
|
Please Log in to join the conversation.
Last edit: by stingray-63.
|
|
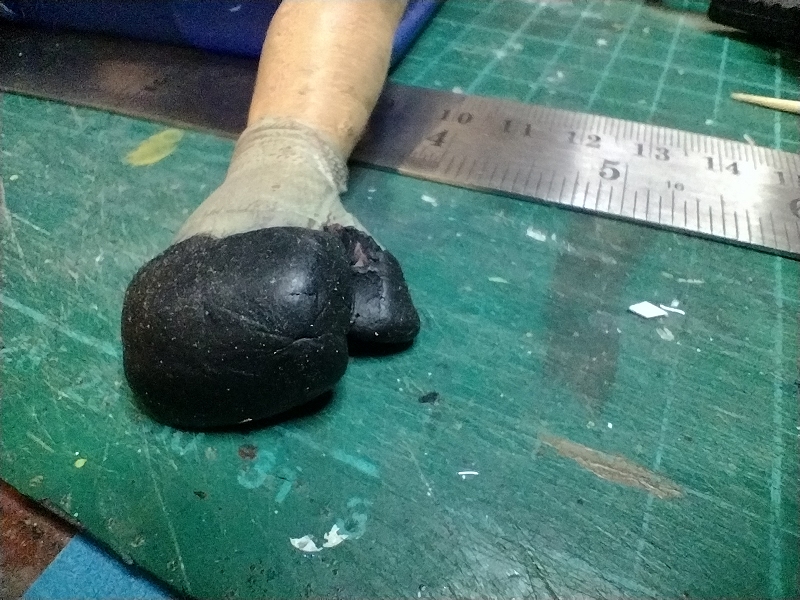
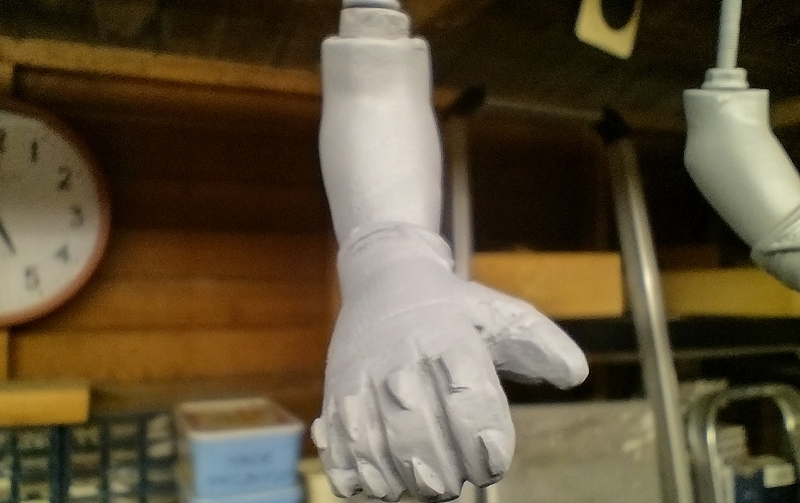
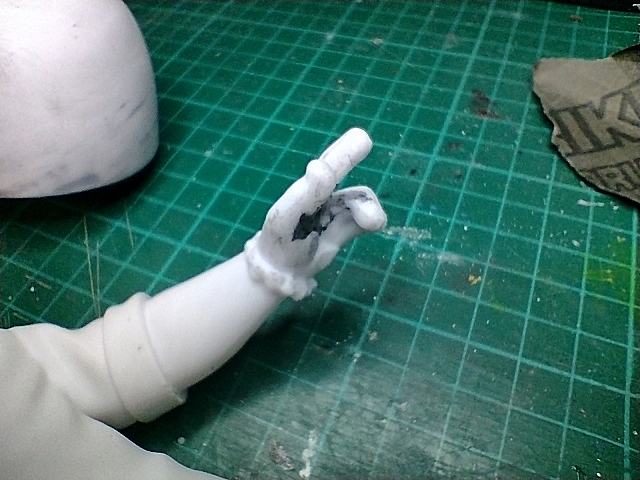
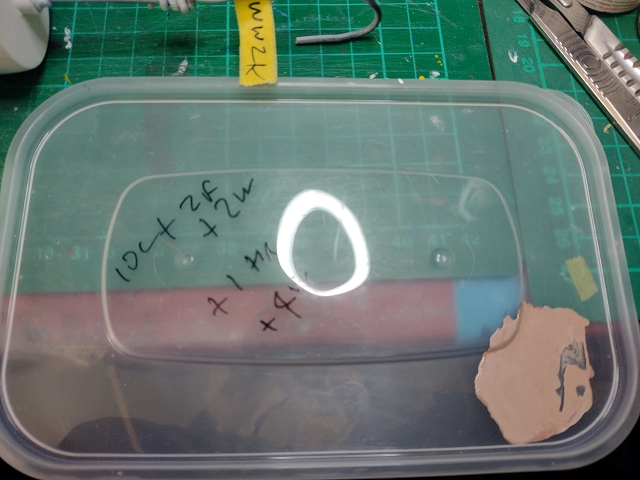
Would that be the Jeep Radar sent home in bits? Right hand scupted, details added & primed ... not a great photo in terms of angle, focus or comparison to the correct left hand TBH, not sure I executed it that well either, but it's better than hot melt glue Attachments:
The following user(s) Liked this: stingray-63
|
|
Please Log in to join the conversation. |
|
Yes it is. 😉👍
|
|
Please Log in to join the conversation. |
|
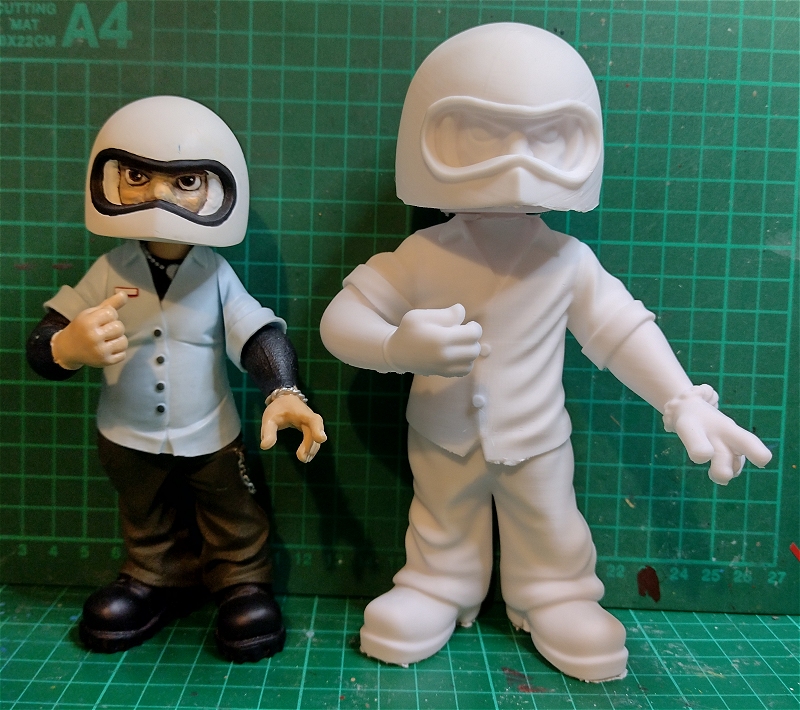
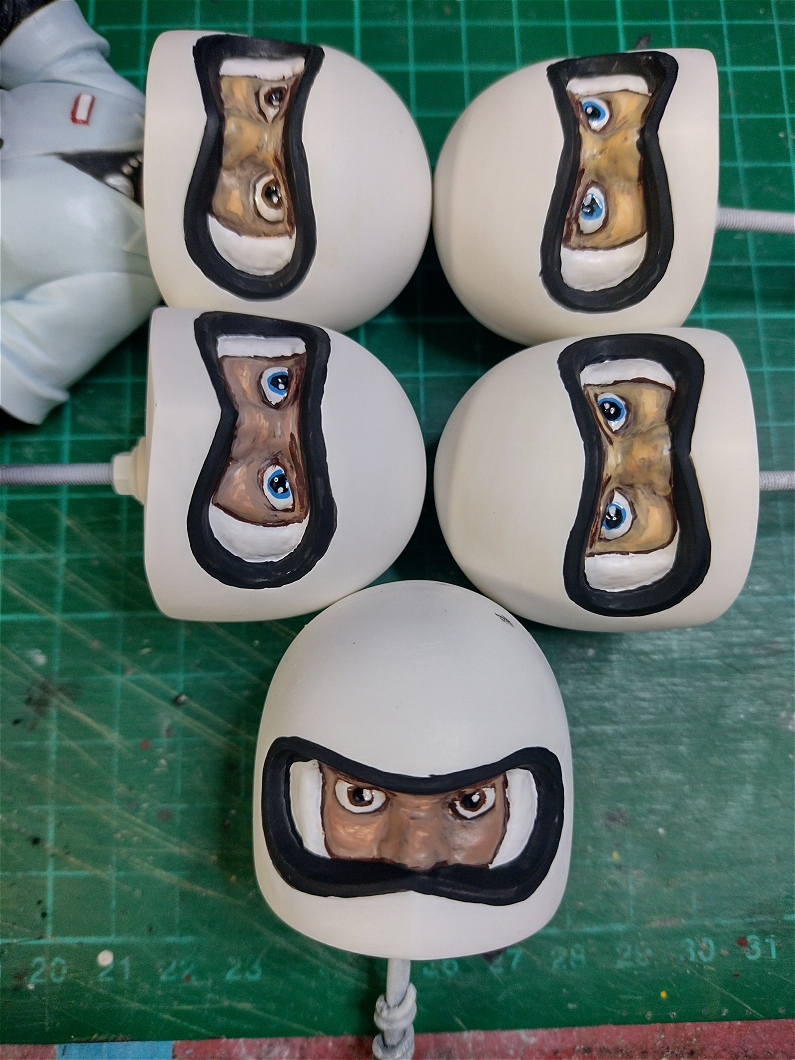
This is as far as I’ve got with the Knight customs figure, but I have been distracted …
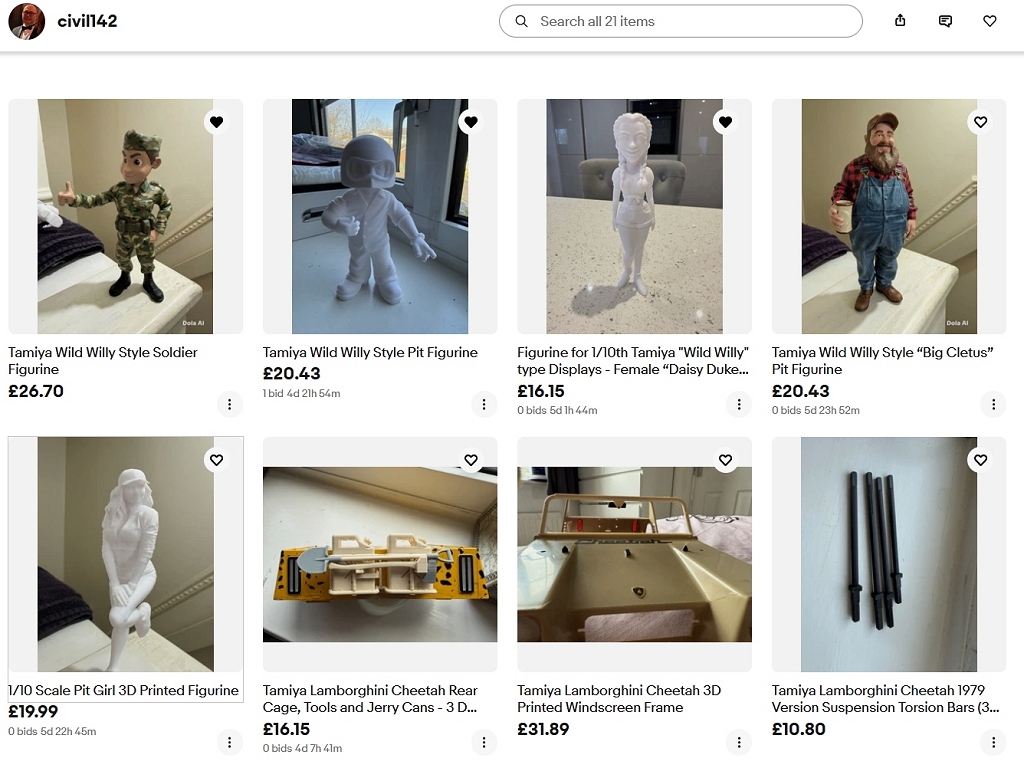
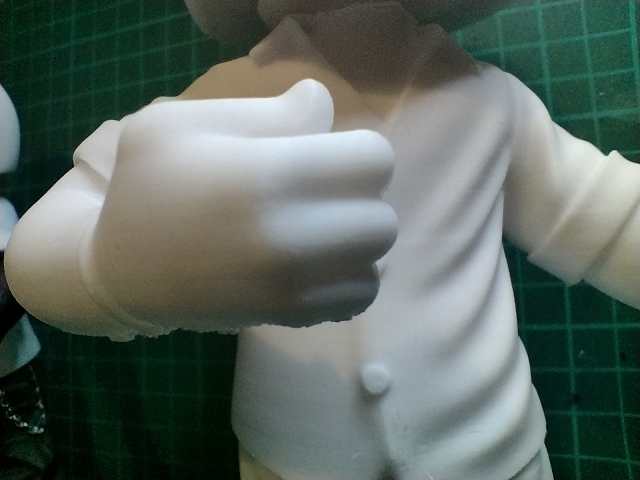
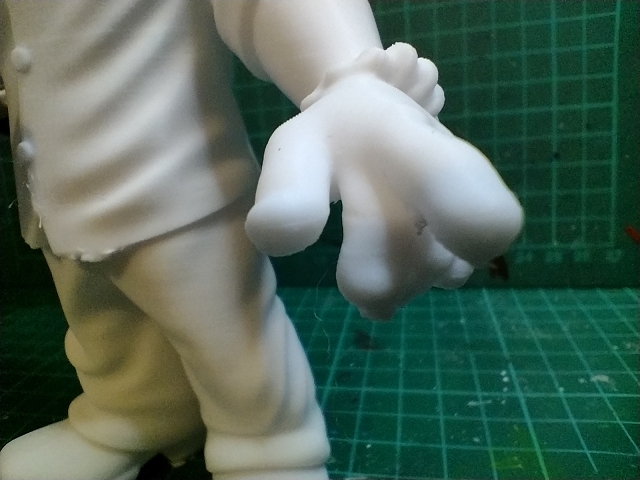
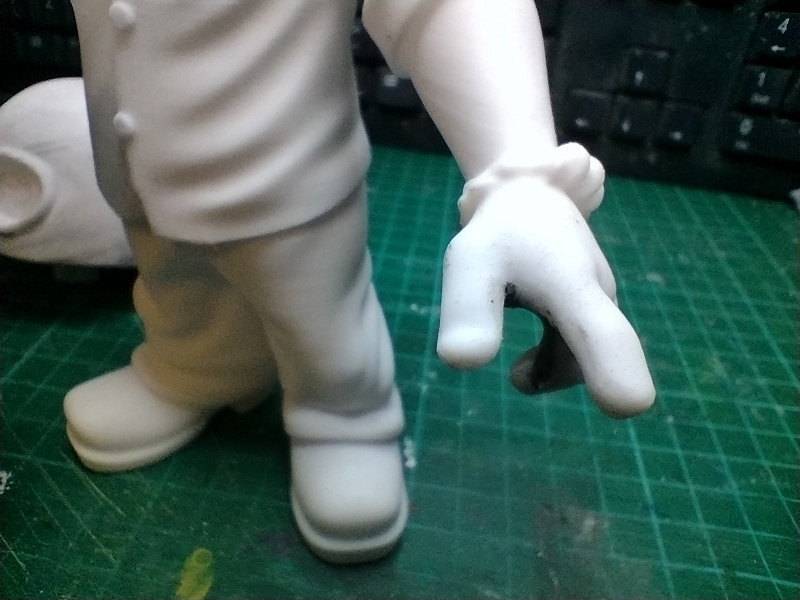
Some of civil142’s stuff on eBay – IIRC a couple of people here have had some of his Cheetah parts & I’ve had a Wheeler/Lancia Rally bumper from him. As I understand it, static figures for RC dioramas are not really his area of interest, they were a bit of an AI experiment and may not be around in future. This is a bit of a shame, as I think they’ll be fun to paint, and with a bit more development could have been really good. This figure + post came to just over 30 GBP & is obviously a reworking of that standard for Willy related garage dioramas – the head from the Tamiya Wild Willy (or Willy’s Wheeler/Honda City Turbo) driver figure sprue fitted on a Mezzco “Jack” Osbourne figure (see tamiyabase.com/...lly-famliy for example). The 175mm height (1.75m or 5’ 9”m) make sense, but is oversized compared to a regular “Jack” figure (151mm) or Tamiya driver (151mm translates to 4’ 9 & 1/2", which explains why he feels the need to compensate with those huge tyres I counted around fifty distinct differences between this figure and the one it’s based on, some of them are simplifications, and some are improvements (like the shirt now closing from the correct side for gentlemen). Some are more problematic, like being a finger short on his right hand: Attachments: |
|
Please Log in to join the conversation. |
|
On the left hand he has a full complement – but two of them are pointy fingers (more correctly known as the forefinger or index finger) with one stacked on top of the other. It would have been easier to remove the upper finger, but I tackled the underside one instead, as that will make the hand more useful for holding stuff later.
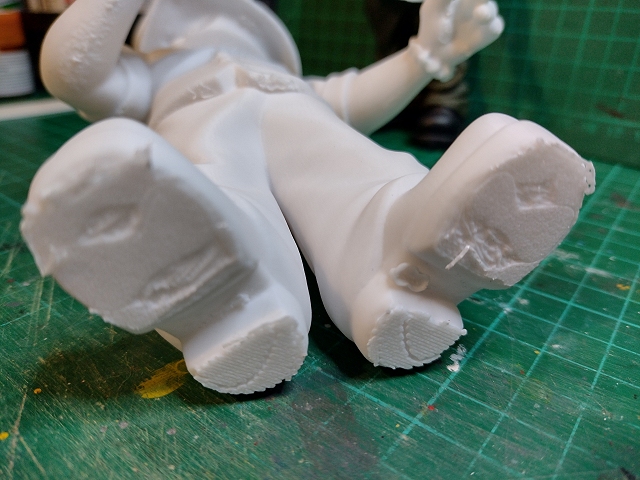
Unwanted finger cut off & backfilled with Milliput, from underside: And the top view: Soles of boots cleaned up ok, but they were a bit thin to start with … Attachments: |
|
Please Log in to join the conversation. |
|
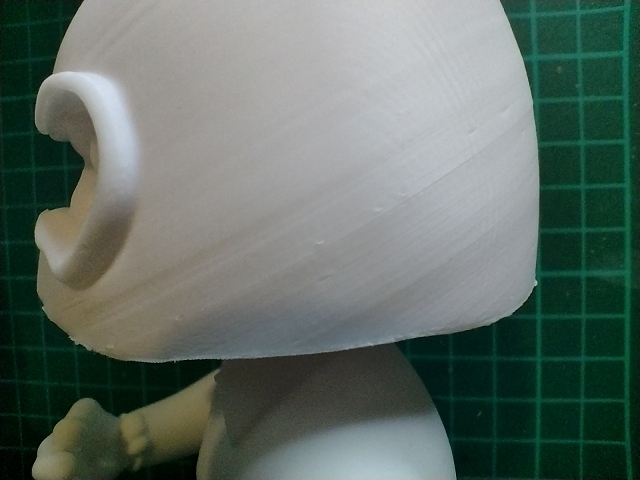
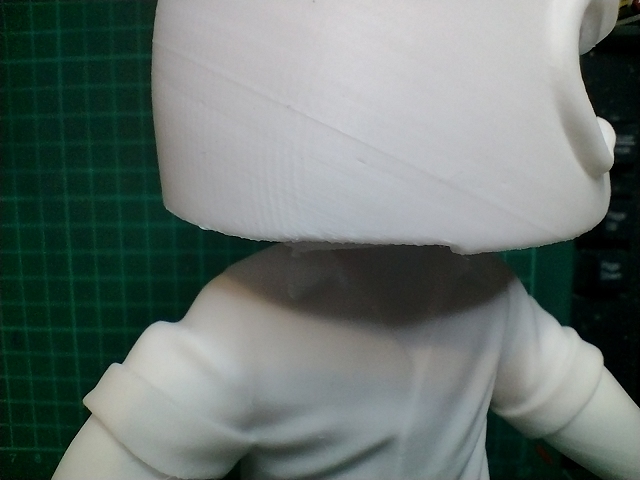
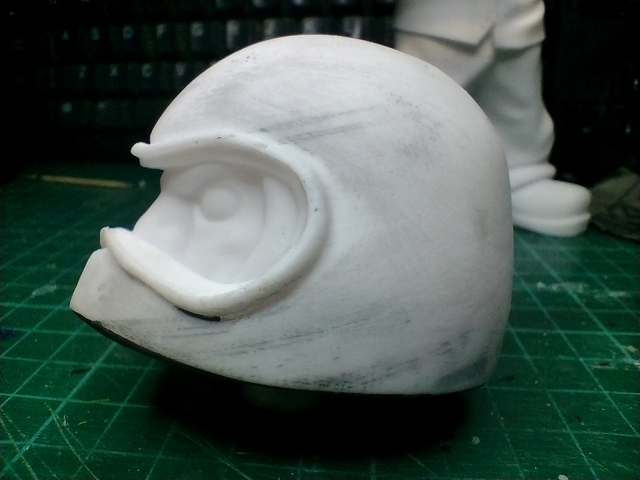
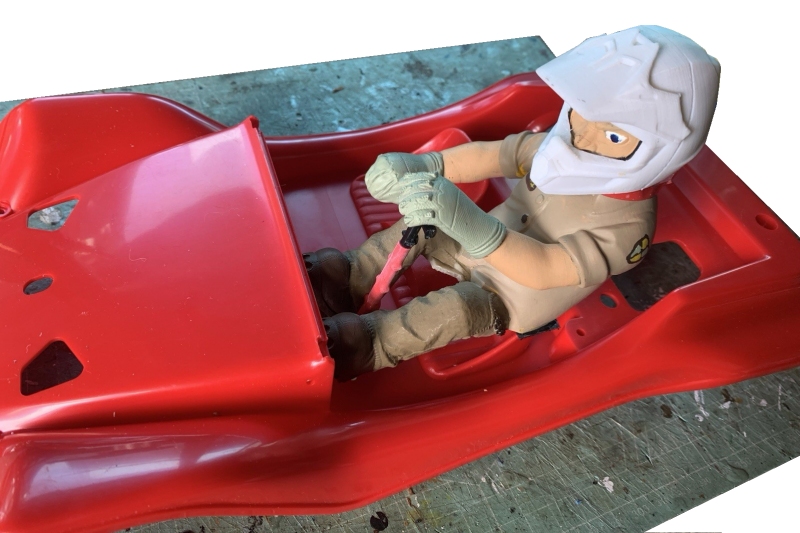
The helmet is not as well printed as the body, with areas on the left cheek and back that required filler. Not having a flat underside is a design choice – but the bottom edge of the right cheek had become compromised IMO, so I wanted to fill / back up with epoxy putty (see later).
Light coat of Tamiya filler to start: Attachments:
The following user(s) Liked this: stingray-63
|
|
Please Log in to join the conversation. |