|
Fair enough |
|
Please Log in to join the conversation. |
|
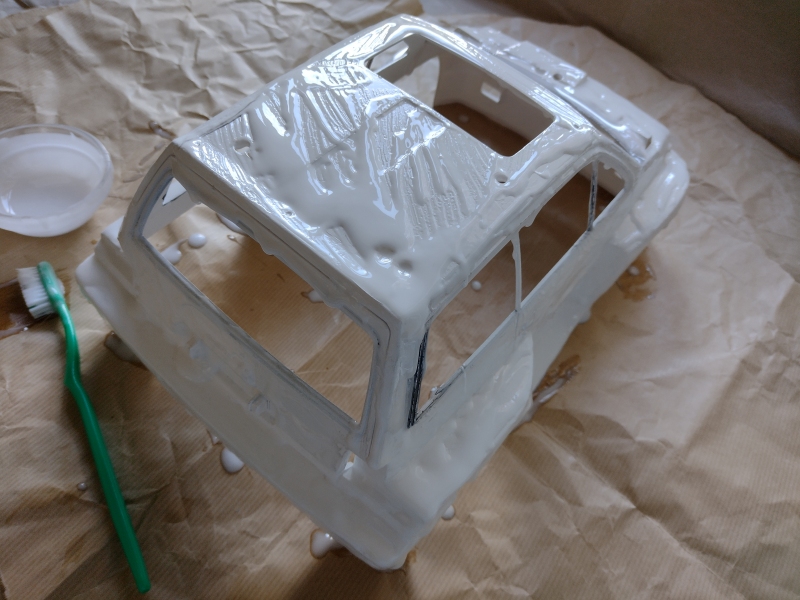
I done a stupid ... initial plans for my HCT '25 involved a white base colour, but as I didn't know what paints the previous owner had used I wanted to strip it off so I didn't get any adverse reactions.
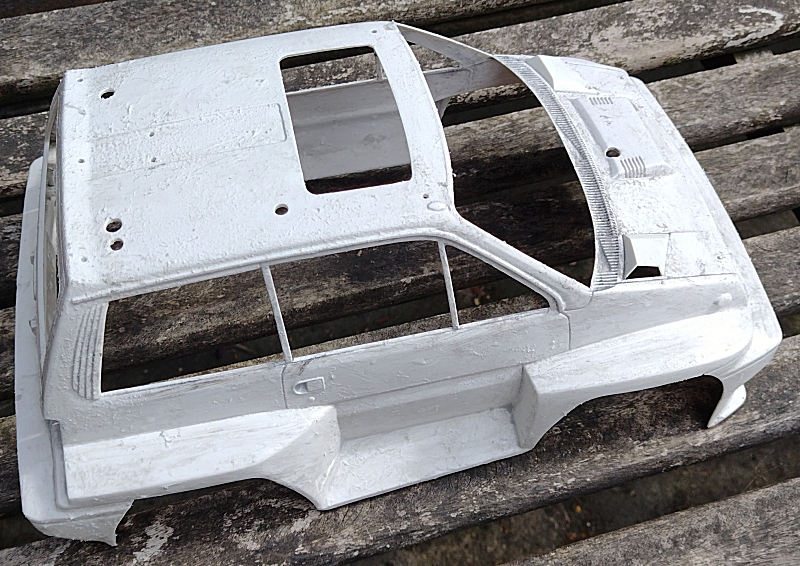
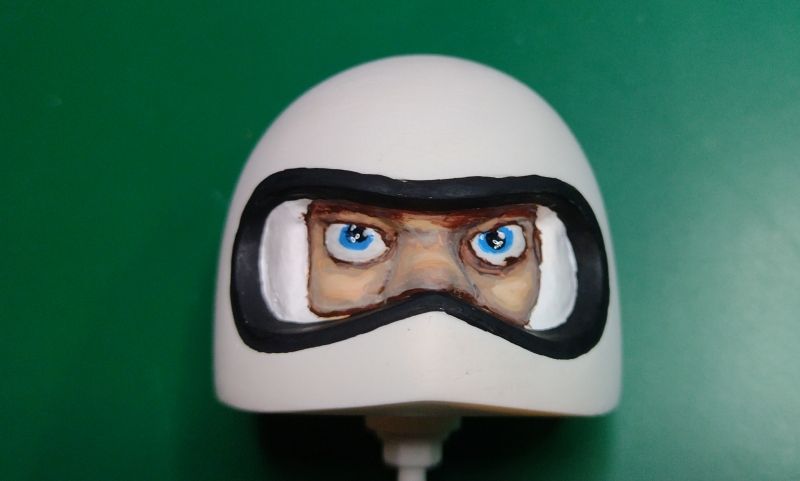
I didn't think any further than that, which I why I used Fuze Biostrip 20. Previously, I'd found it didn't play well with either the A (acrylonitrile) or B (butadiene) part of ABS, but from the smell (reminiscent of distant burning hair, and bananas) I'm more inclined to think it's the B. I then compounded my error by leaving it at ground level outdoors to outgas and harden up, where it promptly got a load of grit and leaf parts stuck to it after a sudden rain shower. lots of sanding later (starting with 180 grit & working up to 1200) it looks a lot better, I'll prime it in grey so I can see whether it's worth chasing any remaining issues with filler & so on, or I should just finish it with a matt or satin olive drab instead. Using the driver from my current vintage Wheeler, I used Tamiya X/XF acrylic paints to see if I could the face to the same level as with the Vallejo face painting set. Ignoring the lopsidedness and other flaws, only having the one flesh tone in the range and relying only on various proportions of Hull Red to get darker shades made the results muddier than I would have liked Attachments:
The following user(s) Liked this: stingray-63
|
|
Please Log in to join the conversation.
Last edit: by Jonny Retro.
|
|
I had same so worth matters with too agressive removers on my blazer and blackfoot bodies.
|
|
Please Log in to join the conversation.
Last edit: by stingray-63.
|
|
I've not had issues with Tamiya & similar plastics using the recipe that follows. I've used it on Blackfoot (black, duh), Ranger (blue), Monster Beetle, Scorcher & Rough Rider vintage plastics as well as smaller scale static kits. It will eat the chrome off plated parts so avoid unless you WANT the chrome stripped. I have also used it on Monster Beetle tinted glass & vintage clear parts without any issues, but as always, test it yourself on scrap parts before committing an irreplaceable shell or screen to it.
CAUSTIC!! USE AT YOUR OWN RISK !! I AM NOT RESPONSIBLE FOR ANYONE ELSE USING OR MAKING THIS SOLUTION. Home brew stripper (fnarr fnarr) recipe found on another forum, but I honestly can't remember where, credit to the original author whomsoever that may have been. Mix 3oz (roughly two tablespoons or about 85g) of caustic soda flakes into 800ml of COLD water, adding flakes gradually until it's all dissolved. Once the caustic solution is mixed, top up to 1 litre with 200 ml of meths/methylated Spirit (if meths not available Isopropyl Alcohol is a great substitute, & acts as an effective booster / more effective for some automotive paint, but it evaporates quicker) The resulting liquid will be a yellowy colour & a bit smelly (not as bad as some thinners / white spirit IMO) Store in an airtight container in a cool place out of sunlight.. I kept mine in a 2000mL Schott Duran bottle but switched to a 25L HDPE container now I have larger quantities. To use I usually decant some off into a plastic tub, glass jar etc, then simply immerse the parts until the paint starts to soften (this can be as little as 10~15 minutes to a few days depending on paint type) then scrub remaining paint off with an old toothbrush or nailbrush under cold running water. I then strain the lumps out with a paint filter cone & return it to the container. The solution should continue to be effective at paint removal until it goes an almost black colour. At which point let the alcohols evaporate & it is little more than drain cleaner. Dispose of according to your local regulations. Suitable tub; www.amazon.co.u...B08ZDDC457 I found the 13L food container is big enough for a Beetle / Scorcher shell but the 20L is needed for a Ranger / Blackfoot, but any HDPE food container should not be harmed & choose one of a suitable size for your application. It also works an absolute charm for small parts in an ultrasonic cleaner, in a separate container of course
The following user(s) Liked this: Jonny Retro, stingray-63
|
|
Please Log in to join the conversation. |
|
The caustic soda is my favourite paint remover but some times it didn't work surely unpatient to wait.
|
|
Please Log in to join the conversation. |
|
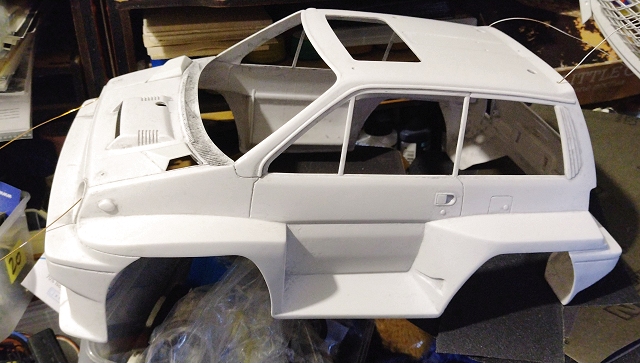
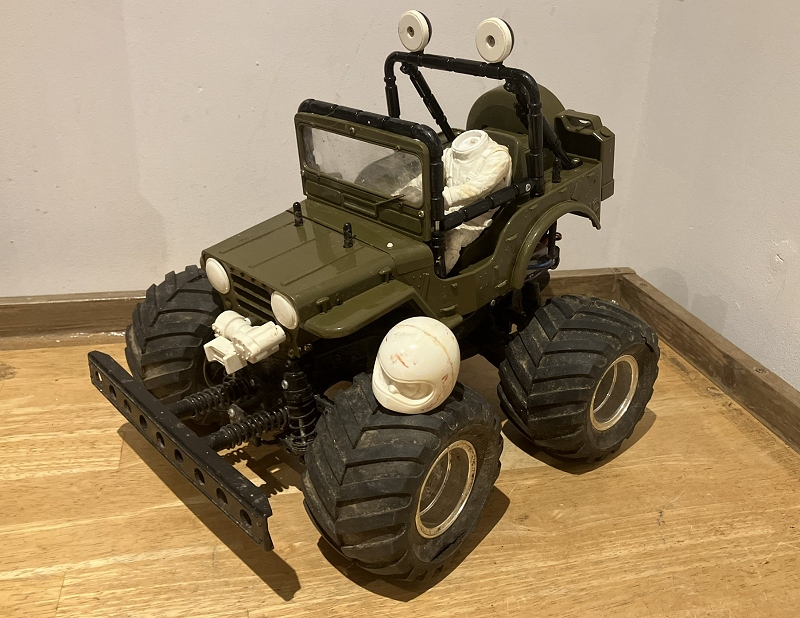
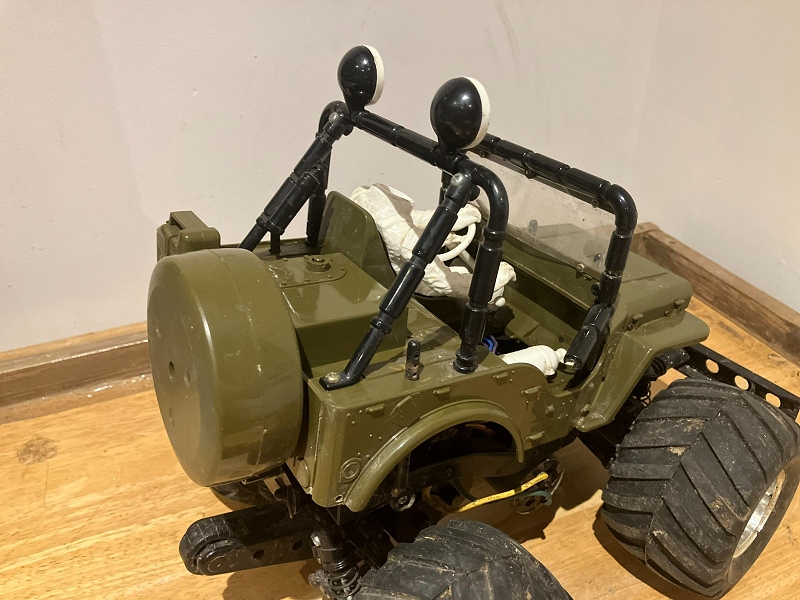
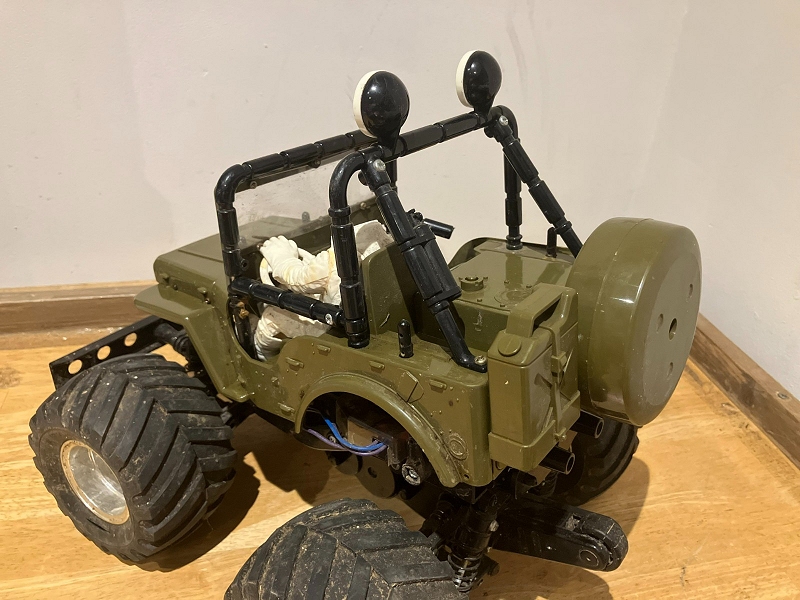
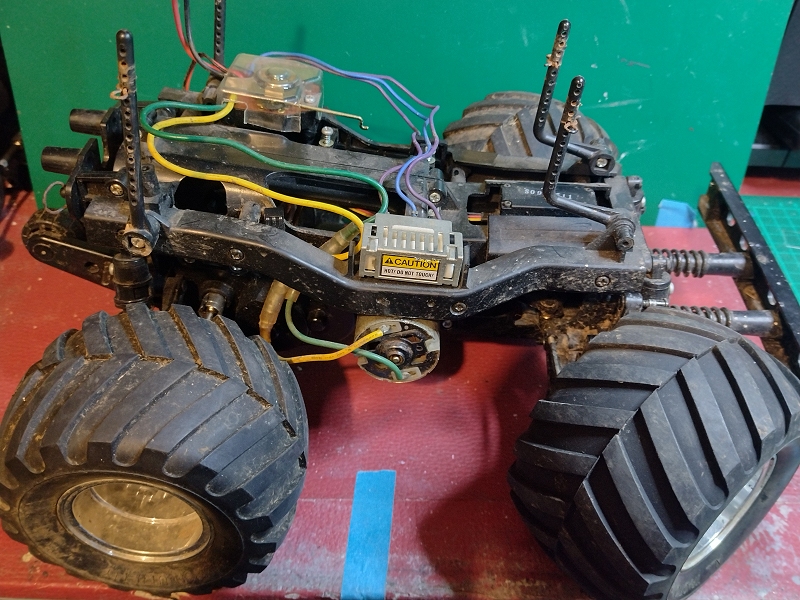
Starting yet another Willy project while I have multiple other things already on the go, this time a rather sad Wild Willy 2/2000 seen on eBay (seller pics).
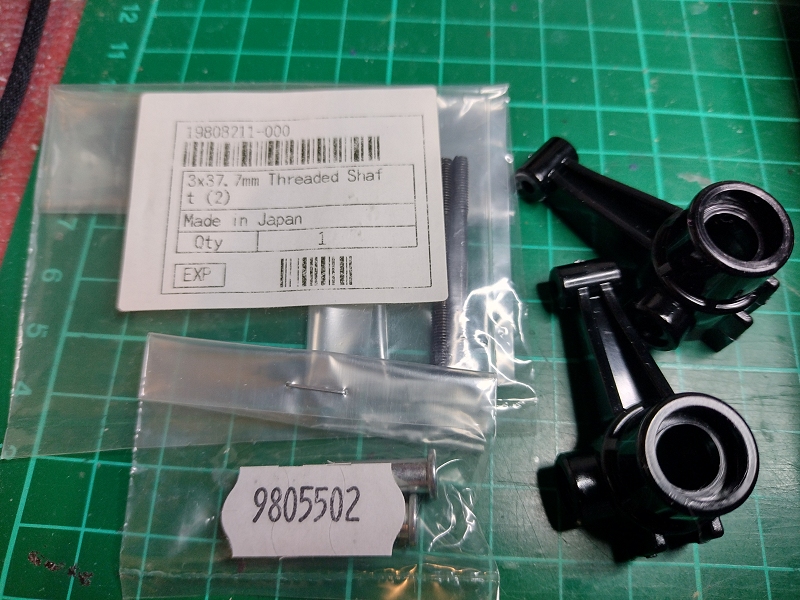
Body has already been dismantled, repaired, cleaned and primed & is hanging in the shed, outgassing. I’m thinking an urban/winter camo (white/grey/black) for the paint but with an added element of pink – which _is_ a legitimate camouflage colour, at least under certain circumstances - like the WWII SAS “Pink Panther” Jeeps, and photo reconnaissance Spitfires. A while back I wanted to make up for my RC fleet being a complete sausage fest & feminised (or at least androgenised) 3 Willy figures with head & hands from the Multi Purpose Driver, I kept one in anticipation of the right project coming along and tried to sell the other two. I couldn't even sell them at enough to cover the eBay fees and postage. I did think at the time it was because they didn't have Boobies (see below), but TBH I'm not sure how I'd incorporate them ... Tyres are all split, I thought about several options - replacements from the spares heap, the slicks I bought when they were fashionable a couple of years ago, the extra wide Sand Blasters I also bought on a whim, the Lunchbox size Padlatraks from China that I was interested in have gone up from 47 GBP to 62 GBP, I don't like them _that_ much. Plan is to use a set of 96mm crawler looking tyres (on 1.9” rims) that I bought in a “those are cheap & might come in handy one day” moment & use a higher turn motor (like a 35T) to make up for the gearing change. As the Wild Willy 2K kit shares the B-sprue with the TL-01 there are alternative front uprights & 12mm hexes already in the kit – I just need some m-chassis freewheeling axle shafts, some extra 1150 bearings, axle pins & possibly some extra steering bits – most of which I expect to find in my spares box(es), apart from shorter steering rods. Apparently, part # 9808211 Boomerang 3mm x 37.5mm shafts are the way to go Attachments: |
|
Please Log in to join the conversation.
Last edit: by Jonny Retro.
|
|
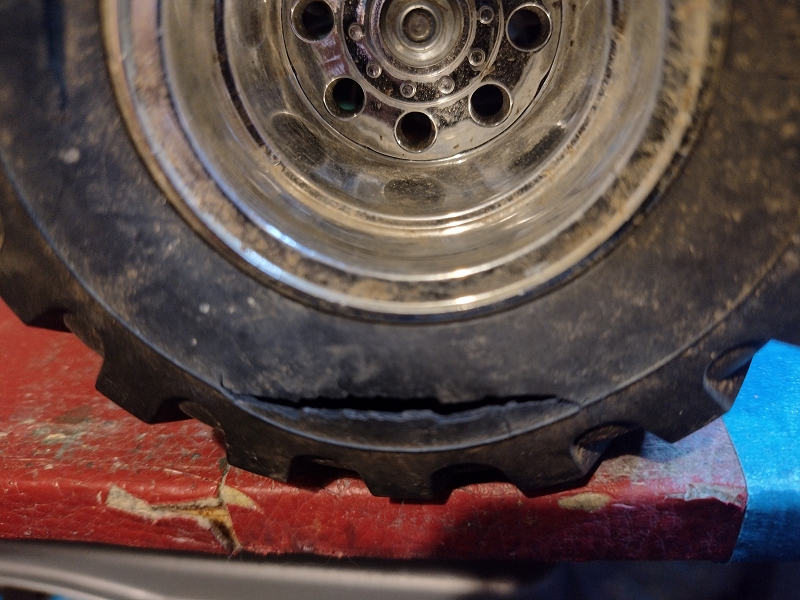
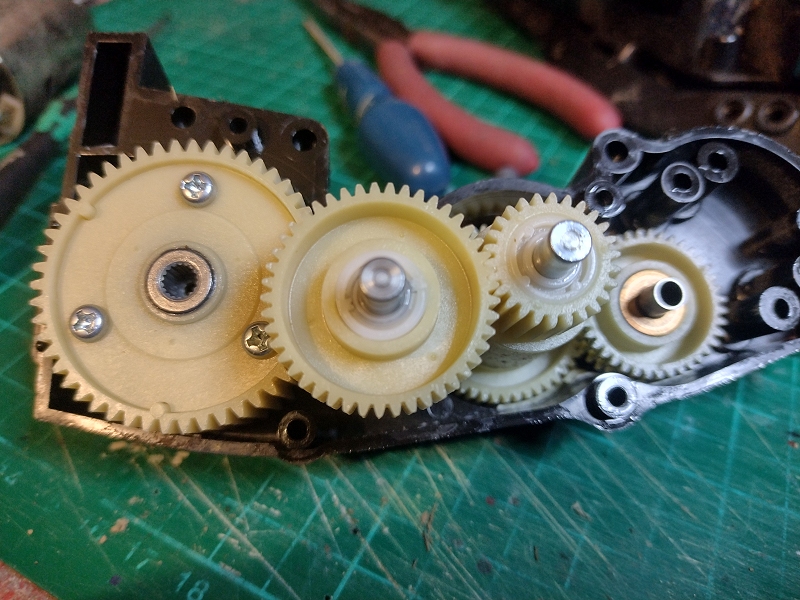
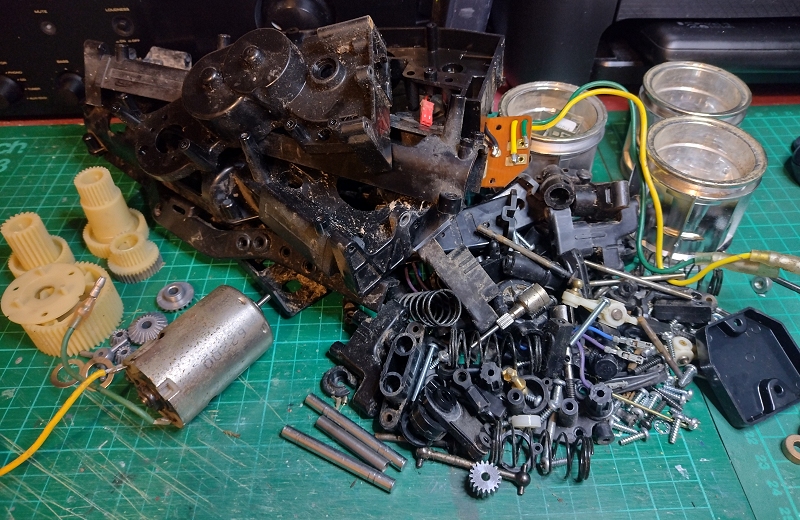
Dirty chassis, MSC means it's from 1999 to 2004 ...
Worst tyre, rest aren't worth keeping or trying to fix... Very clean gears ... Chassis stripped down, will sort parts by material & degree of mankiness for cleaning. Will rebuild with proper bearings, Futaba Attack 2ER radio & period(ish) ESC. I will check if I have another MSC in which case I will keep this one operating in parallel (just not providing any motor power) for period looks, if not I will save it for my original bought new in '99 WW2K which got a bit hacked about TBH in 2008 when I never thought I'd see it as a "classic" & want to have stock ... Attachments: |
|
Please Log in to join the conversation.
Last edit: by Jonny Retro.
|
|
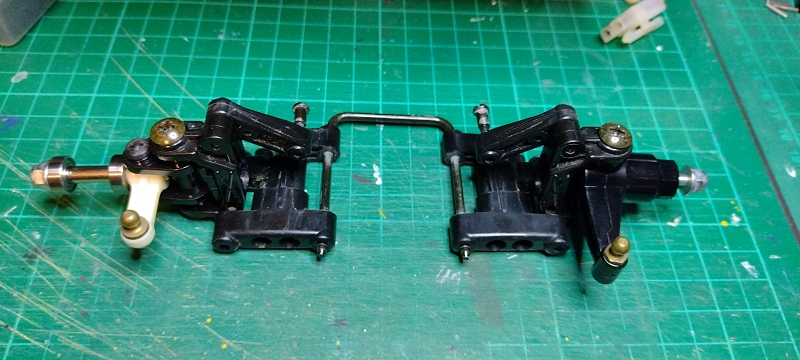
IDK if I'd go as far as saying it's an actual brain fart, but when I first thougt about putting more scale big wheels on a WW2, I must have been thinking about doing it with a new kit as I needed another “B” sprue for the steering knuckles (and the Futaba servo saver bottom), and as it turned out, another “E” frame for the wider 12mm hexes. I also had to find two more 4mm brass ball fittings & two wee hub pins from spares.
A test build of the front suspension (kit parts on the left, modified on the right) showed it should work, but it would probably loose 2-3mm of offset & the steering arms would be way further back. Steering arm angle did turn out to be silly, but doesn't seem to result in any adverse geometry. Attachments: |
|
Please Log in to join the conversation. |
|
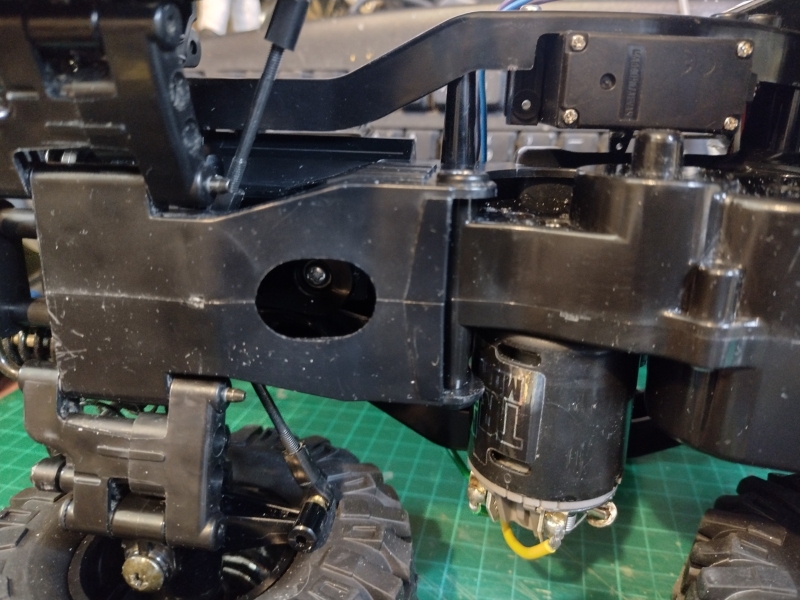
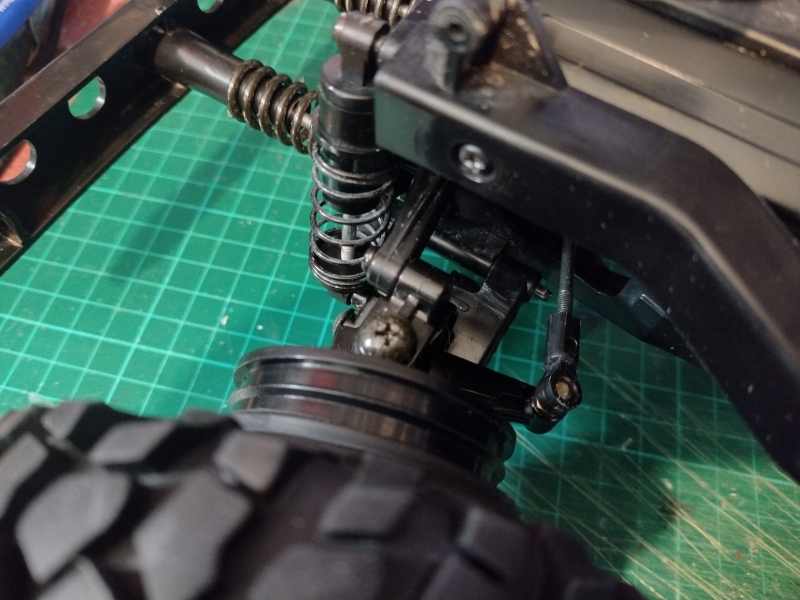
Even with the wider 12mm hexes, things are a little tight on the front, so I plan to take a little off the inside of the front wheels before gluing the tyres on.
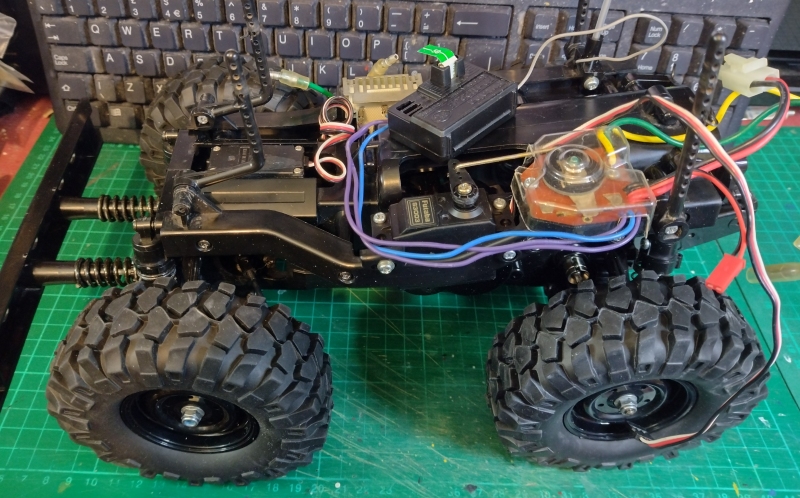
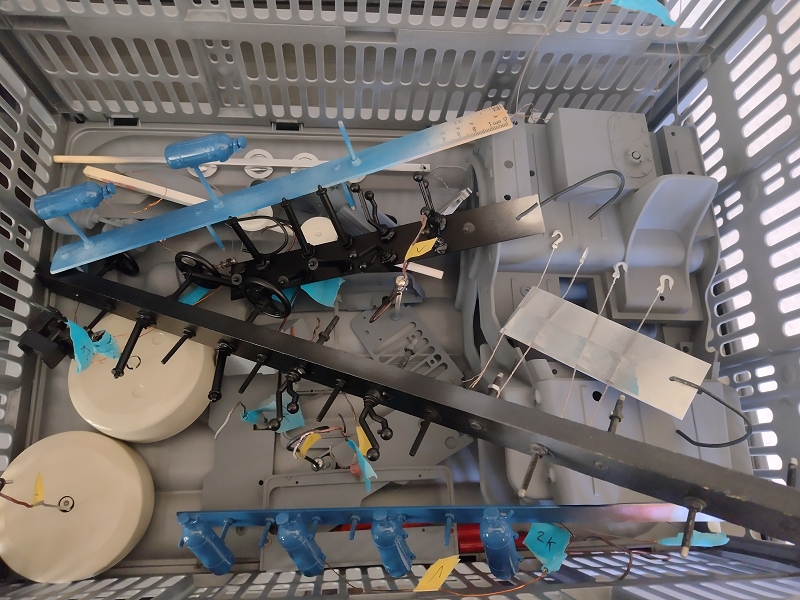
As it stands at the moment, but MSC will be coming off again. Primed body parts (and some with basic colours) back from the shed, felt like much more effort than the photo suggests. There's two of most things as I regret selling my blue USN/USAAC inspired LWB Willy & now have almost all the bits I need to recreate a (hopefully) slightly better/more coherent replacement Attachments: |
|
Please Log in to join the conversation. |
|
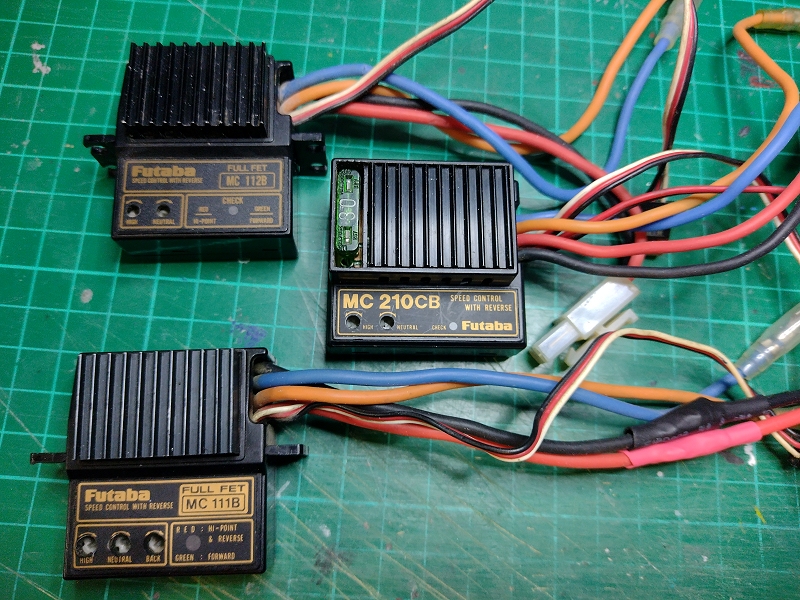
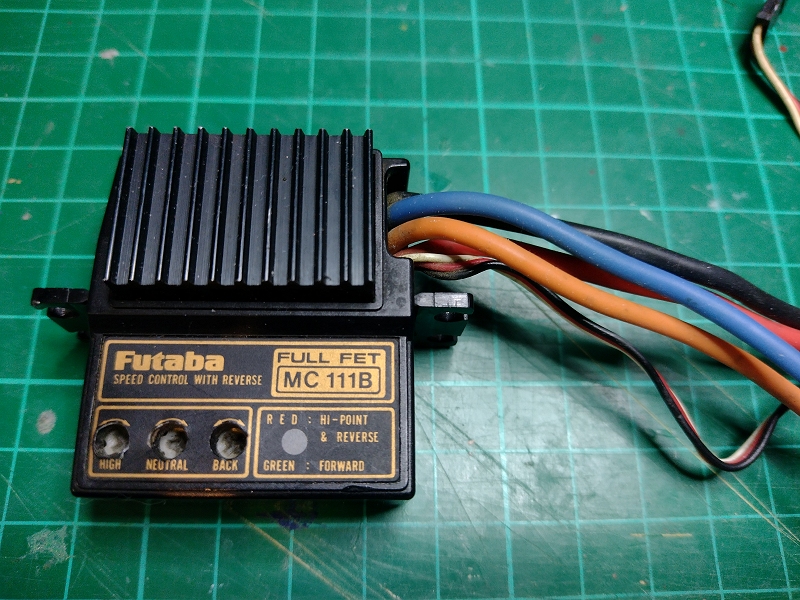
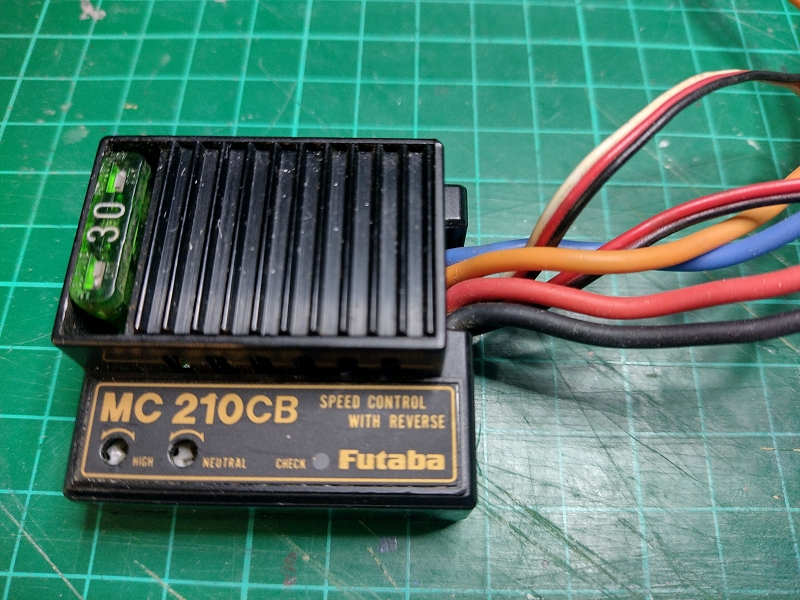
Some cheap(ish) Futuba ESCs came up on eBay a while back, none of them had boxes, documentation or the “correct” potentiometer tools, all were dirty, and some were missing connectors – but for a third of the cost of ones in better condition, I thought they were worth a punt.
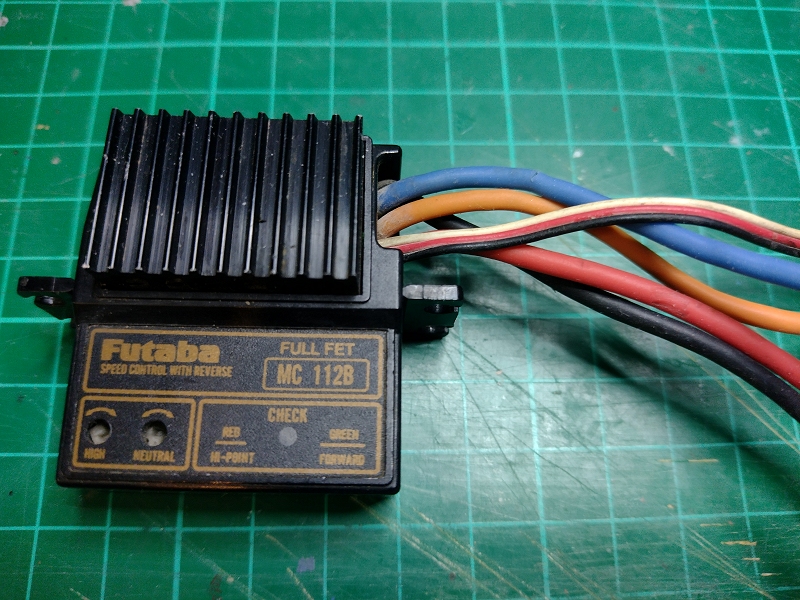
All seemed to work when tested with a moderately period appropriate 27mhz radio, 7.2v NiMH battery and a 380 motor, so they still might fail when used properly, but I thought it was worth giving them all a clean up and replacement of connectors where needed. First is an MC112B. I found a manual (on Dirt Burners), there’s no date shown, but from the line drawing of a Tamiya Fox suggests it can’t be earlier than autumn 1985, and from the reference to it being 8.4v capable it’s got to be post-Bigwig (summer 1986). The manual also covers the MC12B, which is the same with the exception of having a “standard mini connector” – meaning the old Futaba standard with 90 degree plugs and asymmetric pin spacing being compatible with the “old” 2GS and 2NL sets for example, whereas the MC112B has the “new” standard “J” connector as found on the “New” 2GS and 2NBL/2NBR sets, the latter two being the 1st gen., brown Attack/Attack R sets.Note the servo like dimensions and lugs on the side. There’s no indication of what motor they can cope with, the limited range of opinion online is that a 540 silvercan (27T) is the limit, up to you can push them quite hard (19 or even 17T). There’s no plan for it at the moment, but as it still would have been current around the chrome “New” Attack/Attack R radio era, I’ll save it for something I can use one of those radios in. The second is an MC 111B and is very similar to the 112B. I couldn’t find any specs for this either, or a manual. From the lower number you’d think it’s either an earlier model, or has lower capabilities. There’s a third potentiometer, labelled “back”, and as features tend to reduce over time, I’m more inclined to the “earlier model” theory. There’s a “Made In Japan” sticker on the underside, whereas the sticker on the 112B (above) has a sticker that might be in very poor condition, but “Made In Taiwan” can be deduced. If production moves, it’s generally to regions or countries with lower costs, again implying that this is an earlier version. Again, no plan for this one, but I will try & save it for something where I could legitimately use a brown/1st gen Attack radio. The third one is an MC210CB. The scanned manual I found for it was of very poor resolution, had no date on it, and although it did have a line drawing of an RC car, it was rather generic looking. Again, it gives no idea of what turn motors it can handle. The fuse looks like a generic auto one, but half the images of this ESC on the internet have the same 30A green one, with the other half show a fuse with an open top, presumably to make it more obvious if it’s blown? A thread on TB suggests that the MC210CB was made between the start of 1992 and mid-2000, and could be used with 18, 17 or even 14T motors. There was also an MC310CB model which looked very similar, but had fewer (and possibly slightly chunkier) fins on the heatsink. You’d think the higher number means higher spec, much maybe it’s just a slightly later model? Of the three, the 210CB is the only one that’s period appropriate for an early Wild Willy 2. As it looks like I also only have the one WW2K MSC too, I’ll uninstall that & save if for my original restoration, and put the 210CM ESC in the camo build. While there’s room for both setups side by side in the same car, the extra wires would be a bit of a management problem, so I’m quite glad I won’t have to do it Attachments: |
|
Please Log in to join the conversation. |