

Keyword

TOPIC:

CC-01s: RV, Unimog, Bedford TM, Valp, Ford CMP, Series 3 Land Rover, SD Revopak 10 years 10 months ago #36196

Excellent work, Jonny!
Signature now gets correct formatting if you edit it in your Profile. Use normal BBcode if you want.
www.tamiyabase.com was formatted automatically.

Please Log in to join the conversation.

CC-01s: RV, Unimog, Bedford TM, Valp, Ford CMP, Series 3 Land Rover, SD Revopak 10 years 10 months ago #36201

Very impressive Jon :y:

Please Log in to join the conversation.

CC-01s: RV, Unimog, Bedford TM, Valp, Ford CMP, Series 3 Land Rover, SD Revopak 10 years 10 months ago #36212


One question Jonny:
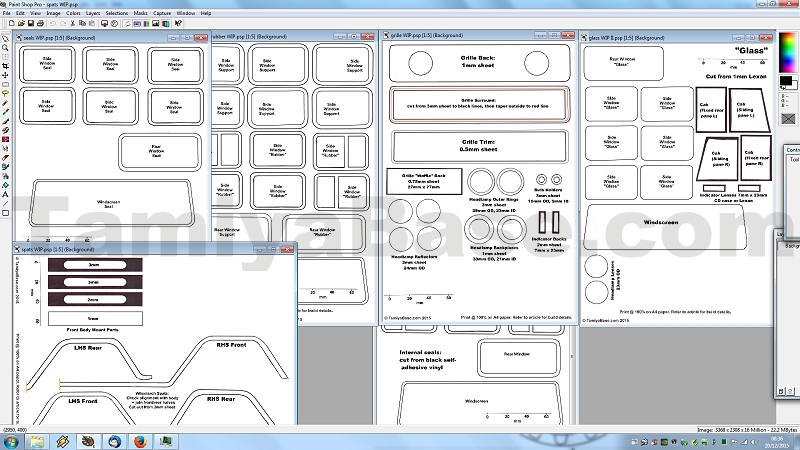
Regarding making templates like this, I assume you can trace the lines accurately in millimetres in Paint Shop Pro, but how do you make sure the printout is 1:1 in scale?
Is it a trail/error thing or is there a setting somewhere that forces 1:1 scale between source and printout?
Signature now gets correct formatting if you edit it in your Profile. Use normal BBcode if you want.
www.tamiyabase.com was formatted automatically.

Please Log in to join the conversation.

CC-01s: RV, Unimog, Bedford TM, Valp, Ford CMP, Series 3 Land Rover, SD Revopak 10 years 10 months ago #36213

...
One question Jonny:
Regarding making templates like this, I assume you can trace the lines accurately in millimetres in Paint Shop Pro, but how do you make sure the printout is 1:1 in scale?
Is it a trail/error thing or is there a setting somewhere that forces 1:1 scale between source and printout?


It's a good question - because it's easy in PSP (file -> page setup -> centre on page, + scale -> 100) I had the idea that anywhere else you/one printed it from would have a similar setting that you/one would be familiar with - or it would be printed the correct size - & I could just gloss over it ...

I should have known better though - IE prints at 207 + some decimals % regardless of setting :whistle:


In MS paint (which i think most people are going to have, or at least have access to) it's:

Paint menu -> print -> page setup

then select portrait or landscape under orientation as appropriate;

reduce the margins to a low value (like 3mm);

centering - check both horizontal and vertical;

scaling - adjust to 100 % normal size

& OK


then

Paint menu -> print -> print button.

Don't use Paint menu -> print -> preferences -> page layout or advanced as it's not the same - the settings get overriden & the printouts come out at 94 & lots of decimals % :whistle:


Later parts (pt.4 by the titles, the 2nd build instalment) have a scale on the drawings so you cna check the printout scale.

Please Log in to join the conversation.

CC-01s: RV, Unimog, Bedford TM, Valp, Ford CMP, Series 3 Land Rover, SD Revopak 10 years 10 months ago #36225

I just spotted this and this

Making downloadable plans & writing up articles on how to build it has been a massive time suck on top of the build time - not to mention a sequence of six articles before I even got to the Laplander on various easier projects to potentially ease people into it. I always knew it was going to have a very limited audience (views in the hundreds, tops, actual builders ... less than a handful I would have thought, dropping off pretty steeply), but at least it was going to be unique ...

I'm not begrudging anyone else their project, but to see one that started later than mine - and, by the time the pertintent articles will appear on the TB front page in early summer 2016, will probably have ahd all the bits for sale on Shapeways for several months - is frankly a bit sick making :sick: :cry: The fact it's a slightly larger scale for different chassis' isn't much solace.

Please Log in to join the conversation.

CC-01s: RV, Unimog, Bedford TM, Valp, Ford CMP, Series 3 Land Rover, SD Revopak 10 years 10 months ago #36263

Another week, and over 300 more bits ... I still need to do a bit of filling/smoothing, but the exterior is mostly done now :)


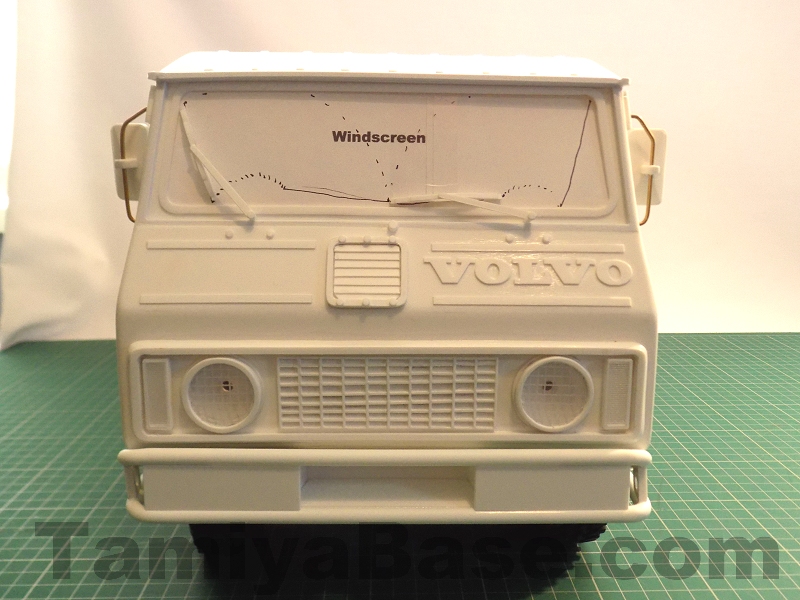
Front: wipers, badge, ribbing, fresh air intake (it's supposed to be off centre), + bumper ... it's come out taller than it ought to be, but I'll leave it alone:


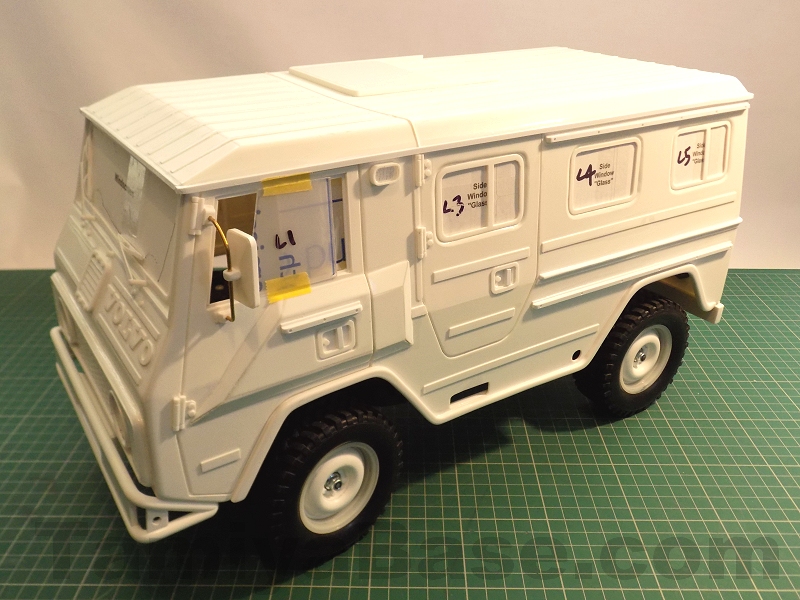
Sides: Hinges, mirrors, "hamster cheeks", repeater light, ribbing & rubbing strips, door handles/locks:


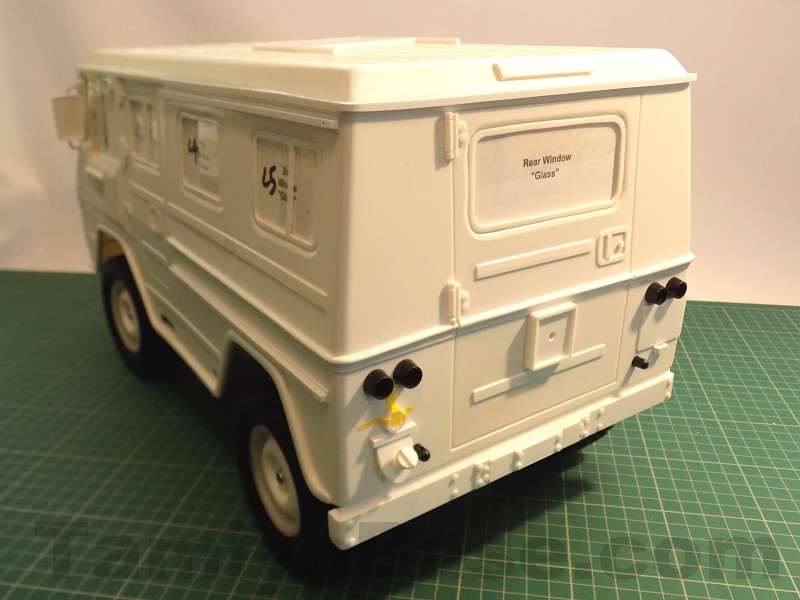
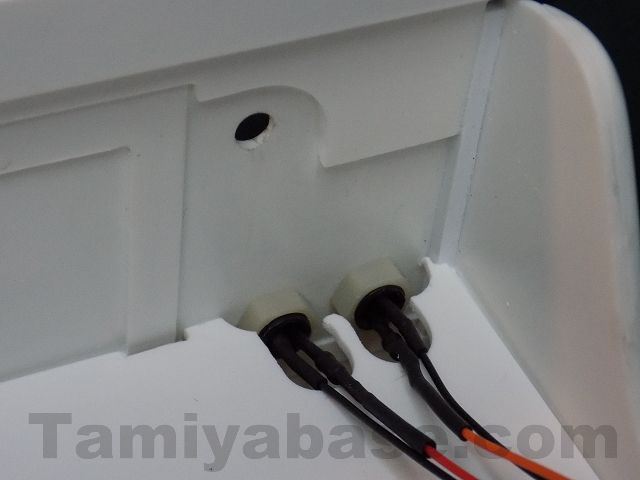
Back end: more ribbing, lock, hinges, reflector, number plate & light, simplified spare wheel holder, filler neck, rear bumper ... lights are off the shelf plastic 5mm LED holders:

Attachments:
The following user(s) Liked this: stingray-63, AndyAus

Please Log in to join the conversation.

CC-01s: RV, Unimog, Bedford TM, Valp, Ford CMP, Series 3 Land Rover, SD Revopak 10 years 10 months ago #36267

The amount of deatils you're putting on this Volvo is just staggering!
You don't HAVE to make it an identical copy, you know... :P :laugh:
Signature now gets correct formatting if you edit it in your Profile. Use normal BBcode if you want.
www.tamiyabase.com was formatted automatically.

Please Log in to join the conversation.

CC-01s: RV, Unimog, Bedford TM, Valp, Ford CMP, Series 3 Land Rover, SD Revopak 10 years 10 months ago #36268


Is that a Spare Wheel bracket on the lower part of the rear door?
Signature now gets correct formatting if you edit it in your Profile. Use normal BBcode if you want.
www.tamiyabase.com was formatted automatically.

Please Log in to join the conversation.

CC-01s: RV, Unimog, Bedford TM, Valp, Ford CMP, Series 3 Land Rover, SD Revopak 10 years 10 months ago #36274

If you have the time, skill & inclination, You may as well go the whole 9 yards! Great work Mate :y: :y:
If you can't fix it with a hammer, you've got an electrical problem mate :)

Please Log in to join the conversation.

CC-01s: RV, Unimog, Bedford TM, Valp, Ford CMP, Series 3 Land Rover, SD Revopak 10 years 9 months ago #36515

This build isn't dead, just proceding very slowly ...


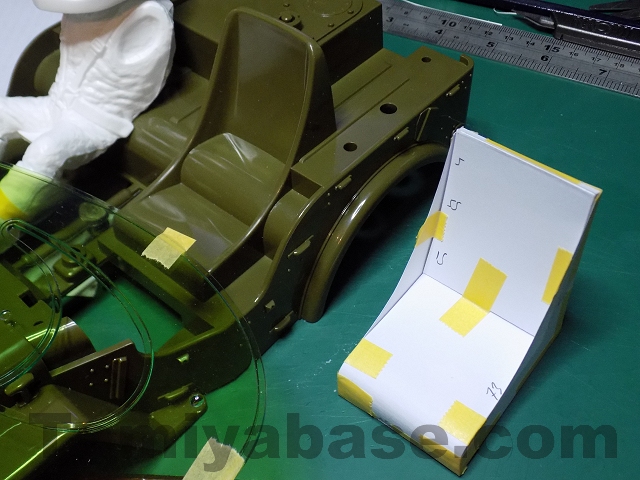
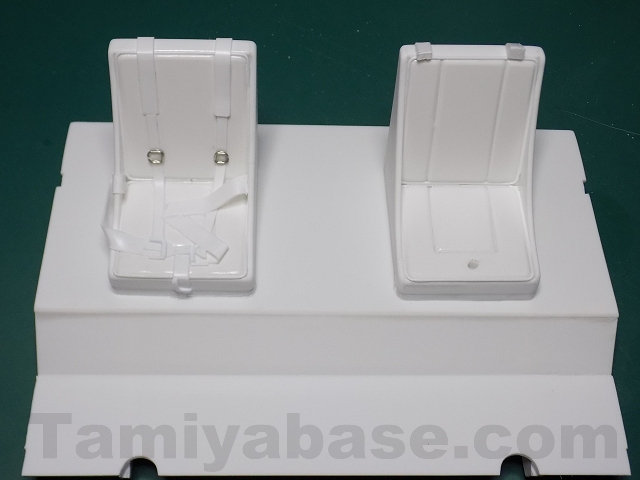
I decided on Willy as the driver, that does mean seating can be a bit awkward so I started by making a card version of what the Wild Willy seat would look like if it were whole:


Still working on seat mockup, the divider/brace is now fitted:


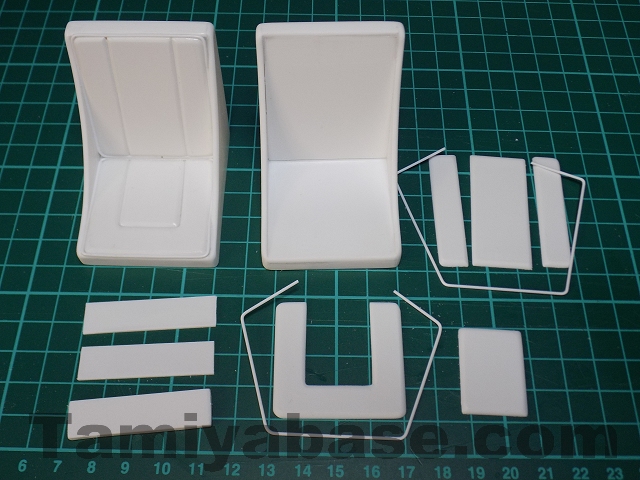
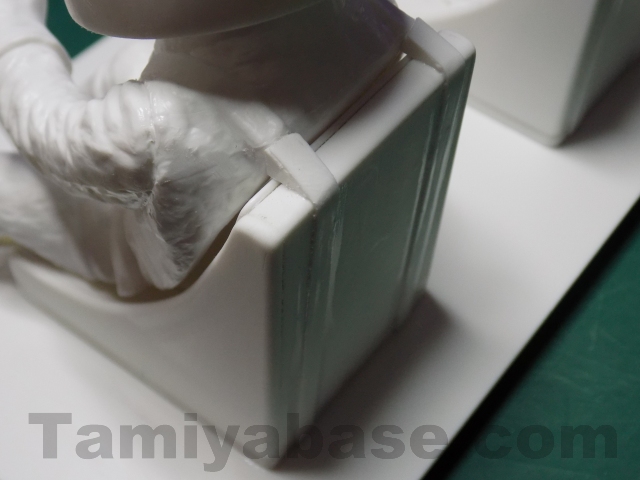
Basic seat shape done, working on details:


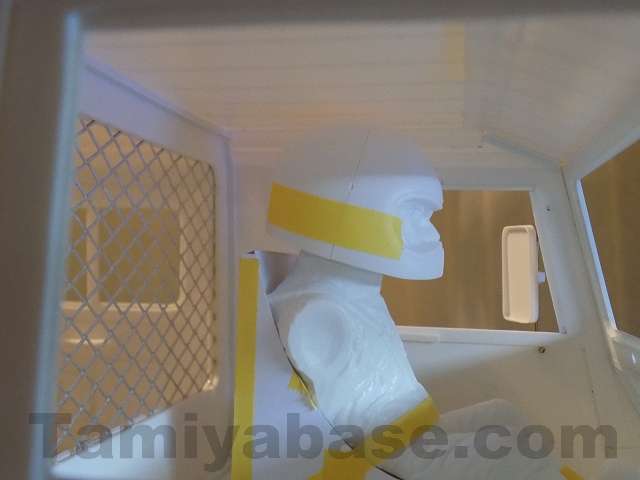
Front interior so far ...


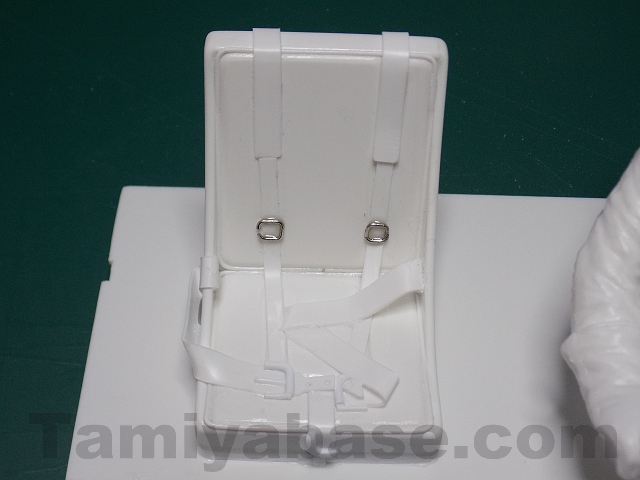
Detail of belts on passenger seat:


Details to match driver belts:


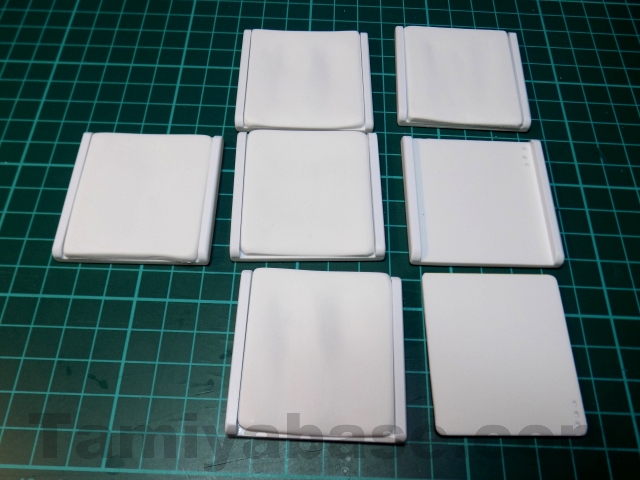
Compression on rear "cushions" from very light use up to severe buttock marks:


LEDs have turned out to be at exactly the same height as the floor :whistle:

The following user(s) Liked this: AndyAus

Please Log in to join the conversation.

Moderators: caprinut, stingray-63, AndyAus
Time to create page: 0.497 seconds